Understanding Cone Temperatures in Pottery Firing
Published How we research
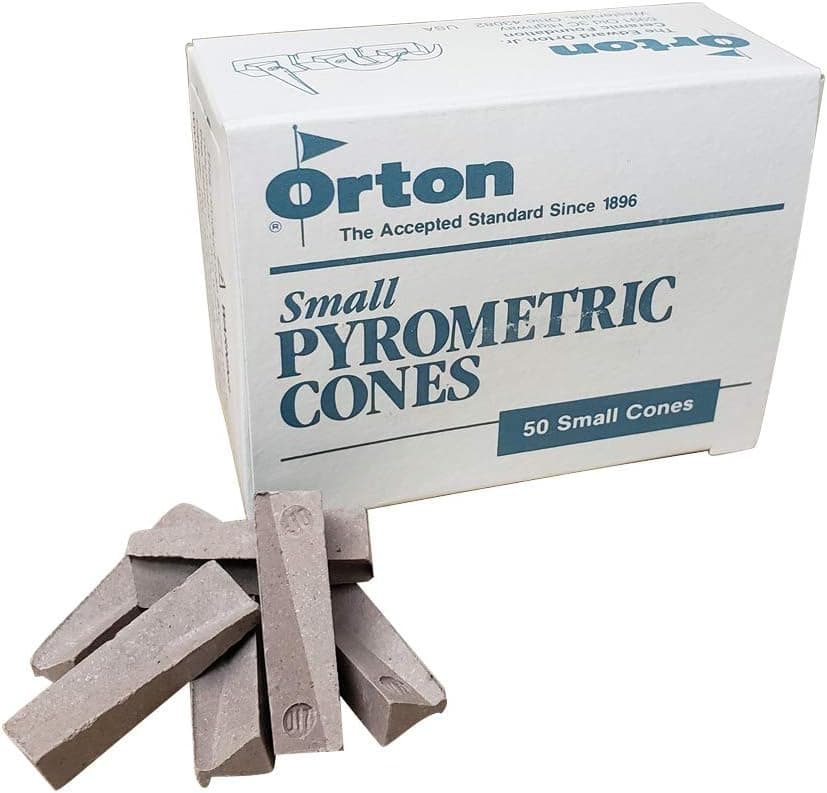
The cone system confuses every newcomer to ceramics, and the confusion usually starts with a cruel numbering quirk: cone 06 and cone 6 are completely different temperatures. Pyrometric cones are small pyramids of ceramic material engineered to bend at known amounts of heat exposure. They are numbered from 022, the coolest, counting down to 01, then from 1 counting up to 14 and beyond. The zero acts like a minus sign: 06 is six steps below zero, far cooler than 6. Mixing them up means melted glaze flowing over shelves or chalky underfired ware, so this is the one piece of pottery notation worth memorizing early.
The deeper idea behind cones is that they measure heatwork rather than temperature. Clay and glaze do not care only about the peak temperature; they care about how much total heat energy they absorbed, which depends on both temperature and time. A kiln that climbs slowly to a slightly lower peak can deliver the same heatwork as a fast climb to a higher one. Cones bend in response to this combined effect, which makes them a truer measure of what the ware experienced than any thermometer reading. This is why cone charts list different equivalent temperatures depending on the speed of firing.
In practice, three zones cover most pottery. Low fire, around cone 06 to 04, is the world of earthenware, bright commercial colors, and school ceramics. Mid fire, cone 5 to 6, is the modern standard for home and community electric kilns, hot enough to vitrify stoneware into durable functional ware while staying within reach of ordinary kiln elements. High fire, cone 9 to 10, is the traditional stoneware and porcelain range, common in gas kilns and university studios. Every clay and every glaze you buy is rated for a cone range, and the entire game is matching them: clay, glaze, and firing must all agree.
Mismatches produce predictable failures. Fire a cone 6 glaze to cone 06 and it emerges rough, dry, and underdeveloped, because it never melted. Fire a cone 06 glaze to cone 6 and it can run off the pot entirely. Underfire a stoneware body and it stays porous, weeping water through the bottom of vases. Overfire an earthenware body far enough and it slumps or blisters. When you inherit unlabeled materials, treat them as unknowns and test on tiles atop a protective waste slab rather than risking shelves.
Even with a digital controller, physical witness cones earn their place. A controller reports what its thermocouple experienced at one point in the kiln; a cone placed on the shelf reports what the ware experienced where it actually sat. Thermocouples drift as they age, and kilns fire unevenly between top and bottom. Setting a witness cone for your target, visible through the peephole or checked after the firing, is how you discover that your kiln fires half a cone cool on the bottom shelf, which is exactly the kind of fact that explains mysteriously pale glazes.
The habit to build is simple: know your target cone, buy everything to match it, and verify with witness cones until your kiln proves itself consistent. Write the cone rating on every bag, bucket, and jar with a marker the day it arrives. A studio where every material is labeled with its cone is a studio where nothing melts onto a shelf, and that reliability is what lets you focus on the interesting problems instead of the expensive ones.
Products from this article
The highest-scoring picks from the buying guides mentioned above. Scores are our editorial assessment, not customer ratings.
+ Cone 6 is the most popular mid fire target for home potters
From our guide: Best Pyrometric Cones for Accurate, Repeatable Kiln Firings
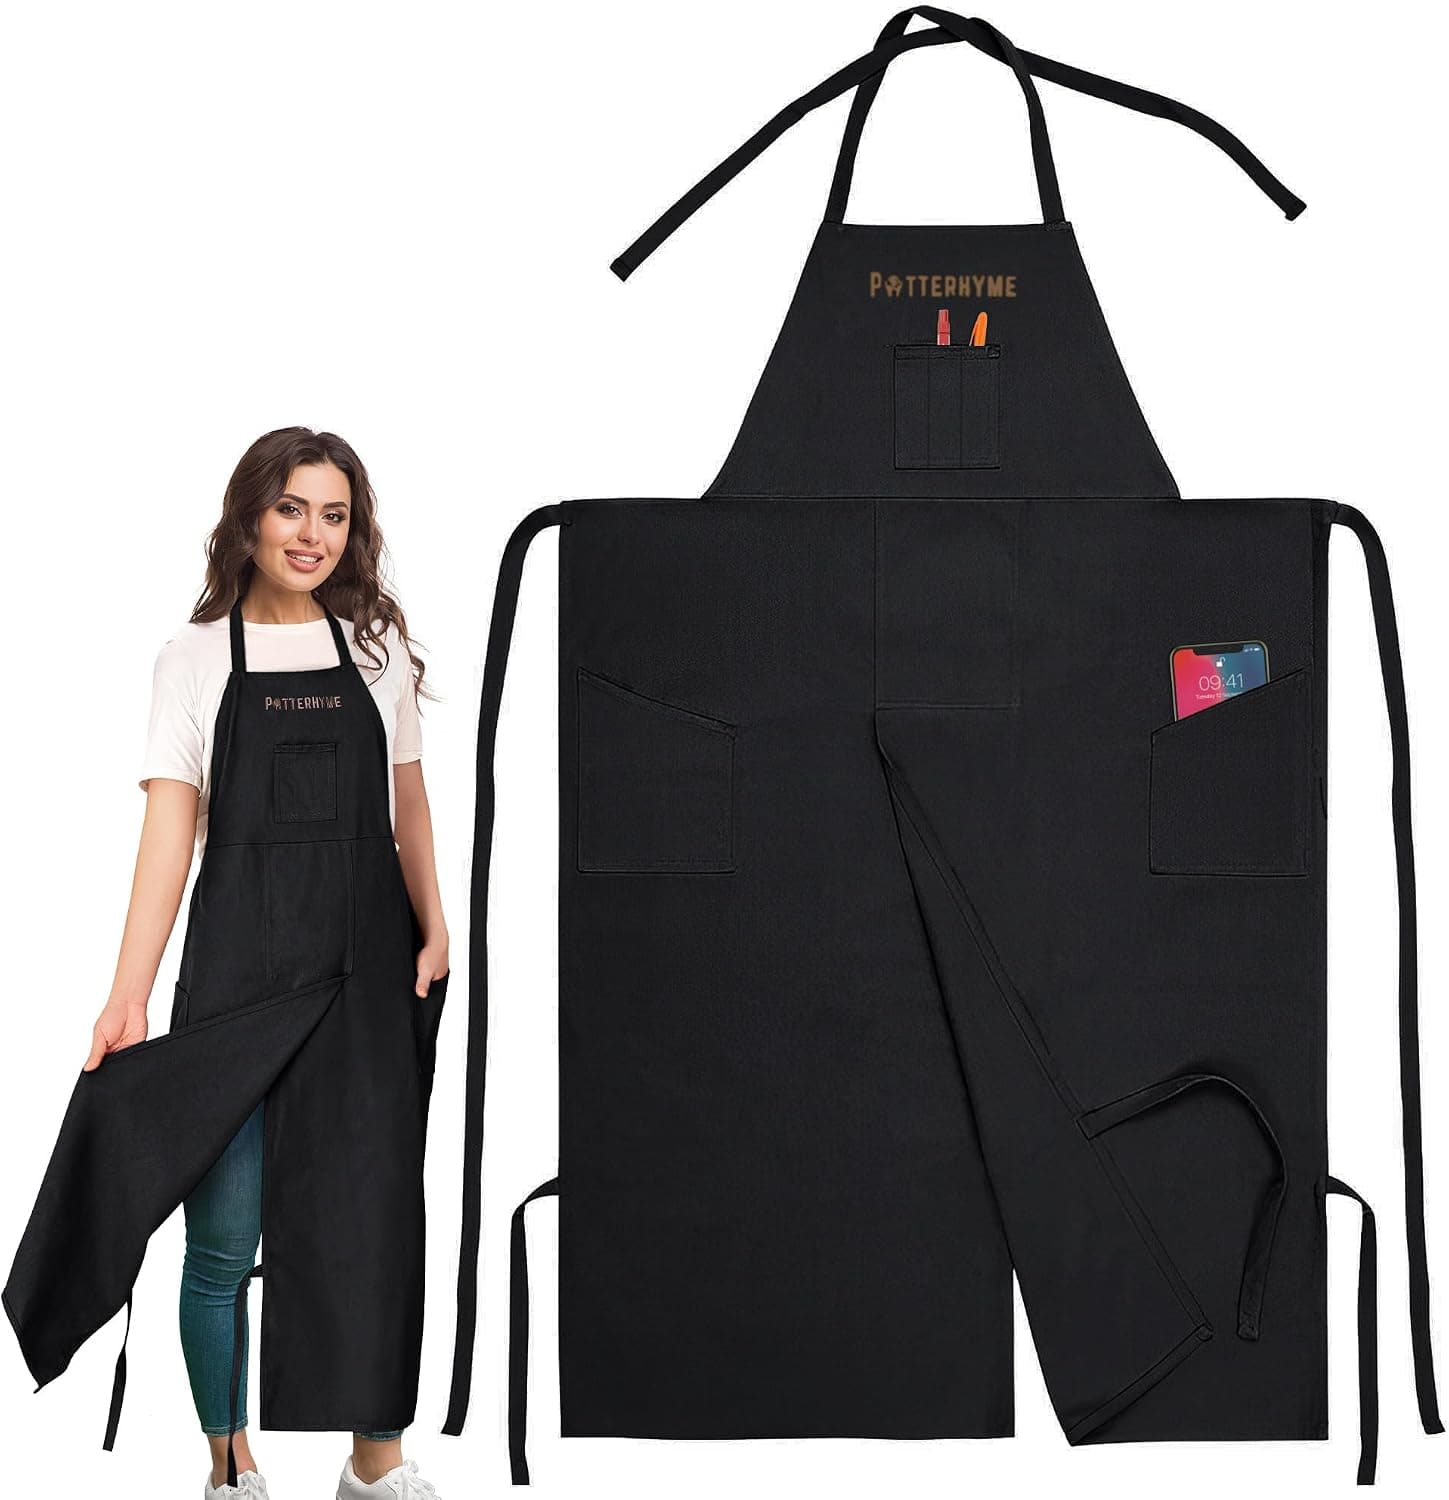
+ Split leg design covers thighs while sitting at the wheel
From our guide: Best Pottery Studio Safety Gear
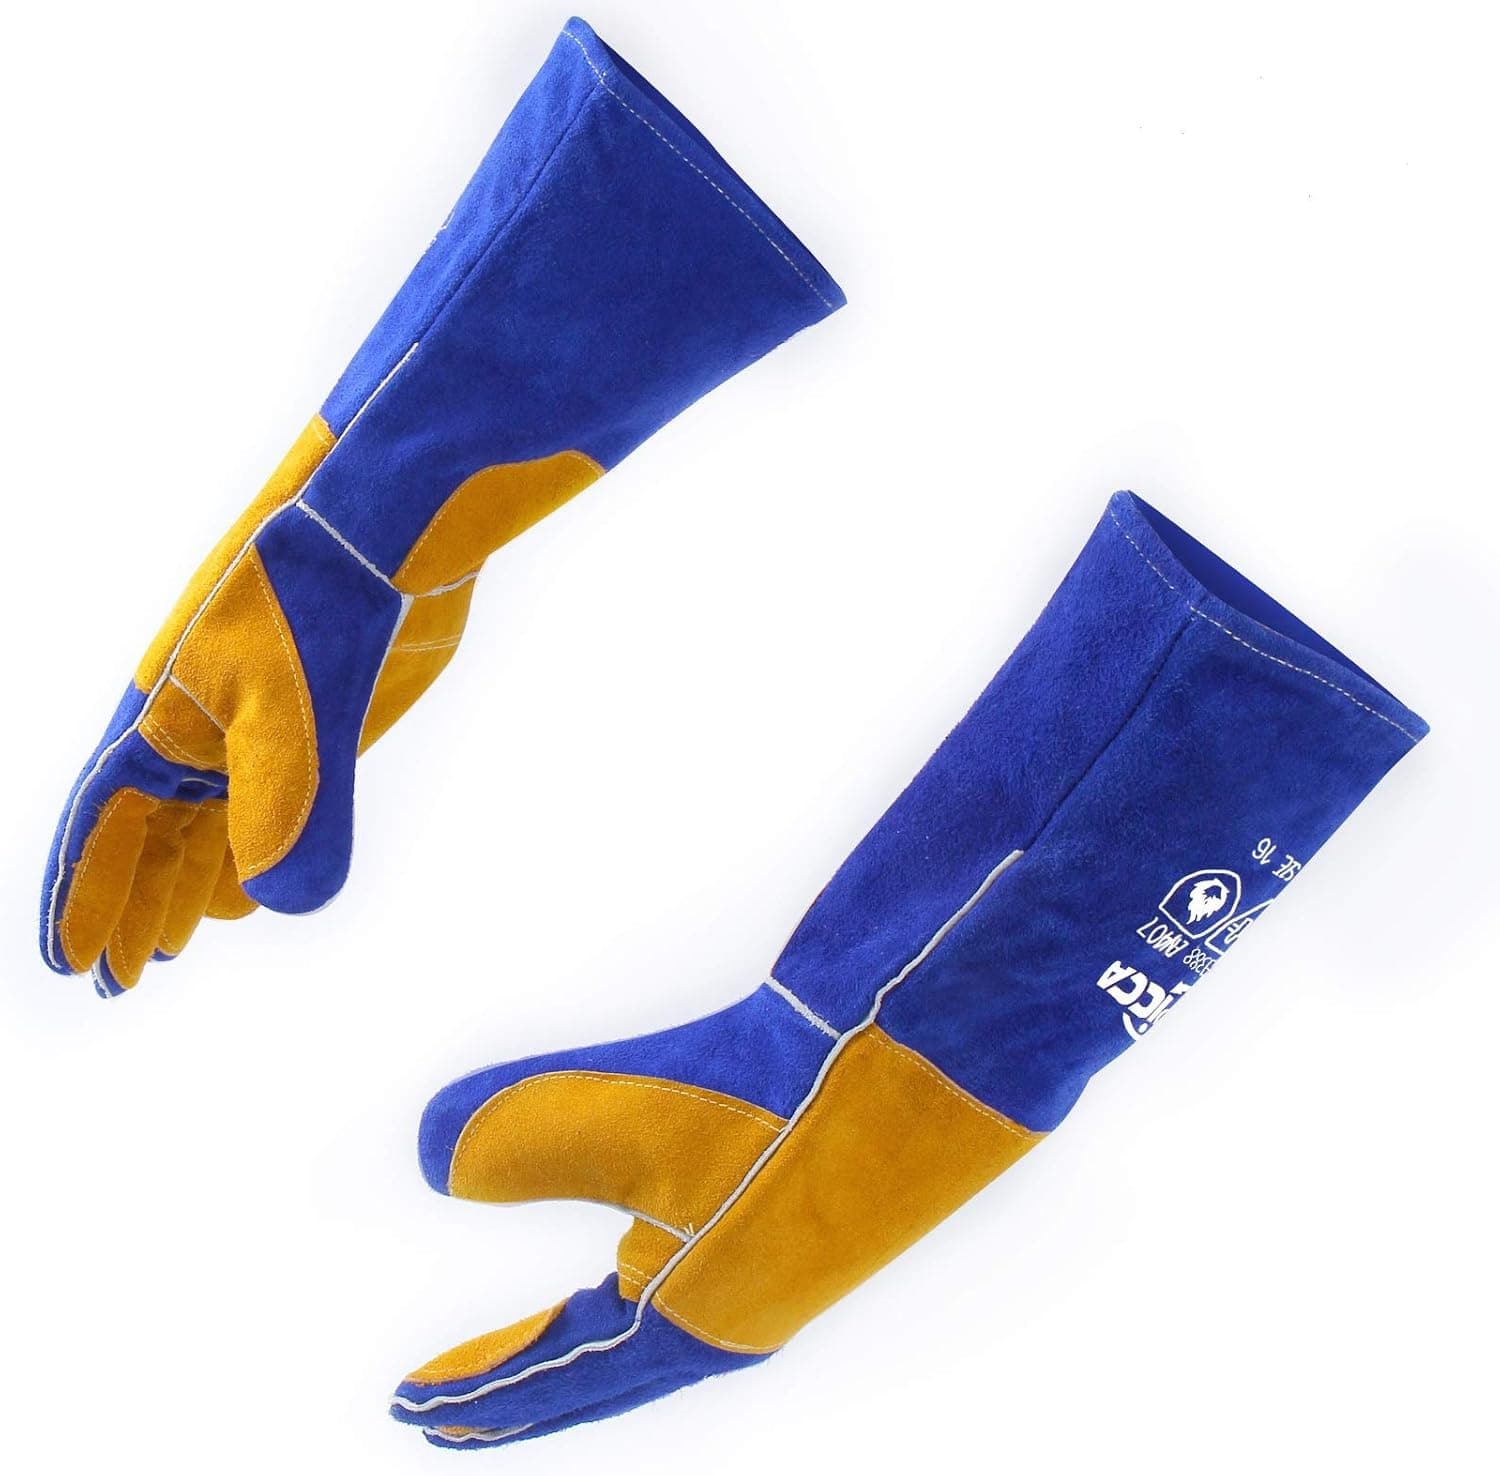
+ 16IN length protects forearms when reaching into a kiln
From our guide: Best Kiln Gloves for Handling Hot Ware and Peeking Safely
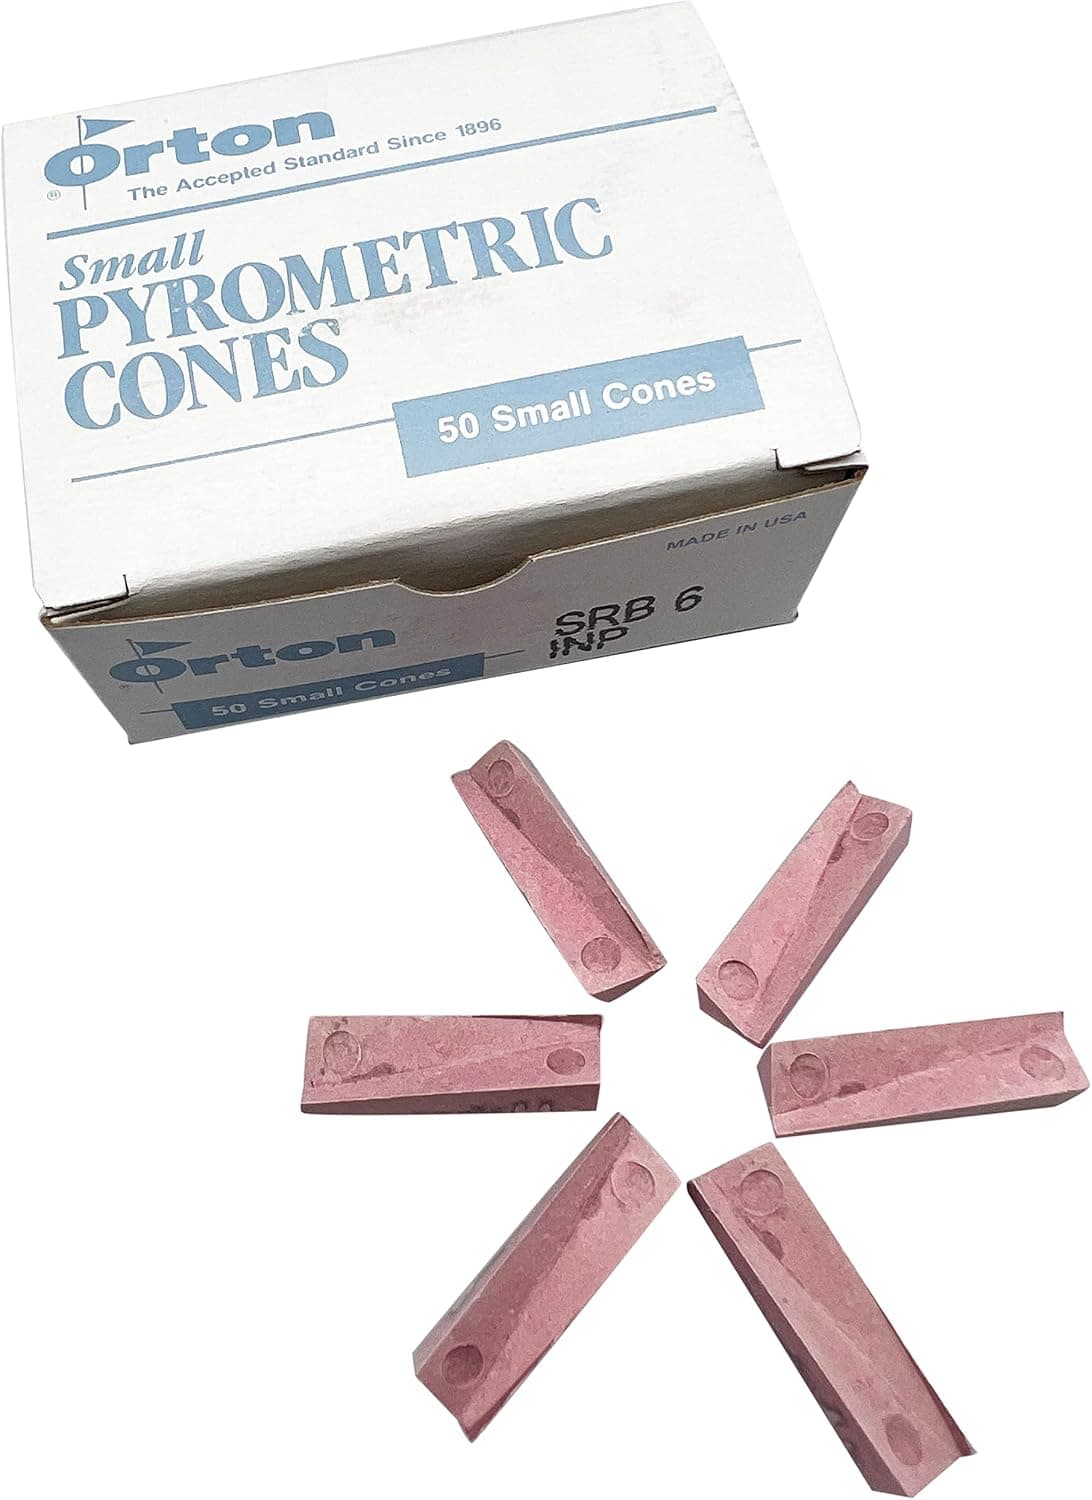
+ Cone 06 is a common bisque and low fire glaze target
From our guide: Best Pyrometric Cones for Accurate, Repeatable Kiln Firings
Popular right now
- Firing Schedules ExplainedArticle
- Best Small Kilns for Test Tiles, Jewelry, and Compact StudiosBuying guide
- Underglaze TechniquesArticle
- Bisque Firing vs Glaze FiringArticle
- Fixing Common Throwing Problems on the Pottery WheelArticle
- Caring for Pottery ToolsArticle
Based on the last 28 days of search and visitor data.