Recycling Clay
Published How we research
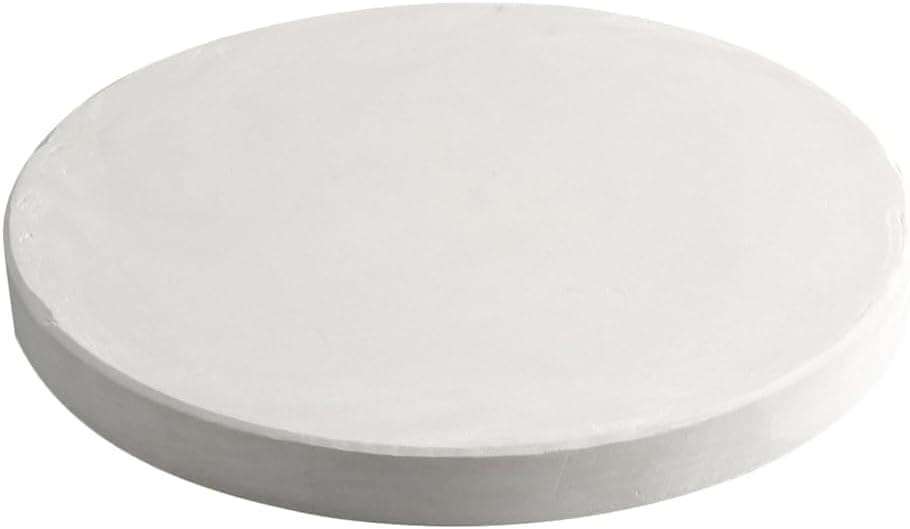
Let scraps dry out completely before recycling, since bone dry clay slakes evenly into slop while damp chunks produce lumpy sludge. Submerge dry scraps in water for a day, pour off standing water, and stir into slurry. Spread the slurry on a plaster bat, canvas board, or absorbent fabric to dry back to working consistency over one to several days. Wedge thoroughly since reclaim starts uneven, often fifty-fifty with fresh clay to restore plasticity. Store finished reclaim in doubled bags or lidded buckets, where it keeps indefinitely and often throws better with age. A reclaim habit cuts clay costs by a third or more. Every pottery session produces scraps: trimmings curling off a foot ring, a collapsed cylinder, slurry scraped from the splash pan, the pot that was never quite right. New potters throw a shocking percentage of their clay away, while experienced potters throw away almost none, because unfired clay is endlessly recyclable. The material only becomes permanent in the kiln; everything before that can return to the bucket. A reclaim habit cuts clay costs by a third or more and, just as usefully, removes the small guilt that makes beginners afraid to sacrifice practice pieces.
Let scraps dry out completely before recycling
The counterintuitive first rule of reclaim is: let scraps dry out completely before recycling them. Soft scraps and leather-hard chunks absorb water slowly and unevenly, producing lumpy sludge. Bone dry clay, by contrast, slakes: it dissolves eagerly and collapses into uniform slop within hours. So keep one container where all scraps go to dry, uncovered, broken into small pieces. Keep only one clay body per bucket; mixing bodies with different firing ranges creates a material you can never fully trust in someone else's kiln.
The slaking process itself is simple
The process itself is simple. Fill a bucket about halfway with dry scraps and add water until everything is submerged. Walk away for a day. The clay slakes into a soft mud with excess water on top. Pour or siphon off the standing water, stir the remainder into an even slurry, and you now face the real task of reclaim, which is not wetting clay but drying it back to working consistency. This is where most home setups succeed or stall.
Drying the slurry back to working consistency
The classic solution is a plaster bat or slab: pour slurry a few centimeters deep onto the plaster, and its absorbency pulls water out from below while air works from above. Flip the stiffening sheet occasionally, and in one to several days, depending on climate, the clay peels off ready for wedging. If you do not want to cast plaster, alternatives work nearly as well: spread slurry inside a fabric-lined basket, on a canvas-covered board, on an old plaster shelf, or hang it in a tightly woven pillowcase over a bucket, letting gravity and evaporation cooperate. Concrete garden slabs work in summer. The only real mistakes are non-absorbent surfaces, which trap the slurry wet for weeks, and forgetting the batch until it turns to stone, at which point it simply becomes dry scrap and rejoins the cycle.
Wedging turns reclaim into clay you'd actually throw
Once the sheet reaches soft working consistency, wedging turns reclaim into clay you would actually throw. Reclaimed clay starts as an uneven patchwork of wetter and drier zones, so it needs more wedging than bagged clay, either ram's head or spiral, until a wire cut shows a uniform face with no marbling. Many potters wedge reclaim fifty-fifty with fresh clay, which restores some of the fine-particle structure and plasticity that repeated recycling gradually washes out. If a reclaim batch feels short, meaning it cracks at the edges when bent, blending with fresh clay is the fix.
Store finished reclaim and build the loop into your rhythm
Store finished reclaim in doubled plastic bags or lidded buckets with a damp sponge, labeled with the clay body name. It keeps indefinitely, and most potters find aged reclaim throws better than it did originally, since thorough mixing and resting improve plasticity. Build the loop into your studio rhythm: a scrap bucket that everything enters, a slaking bucket working in the background, a drying slab, and a labeled bin of finished reclaim. Ten minutes of attention a week keeps the cycle turning, and the practice quietly changes how you work: clay stops being precious, experiments get bolder, and the wire tool gets used without hesitation.
Frequently asked questions
Should clay scraps be wet or dry before recycling? Completely dry. Bone dry clay slakes eagerly and collapses into uniform slop within hours, while soft or leather-hard scraps absorb water slowly and unevenly, producing lumpy sludge.
How do you dry clay slurry back to working consistency? Pour it a few centimeters deep onto a plaster bat, whose absorbency pulls water out from below while air works from above, flipping the stiffening sheet occasionally until it peels off ready for wedging.
Why does reclaimed clay need extra wedging? Reclaimed clay starts as an uneven patchwork of wetter and drier zones, so it needs more wedging than bagged clay until a wire cut shows a uniform face with no marbling.
Can you mix different clay bodies when reclaiming? No, keep only one clay body per bucket, since mixing bodies with different firing ranges creates a material you can never fully trust in a kiln.
Products from this article
The highest-scoring picks from the buying guides mentioned above. Scores are our editorial assessment, not customer ratings.
+ Plaster drying slab pulls water from reclaim or wet pieces
From our guide: Best Ware Boards for Moving and Drying Pots Safely
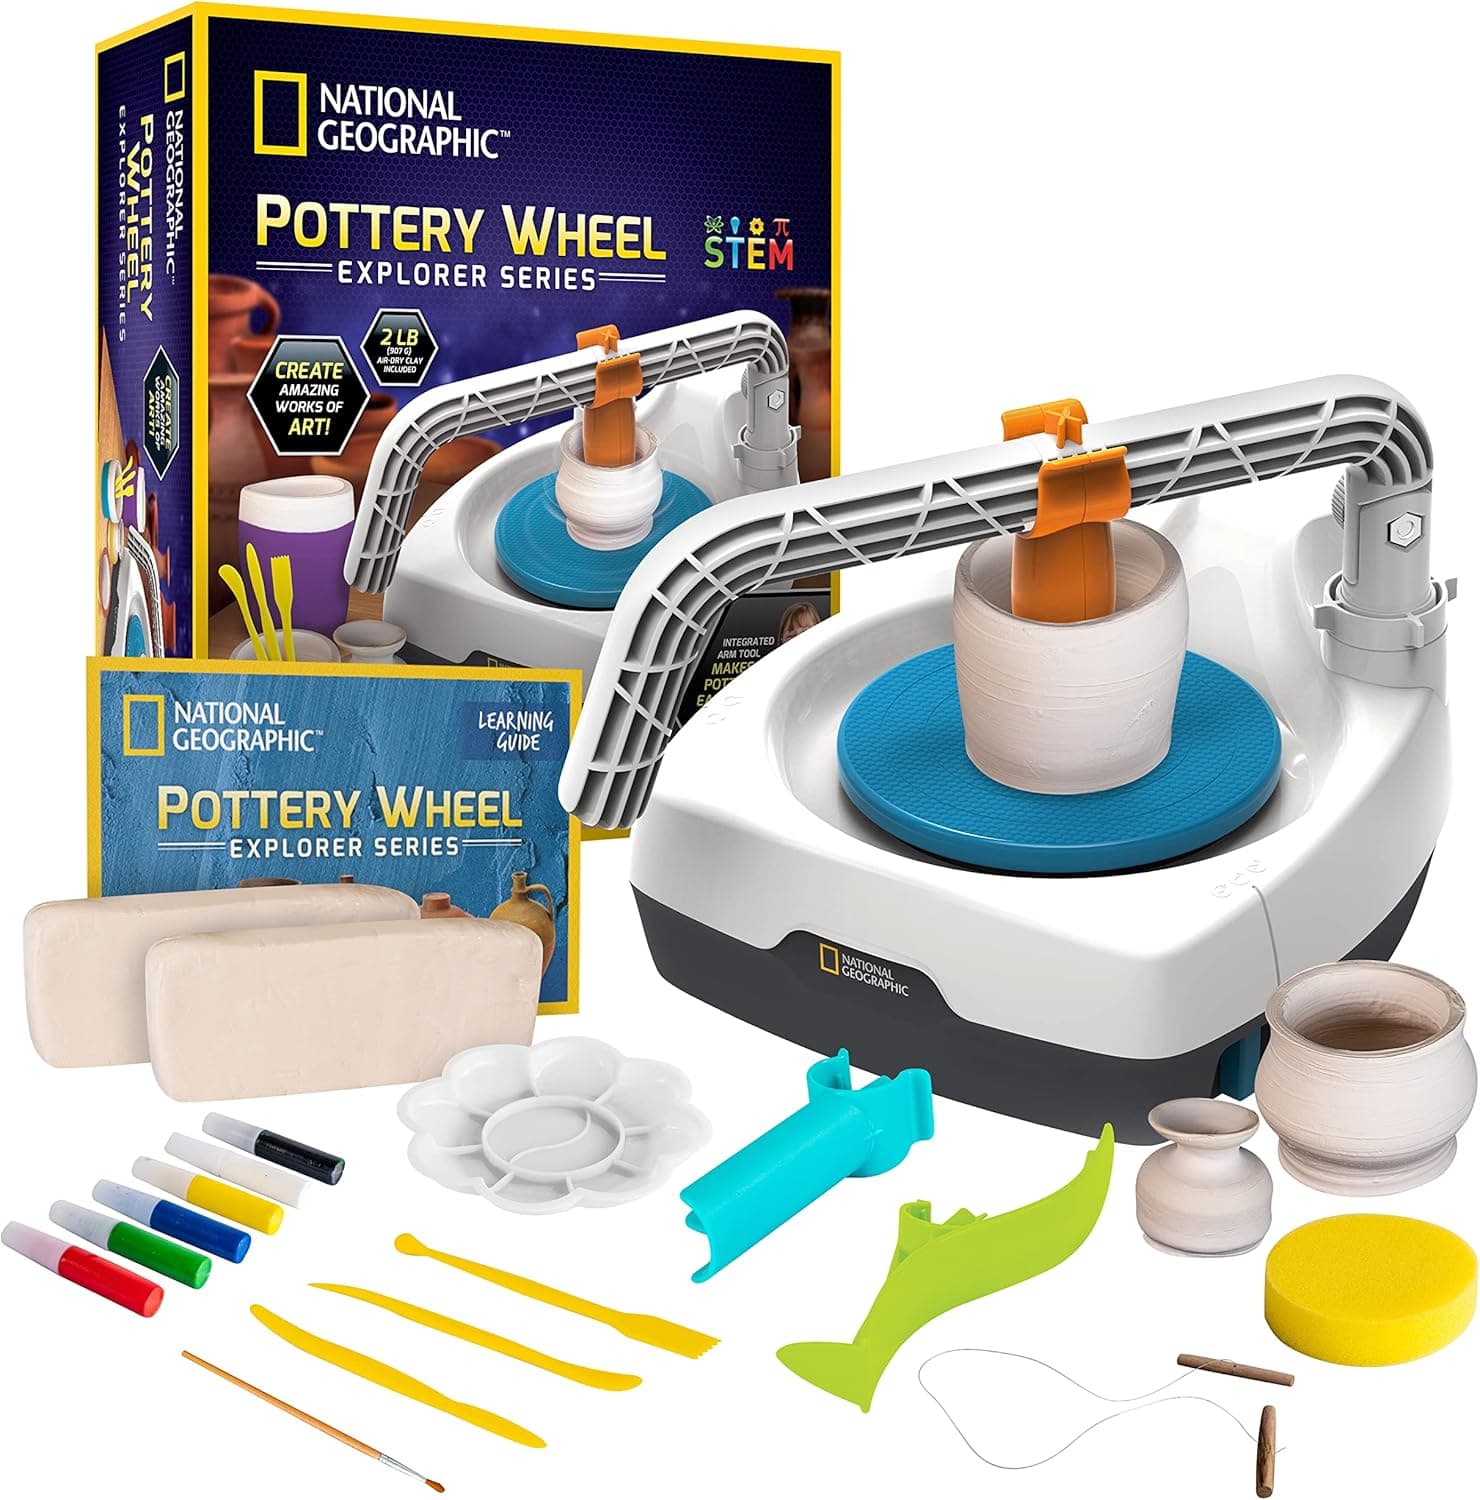
+ Sealant and paints mean projects are finished inside one box
From our guide: Best Pottery Gift Sets for Beginners and Potters You Love
+ Plug-in motor avoids the weak spin and battery swaps of cheaper kids wheels
From our guide: Best Pottery Wheels for Beginners
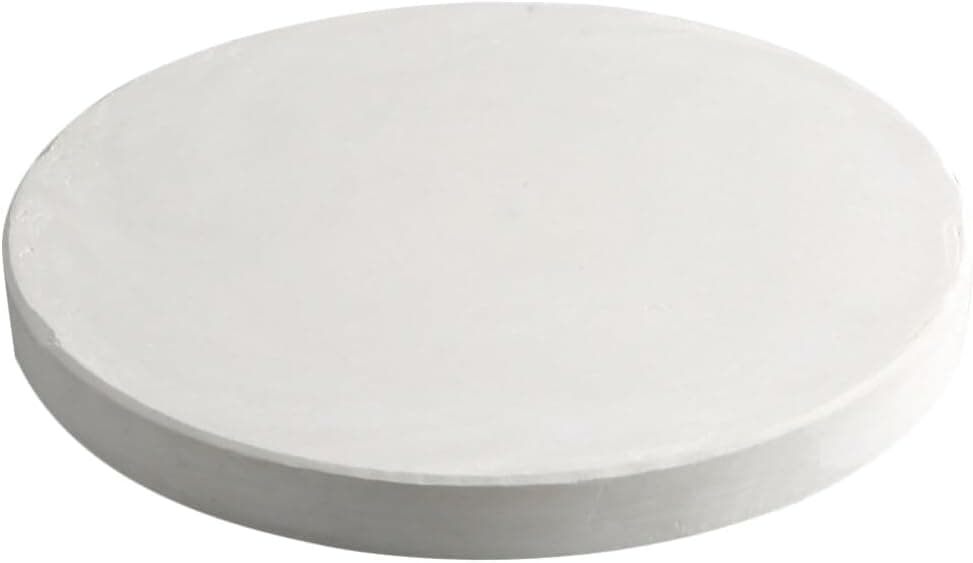
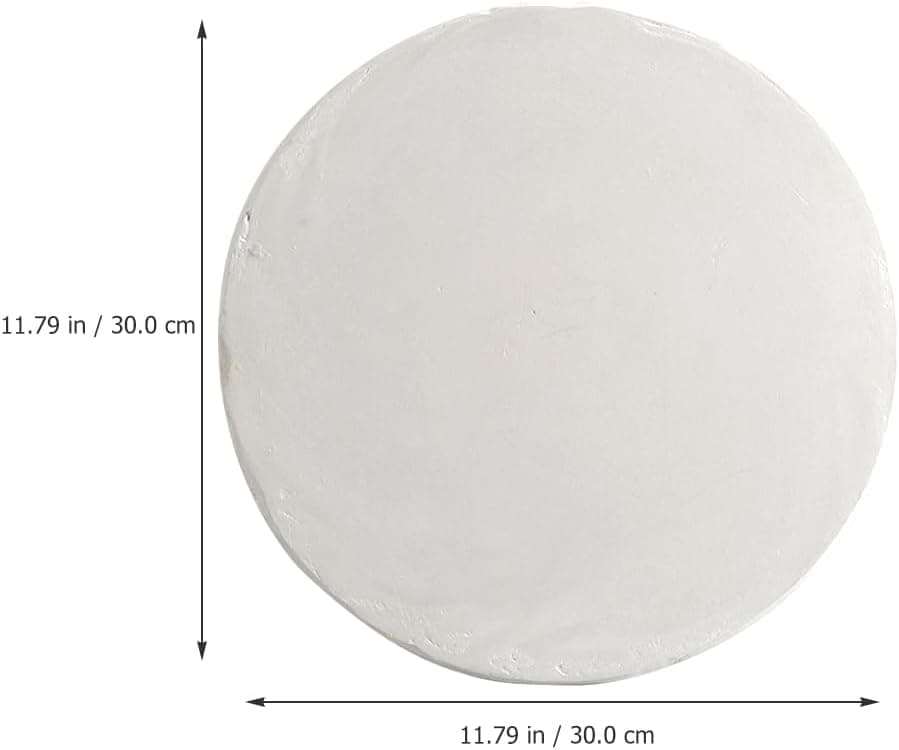
+ Usable as a drying board or plaster wheel bat
From our guide: Best Ware Boards for Moving and Drying Pots Safely

Popular right now
- Firing Schedules ExplainedArticle
- Best Small Kilns for Test Tiles, Jewelry, and Compact StudiosBuying guide
- Underglaze TechniquesArticle
- Bisque Firing vs Glaze FiringArticle
- Fixing Common Throwing Problems on the Pottery WheelArticle
- Caring for Pottery ToolsArticle
Based on the last 28 days of search and visitor data.