Underglaze Techniques
Published How we research
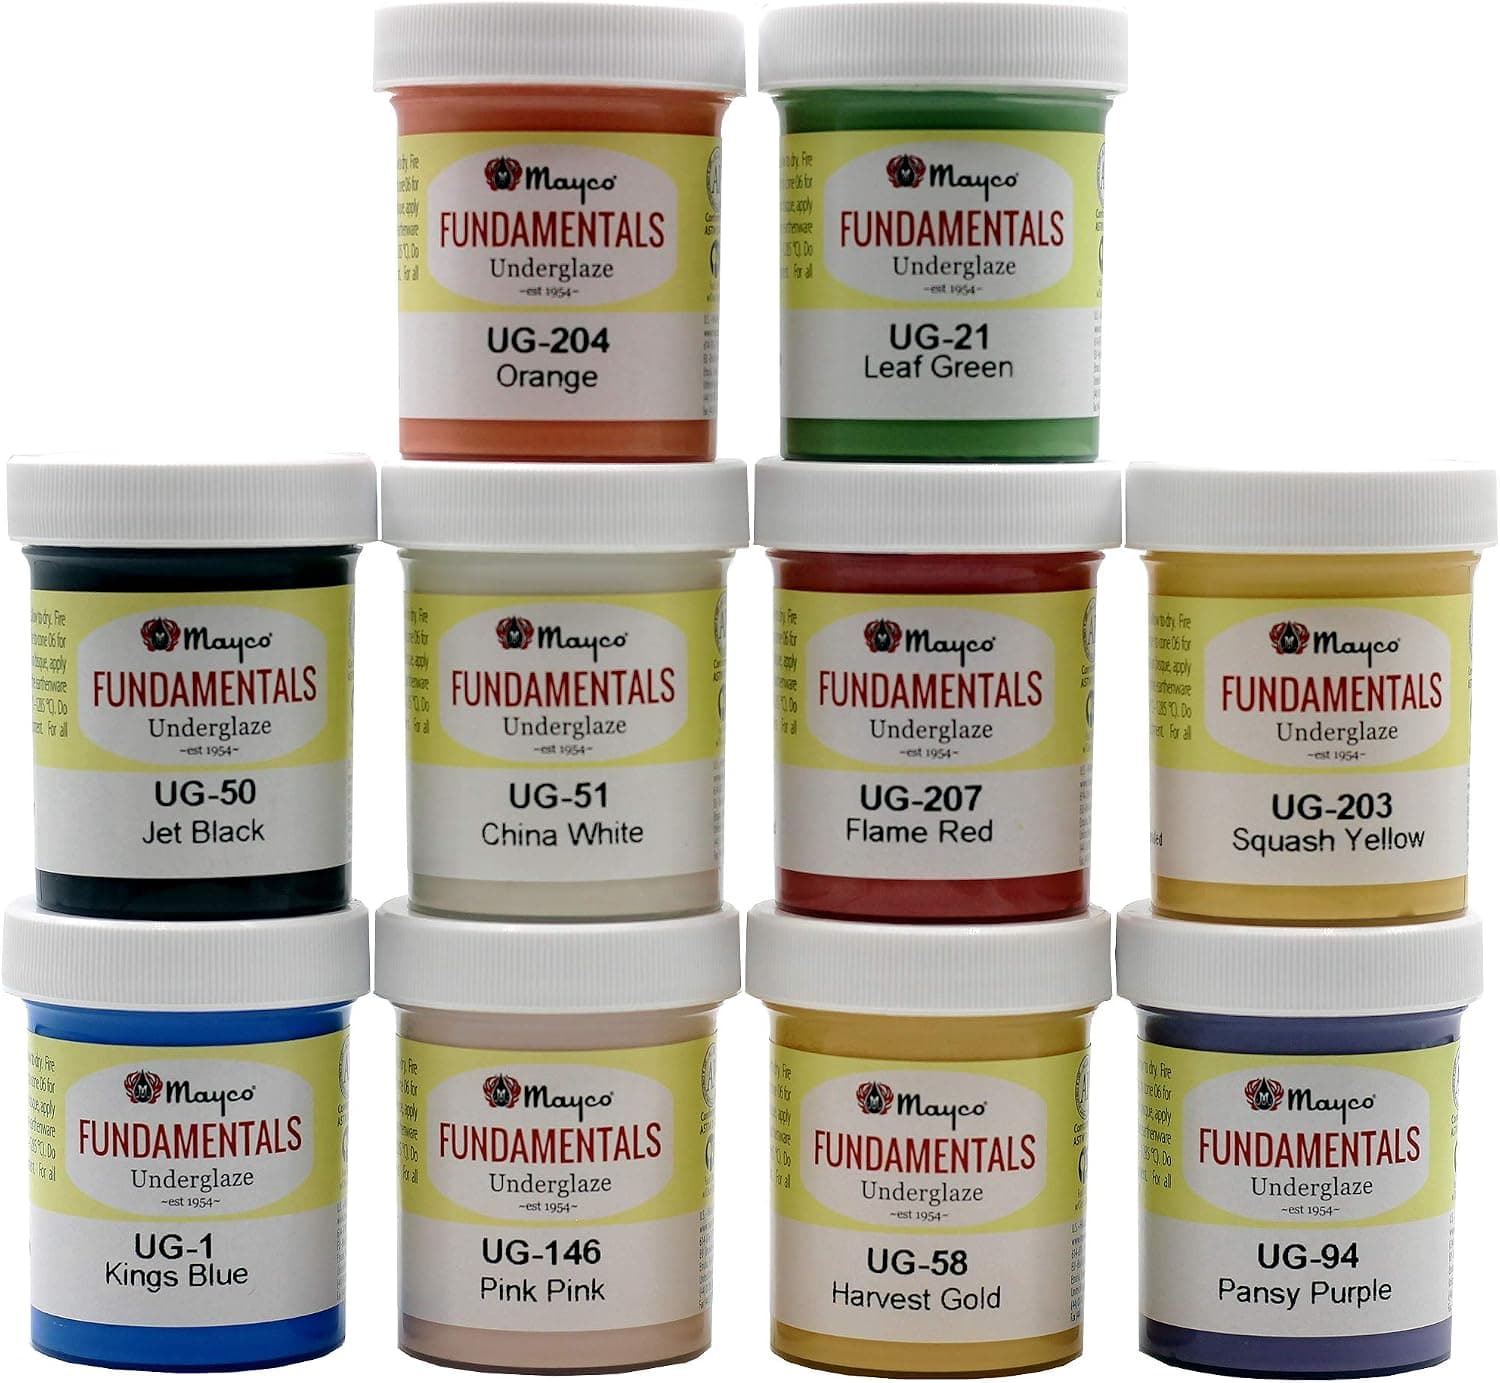
Underglaze is stains, clay, and a little flux formulated to stay exactly where you put it, so fine lines survive the firing as drawn, then get sealed under a clear glaze for gloss and food safety. Apply it to leather-hard clay (for carving), bone-dry greenware, or bisque (most forgiving for beginners), in two or three coats in alternating directions. It works with brushes, sponges, stamps, pencils, slip trailers, and stencils, and always test colour mixes because pinks and reds shift in the kiln. Underglaze is the most approachable route to color and imagery on pottery. Unlike glaze, which melts and moves in the kiln, underglaze is formulated to stay where you put it, behaving much like gouache or acrylic paint on clay. It contains clay, stains, and just enough flux to bond to the surface without flowing. That stability is why intricate illustrated ceramics are almost always underglaze work: fine lines survive the firing exactly as drawn, then get sealed under a transparent glaze that provides gloss and food safety.
When to apply underglaze
The first thing to understand is when to apply it, because underglaze is unusually flexible about timing. It can go onto bone dry greenware, onto leather hard clay, or onto bisqueware, and each stage has a distinct character. Application on leather hard clay allows carving through layers and gentle burnishing. Bone dry application is convenient but the fragile ware demands careful handling. Bisque application is the most forgiving for beginners because the pot is sturdy and mistakes sponge off cleanly without damaging the surface. Whichever stage you choose, most colors need two or three coats for full opacity, applied in alternating directions to avoid streaks.
Brushwork on absorbent clay
Brushwork is the foundational technique, and the main adjustment from paper painting is absorbency: dry clay pulls water from the brush instantly, so loaded strokes and decisive movement work better than slow, careful dragging. Thin underglaze with water for washes and watercolor effects, or use it straight for flat, opaque fields. Colors can be blended wet, layered dry, and mixed on a palette like paint, though always test mixes, because some pigments shift dramatically in the kiln. Pinks, purples, and some reds are the usual suspects, while blues and blacks are famously reliable.
Sgraffito and mishima
Sgraffito is the technique underglaze seems born for: coat leather hard clay with two or three layers of a dark underglaze, then carve your design through to reveal the clay beneath. The contrast between coating and body produces crisp graphic work with nothing but a cheap carving tool. The related technique of mishima runs the other way: incise lines into leather hard clay, flood underglaze into the grooves, then scrape the surface back so color remains only in the recessed lines, producing fine inlaid drawing.
Beyond the brush: stamps, pencils, transfers
Beyond the brush, underglaze adapts to almost any mark-making method. Sponges and stamps print repeating patterns. Underglaze pencils and crayons draw directly on bisque for sketchy, illustrative lines. Slip trailers and fine-tip applicators lay down raised dots and lines. Water-slide underglaze transfers let you print a design once and apply it to many pots. Masking with paper stencils, latex, or vinyl produces hard-edged geometry that brushwork cannot match. Because underglaze stays put, all of these survive firing with their character intact.
The clear coat that seals it
The final step is the clear coat, and it deserves as much care as the decoration. Fire underglazed bisqueware once more or glaze directly, but either way, brush or dip a transparent glaze over the work to seal it, especially on functional ware where bare underglaze would remain matte, rough, and stainable. Apply clear glaze in thin, even coats; heavy clear can cloud over decoration or pull pigment into slight blurring. Some underglazes shift color under different clears, zinc-bearing ones especially, so run a test tile with your exact combination. Once you trust your materials, underglaze becomes the closest thing ceramics offers to a full illustrator's toolkit.
Frequently asked questions
What is the difference between underglaze and glaze? Glaze melts and moves in the kiln; underglaze contains just enough flux to bond without flowing, so it stays where you paint it, behaving like gouache on clay. That is why illustrated ceramics are almost always underglaze work.
When should I apply underglaze? It can go on leather-hard clay, bone-dry greenware, or bisque. Bisque is the most forgiving for beginners because the pot is sturdy and mistakes sponge off cleanly.
Do I need a clear glaze over underglaze? On functional ware, yes: bare underglaze stays matte, rough, and stainable. Brush or dip a transparent glaze in thin even coats to seal it.
Why did my underglaze colour change in the kiln? Some pigments shift dramatically at temperature, pinks, purples, and some reds especially, while blues and blacks are reliable. Always fire a test tile with your exact underglaze and clear combination.
Products from this article
The highest-scoring picks from the buying guides mentioned above. Scores are our editorial assessment, not customer ratings.
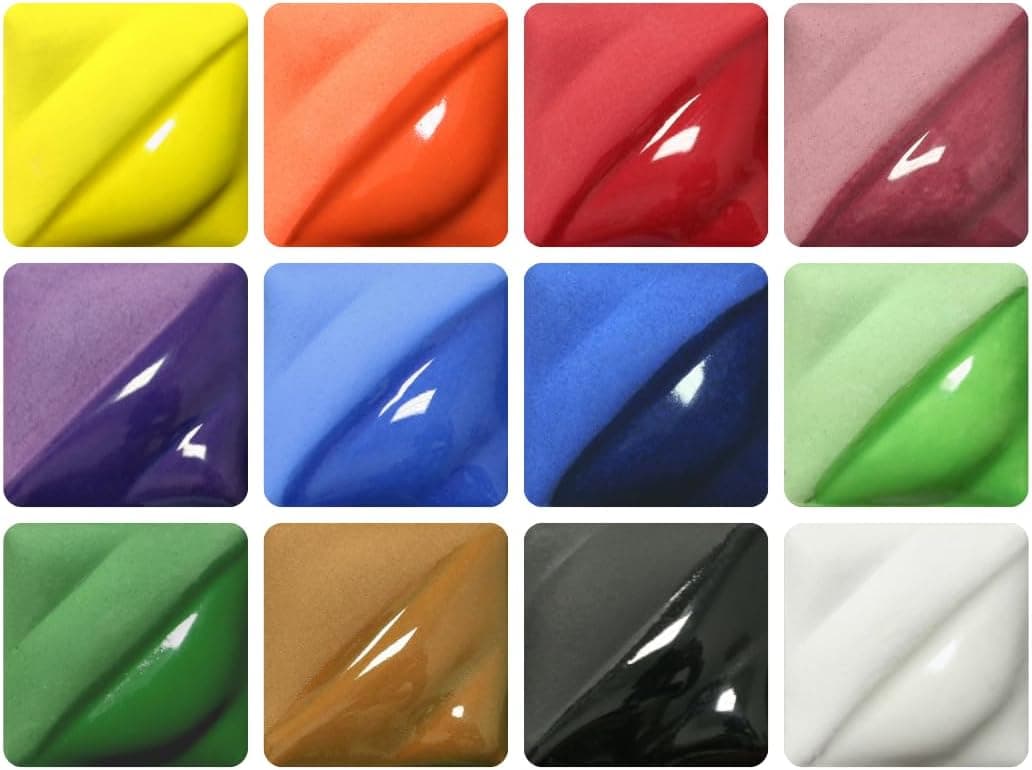
+ Velvet underglazes are a studio standard for reliable, even color
From our guide: Best Underglazes: Vivid, Stable Color for Every Firing Range
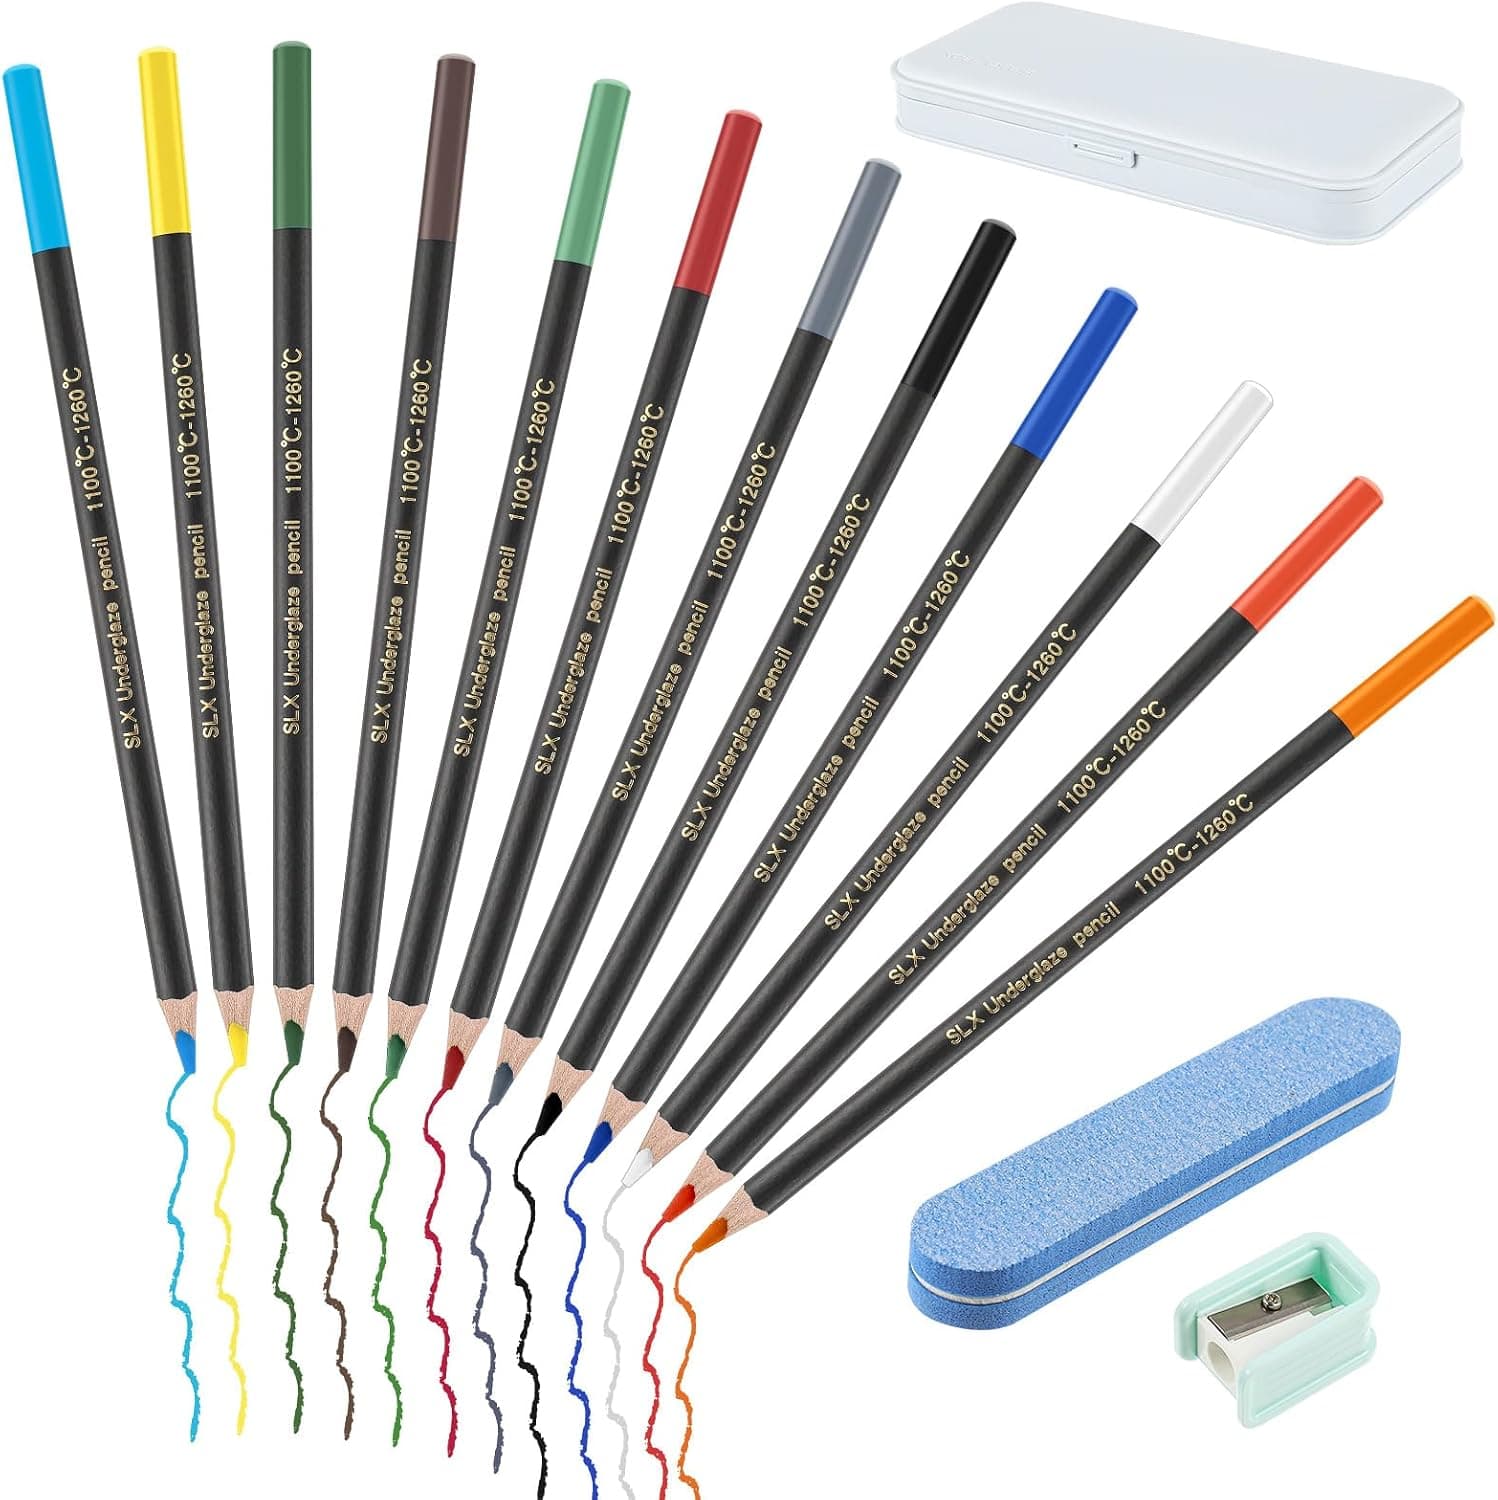
+ Sharpener and eraser included for clean, precise detail work
From our guide: Best Underglaze Pencils: Draw Fine Ceramic Detail on Bisque
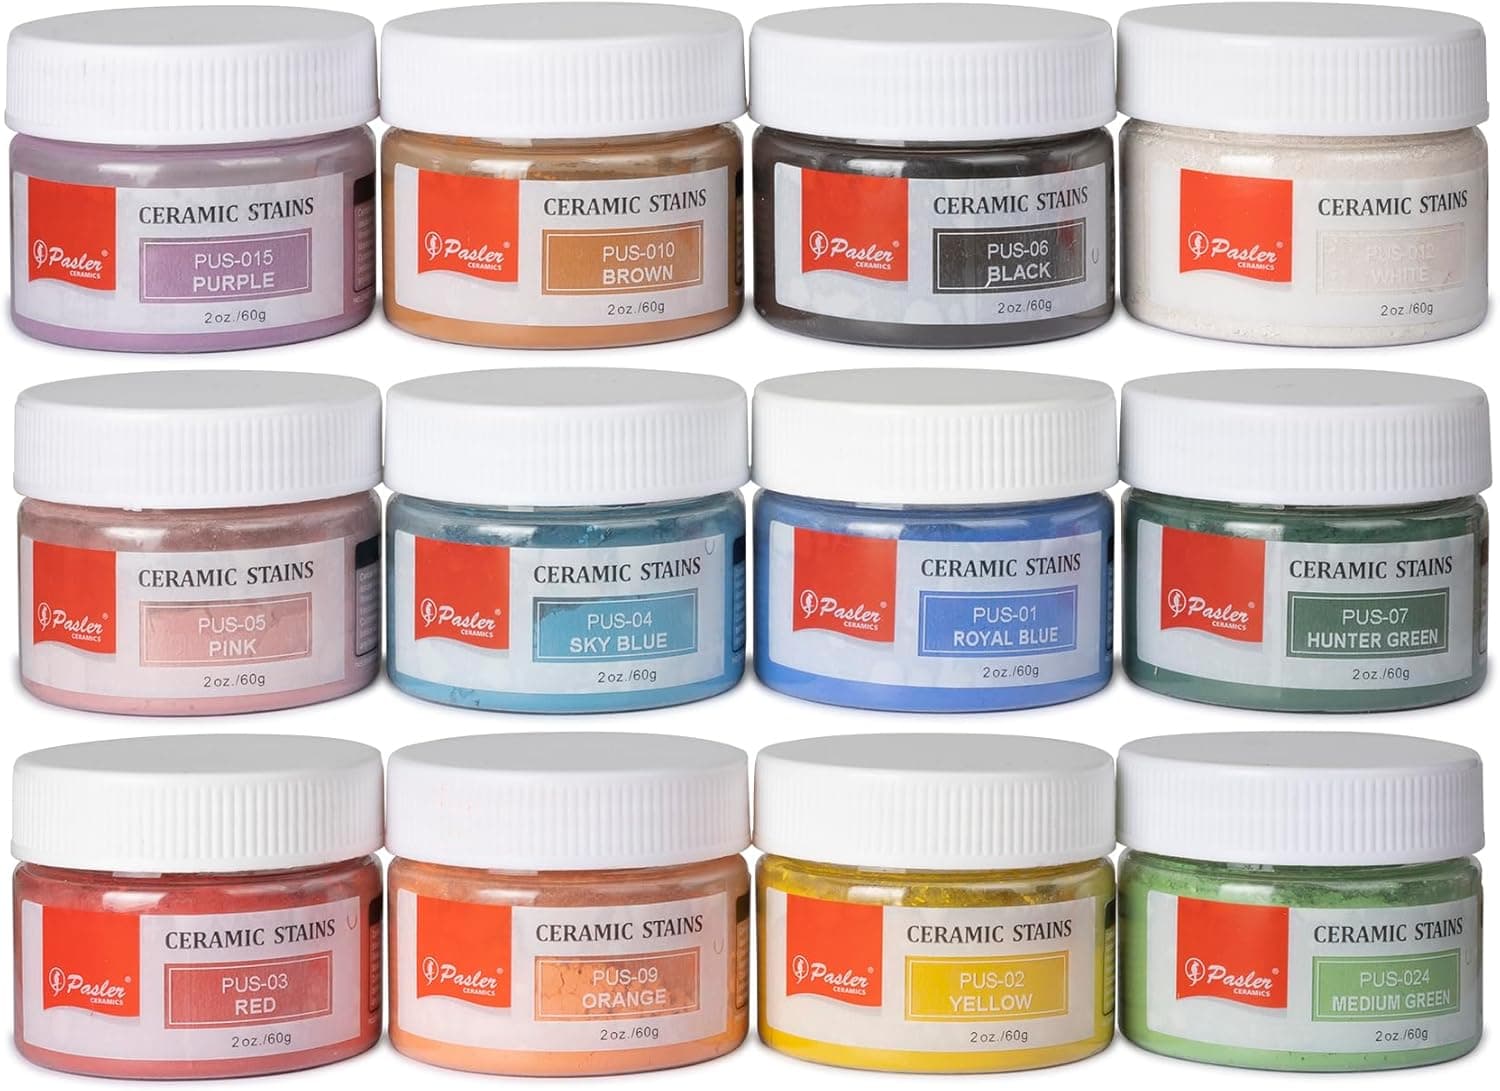
+ 60g of each color is enough for real batches, not just tests
From our guide: Best Ceramic Stains: Mason Stains and Colorants for Custom Hues
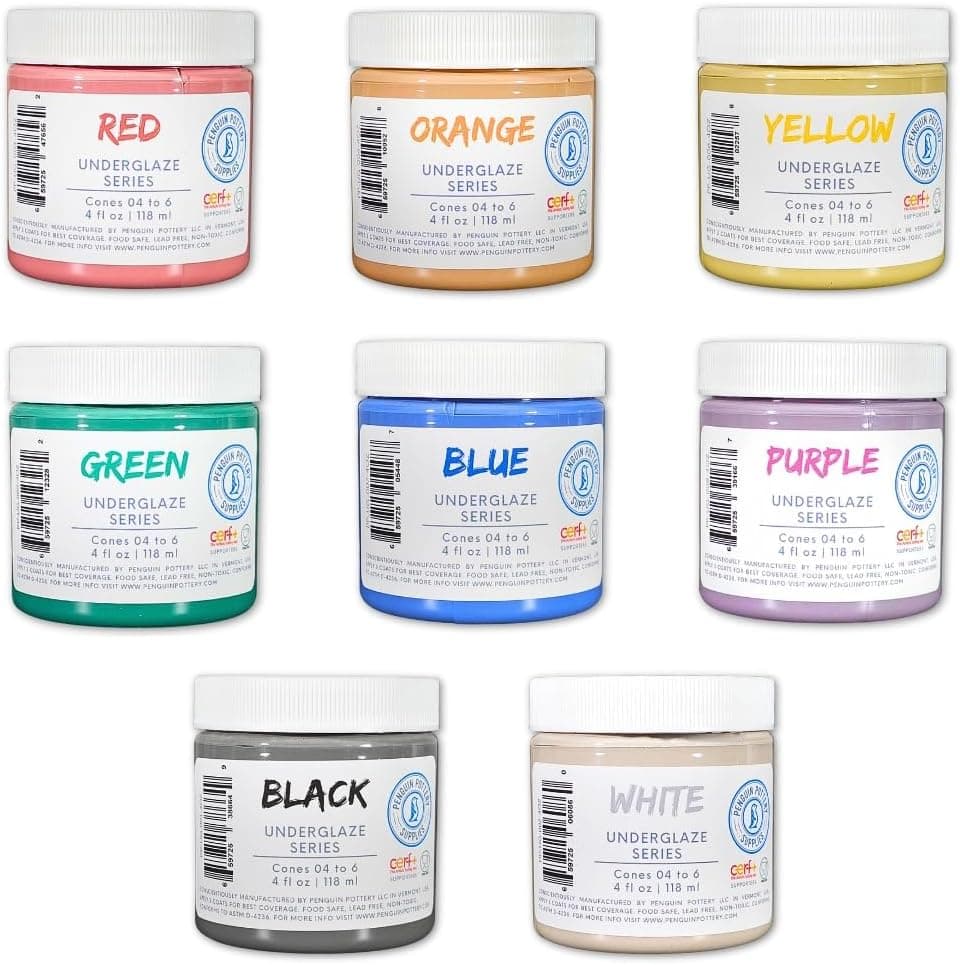
+ Cone 04 to Cone 6 rating works for both low and mid fire potters
From our guide: Best Underglazes: Vivid, Stable Color for Every Firing Range
Popular right now
- Firing Schedules ExplainedArticle
- Best Small Kilns for Test Tiles, Jewelry, and Compact StudiosBuying guide
- Bisque Firing vs Glaze FiringArticle
- Fixing Common Throwing Problems on the Pottery WheelArticle
- Caring for Pottery ToolsArticle
- Best Glaze Brushes: Soft, High-Capacity Brushes for Even CoatsBuying guide
Based on the last 28 days of search and visitor data.