How to Dip Glaze Pottery for an Even Coat
Published How we research
Dipping is the quickest way to glaze a pot and, done well, the most even. The whole piece goes into a bucket of glaze, comes out a few seconds later, and the porous bisque pulls water out of the glaze so a uniform layer sets on the surface almost at once. Most problems with dipping come from three things: glaze that is too thick or too thin, a dip that is too long, and fingers that leave bare patches. This guide walks through preparing the glaze, the dip itself, and the cleanup that keeps pots from sticking to the kiln shelf.
Prepare the bisque before you open the bucket
Glaze sticks to clean, dust-free bisque. Wipe each piece with a barely damp sponge to lift dust from sanding or storage, then let it dry for a few minutes. Avoid handling the pot with oily or lotioned hands, because oil on the surface is one of the common causes of glaze crawling in the firing.
Decide now how you will keep glaze off the foot. Any glaze left where the pot touches the kiln shelf will fuse the two together. You can wax the foot ring before dipping so glaze beads off it, or dip first and sponge the foot clean afterwards. Waxing takes a few minutes of drying time but saves a lot of wiping when you are glazing a whole batch.
Mix the glaze and check its thickness
Glaze settles into a hard layer at the bottom of the bucket, so stir until nothing is left on the base and the liquid is the same all the way through. A drill mixer is faster than a stick for large buckets. If the glaze has been sitting for weeks, pour it through a sieve to break up lumps that would otherwise show as bumps on the pot.
Thickness matters more than anything else in dipping. As a starting point, most dipping glazes work at about the consistency of heavy cream. A quick check is to dip a clean finger: the glaze should coat it evenly and you should just be able to see the outline of your fingernail through it. If it runs off like milk, let it settle and pour off some water. If it clings like yogurt, add water a little at a time and stir again.
For repeatable results, potters measure specific gravity with a hydrometer or by weighing a known volume of glaze. Follow the figure the glaze maker gives where there is one, and write down what worked so the next bucket matches.
Hold the pot with tongs, not fingertips
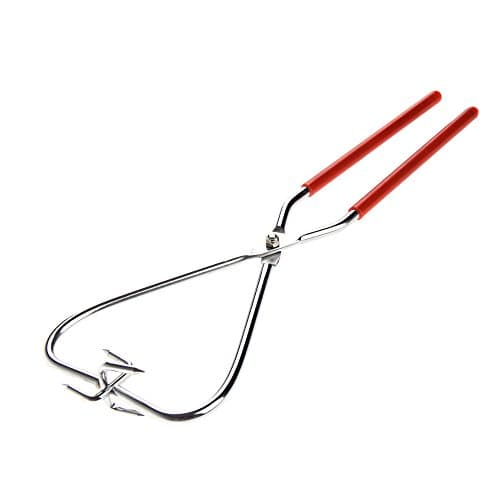
Wherever your fingers touch, the glaze cannot reach, and each fingerprint has to be dabbed over later. Dipping tongs grip the pot at two or three small points, so the glaze flows around them and leaves only tiny marks. They also keep your hand out of the bucket and make it much harder to drop a slippery bowl.
Grip the piece firmly across the rim and foot, or across the widest stable part of the form, and check that it does not twist before you lower it. For cups and other small pieces, fingertip glaze clamps give finer control than long tongs.
The dip: in, a slow count of three, out
Lower the pot into the glaze at an angle so air can escape from the inside instead of being trapped as a bubble. Once it is fully under, hold it for about three seconds. That is long enough for bisque to build a normal layer with most glazes. Thin or very porous bisque takes up glaze faster, and dense bisque fired hotter takes it up more slowly, so adjust by a second either way after you see the result.
Lift the pot out in one smooth motion, tip it so glaze drains from the inside, and give it a small shake or twist to throw off the last drips. Hold it for a few more seconds until the wet shine disappears. At that point the coat is set enough to put the pot down on a clean board without smearing.
Fix tong marks, drips and bare spots
Tong marks are small dots of bare bisque. Touch each one with a fingertip or a soft brush loaded with the same glaze. Do it while the glaze is freshly dry so the patch blends in rather than standing proud.
Drips and runs form where glaze collected as the pot drained. Let them dry completely, then shave them level with a metal rib or a fettling knife and rub the area smooth with a dry finger. Trying to wipe a wet drip only drags glaze off the pot and leaves a thin spot.
If a coat went on far too thick and is cracking as it dries, it is better to wash the whole pot off, let the bisque dry overnight, and dip again. A thick, cracked layer tends to crawl or run in the kiln.
Clean the foot and let the pot dry
If you waxed the foot, a quick wipe with a damp sponge removes the beads of glaze sitting on the wax. If you did not, sponge the foot ring and about two or three millimetres up the wall until no glaze is left where the pot will touch the shelf. Rinse the sponge often so you are removing glaze and not spreading it.
Let dipped pots dry fully before loading the kiln. Damp glaze is fragile and marks easily when handled, and trapped moisture can cause problems early in the firing. Overnight on a rack in a dry room is usually enough.
Frequently asked questions
How long should you hold a pot in the glaze? About three seconds is the usual starting point for normal bisque. Shorten the dip for thin or very porous pieces and lengthen it slightly for dense bisque, then judge by the fired result.
Can you double dip? Yes, and it is how many layered effects are made. Let the first coat lose its shine before the second dip, keep the second dip short, and remember the overlap will be thicker and more likely to run, so keep it away from the foot.
Why did my glaze come out patchy? The usual causes are glaze that was not fully stirred, dust or oil on the bisque, or a coat that was too thin. Stir to the bottom of the bucket, wipe the pot first, and check the thickness before the next batch.
Products from this article
The highest-scoring picks from the buying guides mentioned above. Scores are our editorial assessment, not customer ratings.
+ Opposing forked prongs give a balanced grip on bowls and plates, so pieces are less likely to twist loose
From our guide: Best Glaze Dipping Tongs for Clean, Fingerprint-Free Glazing
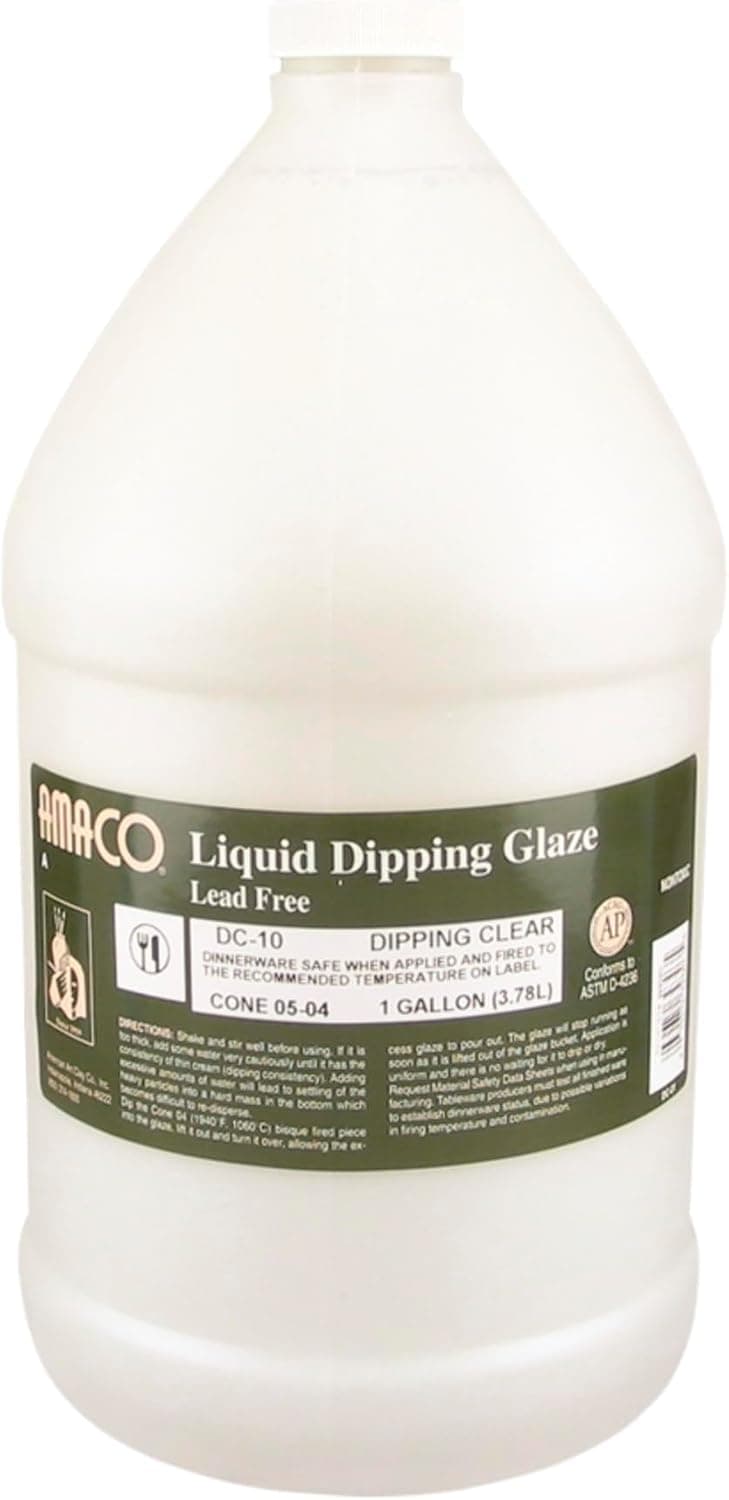
+ Dipping formula coats pieces evenly in seconds
From our guide: Best Dipping Glazes: Fast, Even Coverage for Batch Glazing
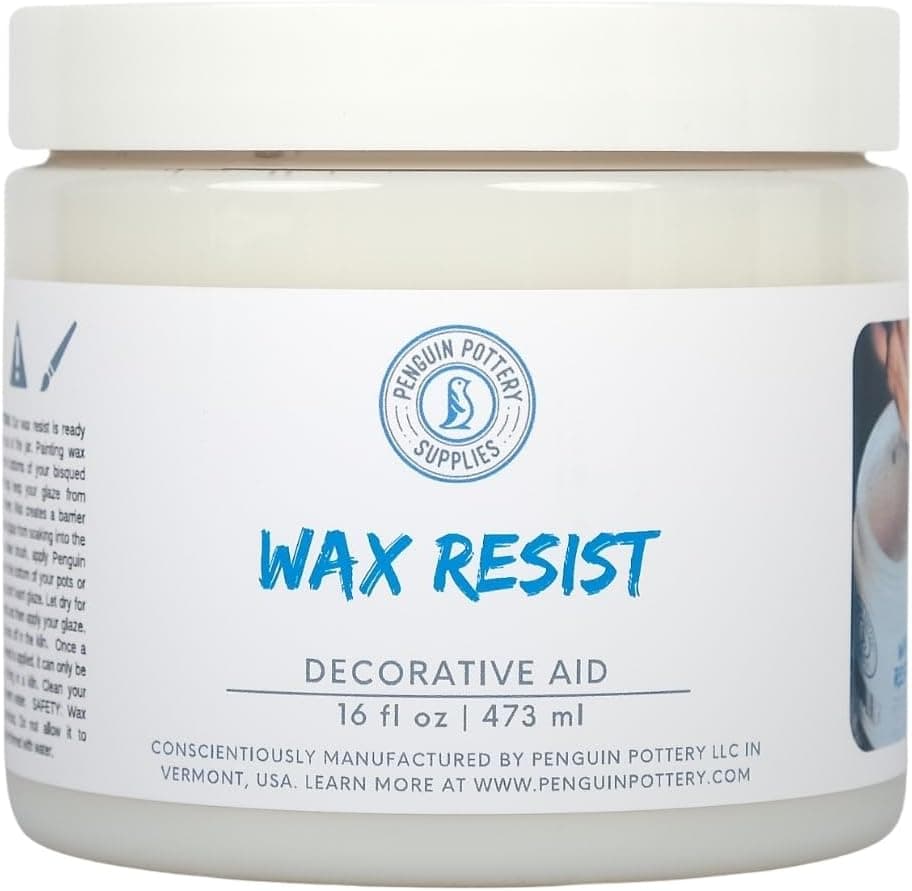
+ Pint size is economical for waxing bases on a full kiln load
From our guide: Best Wax Resist for Pottery: Clean Lines and Dry Feet Every Time
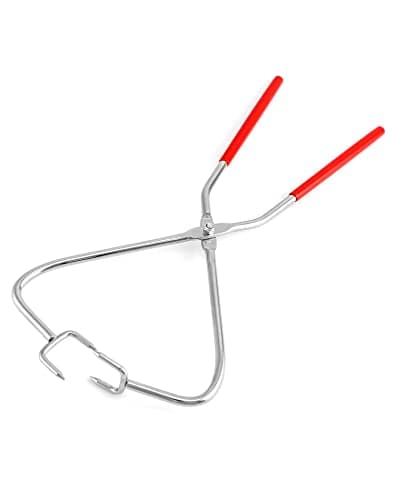
+ Lowest price in this guide for a full-size pair of stainless tongs
From our guide: Best Glaze Dipping Tongs for Clean, Fingerprint-Free Glazing
Popular right now
- Underglaze TechniquesArticle
- Why Glaze Crazes and How to Prevent ItArticle
- Best Clay Storage Containers to Keep Clay Workable for MonthsBuying guide
- Recycling ClayArticle
- Fixing Common Throwing Problems on the Pottery WheelArticle
- Best Ware Boards for Moving and Drying Pots SafelyBuying guide
Based on the last 28 days of search and visitor data.