Fixing Common Throwing Problems on the Pottery Wheel
Published How we research
The classic wheel-throwing failures have classic causes. A wobble halfway up the wall means the clay was not fully centred or was opened off-axis. Torn rims come from too little water, catching jewellery, or uneven pulls, and should be compressed after every pull. Collapse means the walls were thinned too far or overworked with too many wet pulls. S-cracks come from an uncompressed floor. And clustered failures in one session usually mean the clay itself was too soft, too hard, or full of air. Every thrower fails in the same handful of ways, which is genuinely good news: the classic problems have classic causes and classic fixes. Learning to read what the clay is telling you converts each collapsed cylinder from a defeat into a diagnosis. The habit that accelerates progress most is pausing for ten seconds after each failure to name what actually happened before wedging the clay back up.
The wobble that appears halfway up
The wobble that appears halfway up a wall almost always traces back to the first minute at the wheel. Clay that was nearly centered, but not quite, hides its wobble while thick, then reveals it as walls thin. The fix is upstream discipline: use the fingertip test on the spinning mound, and do not open clay you would not certify as still. A related culprit is opening off-axis, where centered clay is opened with a drifting thumb, leaving one wall thicker than the other. Brace the opening hand against the other hand or against your body so the movement is anchored, and the hole stays concentric.
Torn and ragged rims
Torn or ragged rims come from three habits: too little water at the point of contact, jewelry or rough calluses catching the clay, and pulling the wall to unevenness so the rim runs thick-thin-thick. Compress the rim after every single pull with light downward pressure through a chamois or folded plastic strip. If a rim tears anyway, cut it off cleanly with a needle tool while the wheel spins and continue with a shorter pot. Shorter and finished beats taller and ruined, and needle-trimming rims is a skill worth practicing on purpose.
Collapse during pulling
Collapse during pulling is nearly always one of two things: walls thinned beyond what the clay's moisture can support, or overworking, meaning too many pulls that saturate the wall with water. Clay weakens with every wet pass, which is why experienced throwers finish in three or four pulls and beginners drown pots in ten. Use firmer clay, use fewer and more committed pulls, remove standing water from inside the base with a sponge on a stick as you go, and stop touching the pot while it still looks slightly thick. Practice deliberately: throw cylinders and cut them in half with a wire to inspect the wall. The cross-section tells you exactly where you thin too early or leave a heavy base.
The s-crack and the uncompressed floor
The s-crack, a curved crack in the bottom that appears during drying or firing, is the most delayed and therefore most mysterious failure. Its cause lives back at the wheel: an uncompressed floor. When opening, press the base firmly with fingertips or a sponge and run two or three compressing passes across the floor before pulling walls. Excess water left pooled in the bottom makes it worse, as does wiring the pot off and leaving it to dry on a non-absorbent surface where the base dries last. Compress the floor, sponge out water, and dry pots upside down once leather hard, and s-cracks essentially disappear.
Respect the state of your clay
Finally, respect the state of your clay before blaming your hands. Clay that is too soft collapses regardless of technique; clay that is too hard exhausts your arms and fights centering; clay with air pockets thumps and throws unevenly. If several failures cluster in one session, wedge a fresh ball properly and throw one simple cylinder as a test. Often the diagnosis is simply that the material was wrong, and the fastest fix for your throwing is ten minutes at the wedging table. Failures are tuition either way; make sure you collect the lesson you paid for.
Frequently asked questions
Why does my pot wobble halfway up the wall? The clay was nearly but not quite centred, which hides while the walls are thick and reveals as they thin, or you opened off-axis. Use the fingertip test on the mound and brace the opening hand.
How do I stop my rims from tearing? Keep enough water at the point of contact, remove rings and file rough calluses, pull the walls evenly, and compress the rim after every single pull through a chamois or folded plastic.
What causes s-cracks in pottery? An uncompressed floor. When opening, run two or three firm compressing passes across the base before pulling walls, sponge out pooled water, and dry the pot upside down once leather hard.
Why does my pot collapse when I pull the walls? The walls were thinned beyond what the clay's moisture supports, or overworked with too many wet pulls. Use firmer clay, finish in three or four committed pulls, and sponge standing water from the base.
Products from this article
The highest-scoring picks from the buying guides mentioned above. Scores are our editorial assessment, not customer ratings.
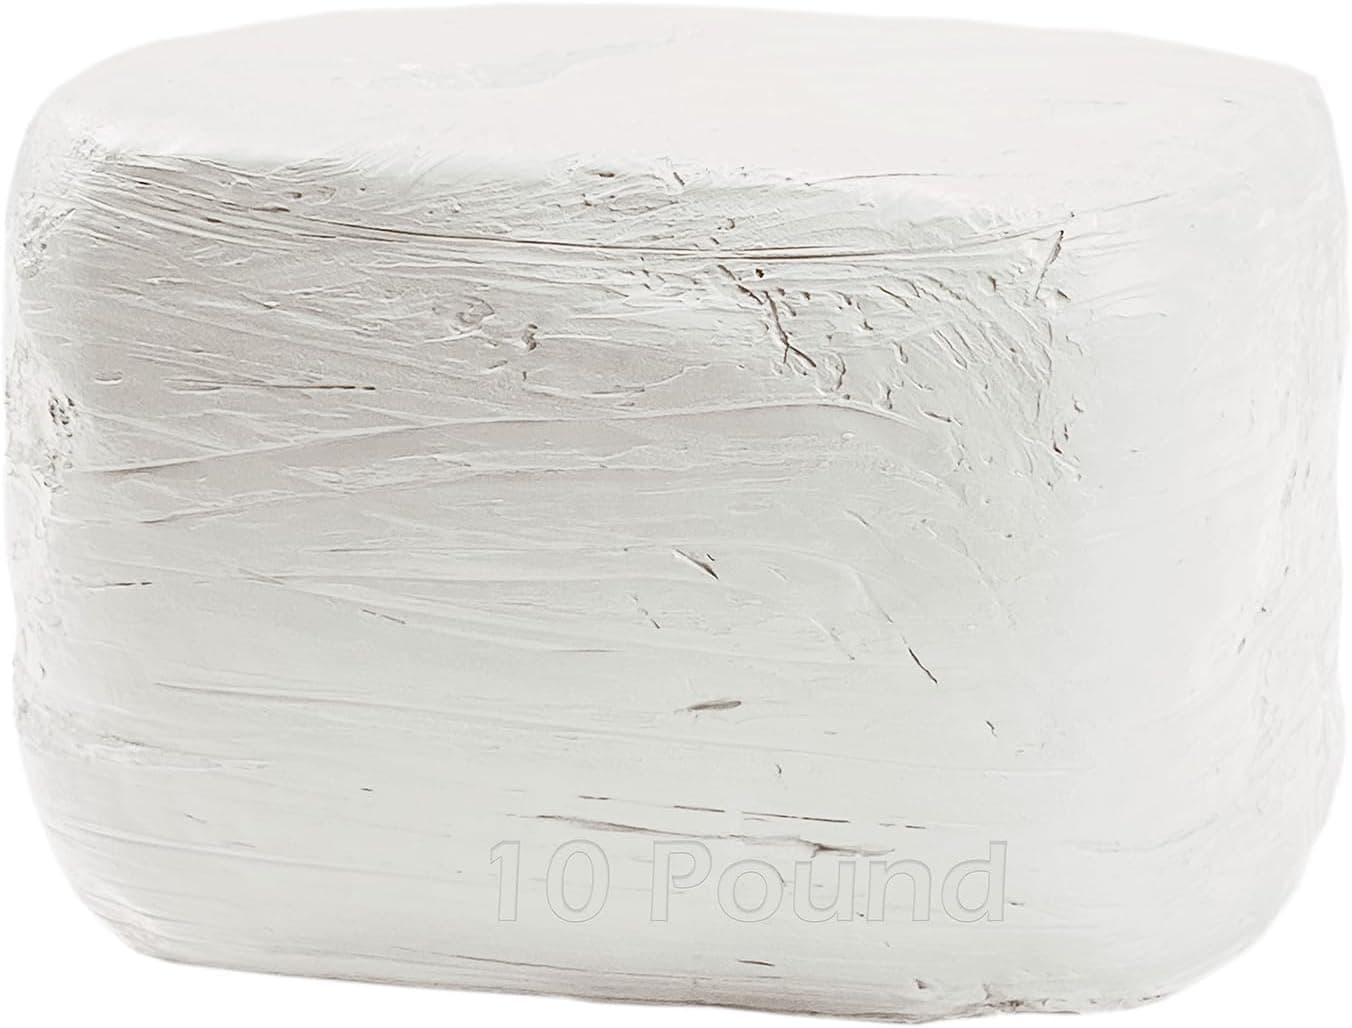
+ 10lbs block is generous for larger sculptures and practice pieces
From our guide: Best Clay for Pottery Without a Kiln
+ 24 Pcs needles in various sizes cover hairline to bold slip lines
From our guide: Best Clay Slip and Magic Water
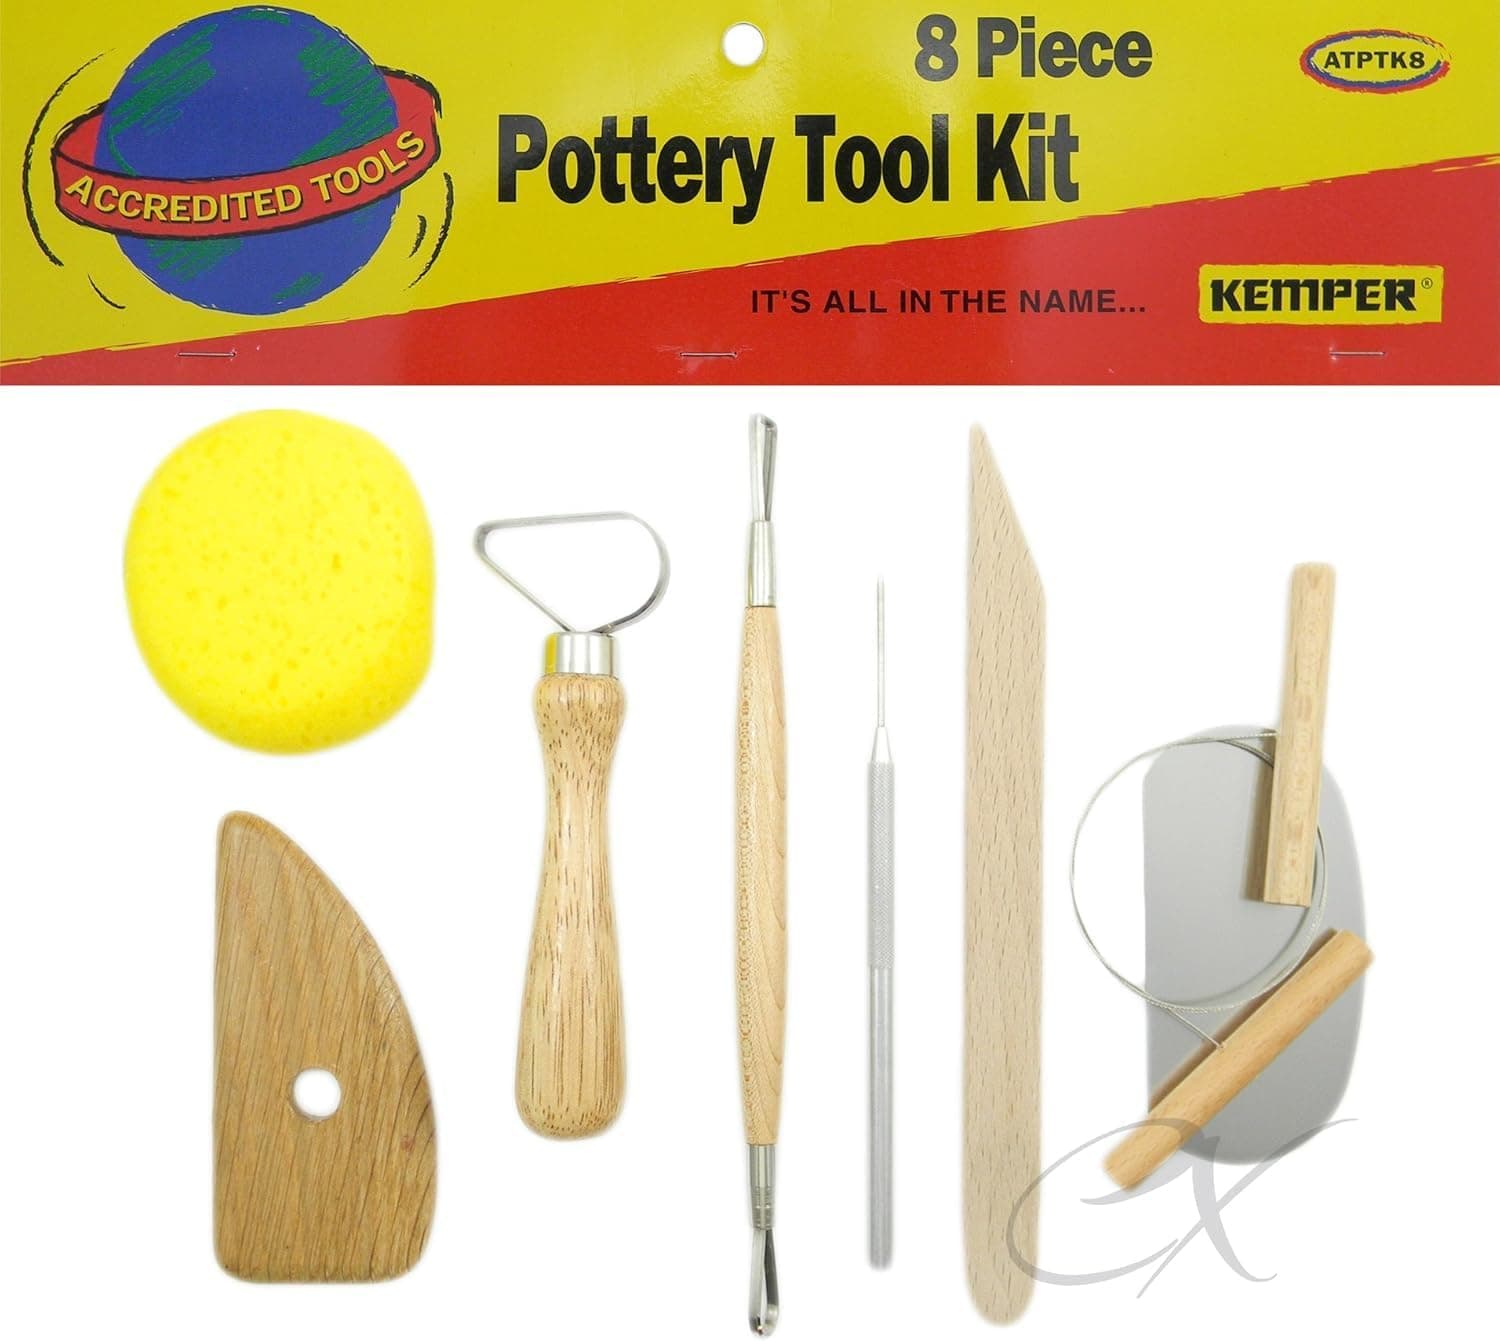
+ Kemper is a trusted name for pottery tools found in many studios
From our guide: Best Pottery Tool Kits
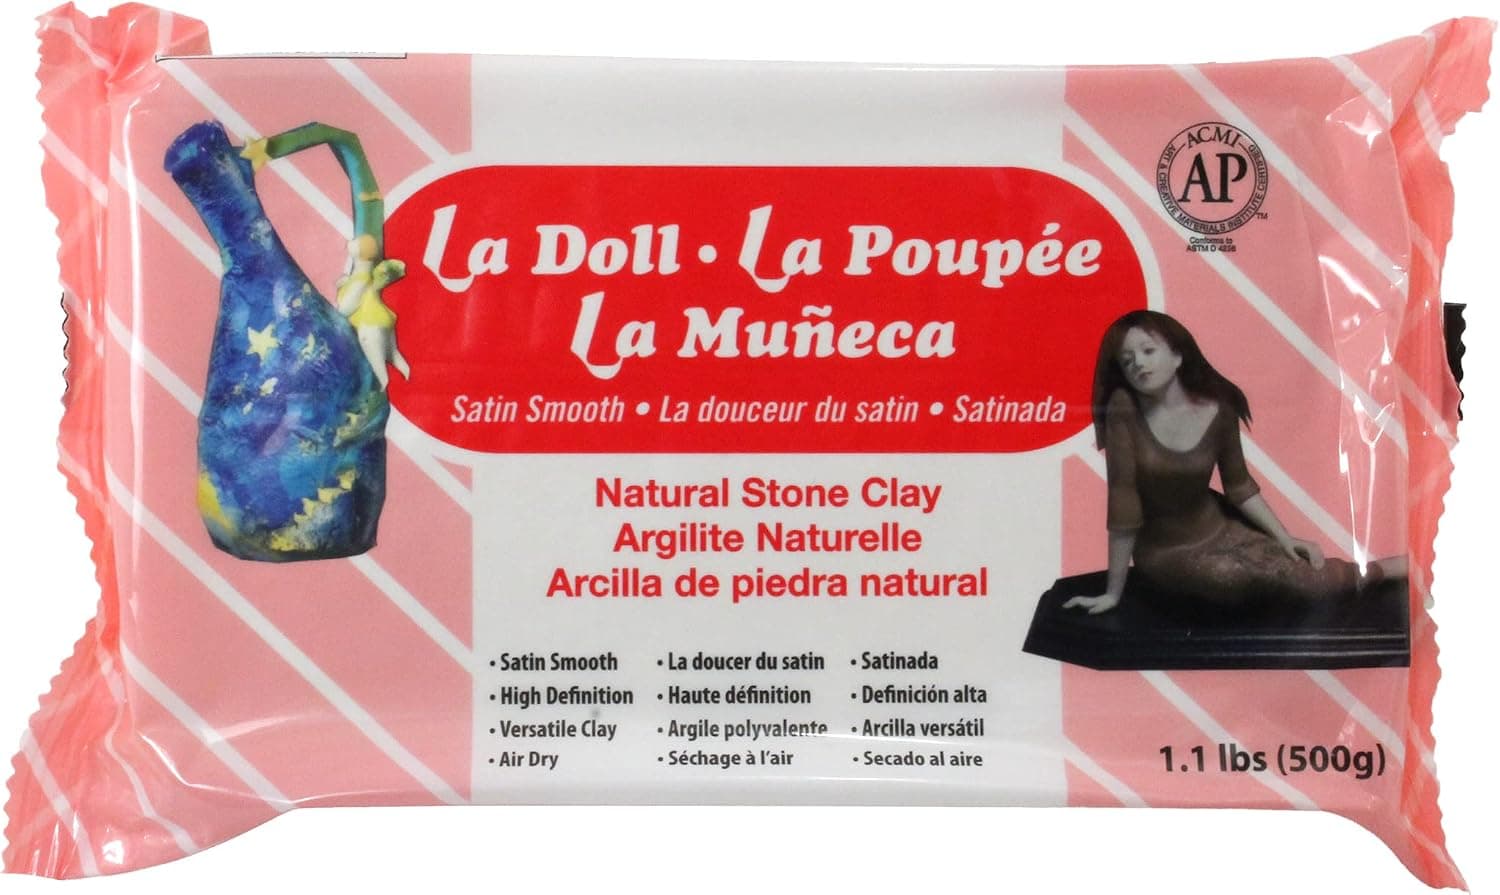
+ Satin smooth finish reduces sanding for dolls and figurines
From our guide: Best Clay for Pottery Without a Kiln

Popular right now
- Firing Schedules ExplainedArticle
- Best Small Kilns for Test Tiles, Jewelry, and Compact StudiosBuying guide
- Underglaze TechniquesArticle
- Bisque Firing vs Glaze FiringArticle
- Caring for Pottery ToolsArticle
- Best Glaze Brushes: Soft, High-Capacity Brushes for Even CoatsBuying guide
Based on the last 28 days of search and visitor data.