Air Dry Clay Projects
Published How we research
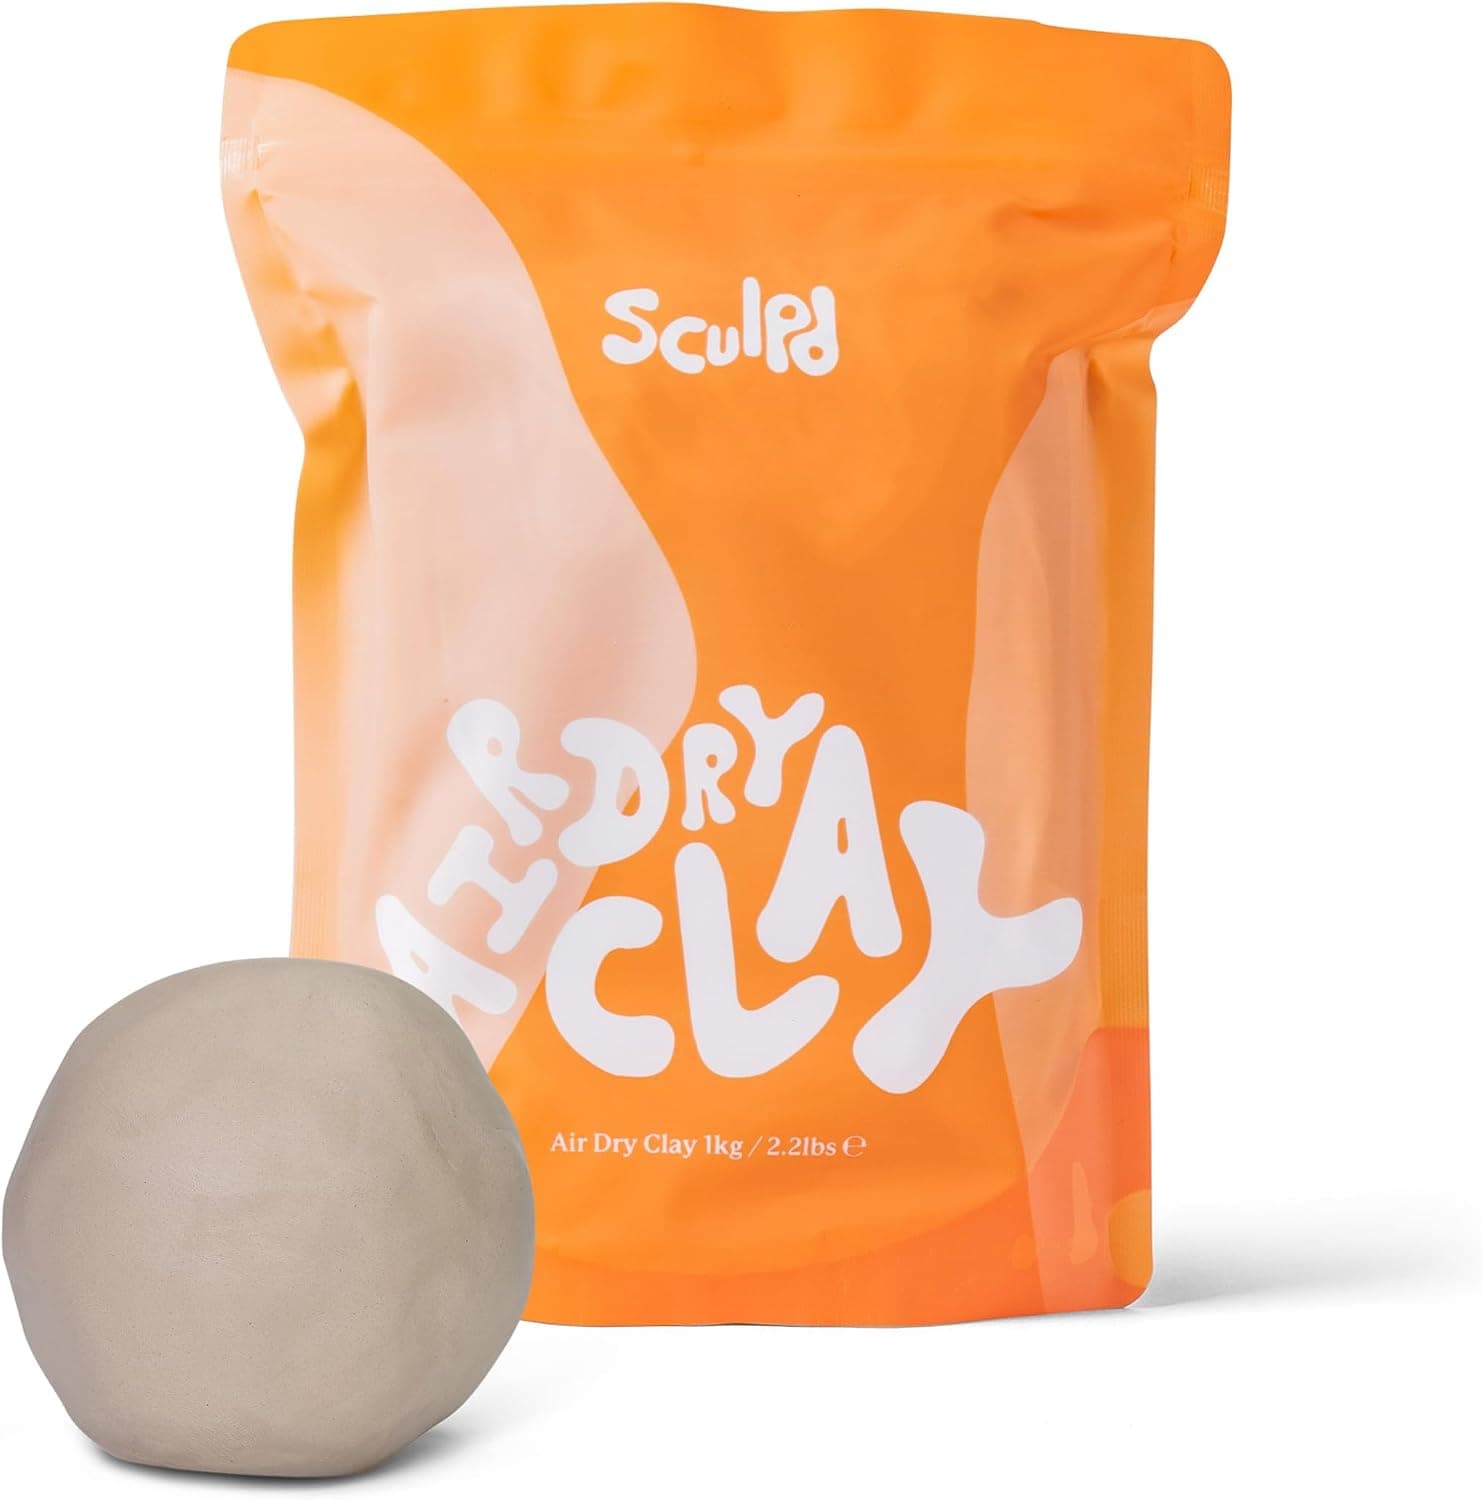
Air dry clay occupies an odd position in the ceramics world: dismissed by kiln owners, beloved by everyone working at a kitchen table. Used within its limits, it is a genuinely good material, and understanding those limits is the difference between projects that survive years and projects that crack in a week. The fundamental fact is that air dry clay never becomes ceramic. It hardens by evaporation, not by firing, so the finished object is essentially a rigid, water-soluble material that must be protected from moisture and treated as decorative.
That one fact writes the rules for project selection. Good candidates share three traits: they are decorative rather than functional, they have relatively even wall thickness, and they do not need to hold water or survive rough handling. Wall hangings, ring dishes for dry items, ornaments, beads, sculptural figures, plant pot covers, candle holders for LED candles, stamped gift tags, and trinket trays all succeed reliably. Poor candidates include mugs, vases holding water, anything for food contact, outdoor pieces, and thin-handled forms that snap under leverage. No sealant makes air dry clay genuinely waterproof or food safe; coatings delay water damage, they do not prevent it.
Cracking is the material's main failure mode, and it is almost always a drying problem. Air dry clay shrinks noticeably as water leaves, and uneven thickness means uneven shrinkage, which means stress and cracks. Build with walls of consistent thickness, avoid solid lumps thicker than a couple of centimeters, and dry work slowly by covering it loosely with plastic for the first day, then uncovering gradually. Flip flat pieces regularly, since a slab drying on one side only will curl like a potato chip. Joins need the same care as real clay: score both surfaces, apply slip made from the same clay dissolved in water, and press firmly, because butted joints simply fall apart when dry.
Small cracks are repairable, which is one of the material's genuine advantages over fired ceramics. Fill hairlines with a paste of the same clay and water, smooth with a damp finger, and redry slowly. Fully dry pieces sand beautifully with fine sandpaper, and this is where air dry work can look surprisingly refined: a sanded, smoothed surface takes paint far better than a lumpy one, and five minutes of sanding upgrades almost any project. Wear a mask when sanding any clay product and work over a damp cloth to catch dust.
Finishing is where air dry clay genuinely shines, because it accepts nearly every craft material. Acrylic paint is the standard choice, watercolors give soft washes on white clays, and markers work for fine detail. After painting, seal with a water-based polyurethane, acrylic varnish, or wax finish, coating all sides including the base to slow humidity absorption. Matte sealants preserve a stone-like look; gloss mimics glazed ceramic at a glance. For pieces that will be handled, two or three thin sealant coats outlast one thick one.
Be realistic about what air dry clay is for, and it stops disappointing people. It is a forming and finishing playground: an inexpensive way to practice pinching, coiling, slab work, texture stamping, and surface design with zero equipment. Every skill listed transfers directly to kiln-fired ceramics later. Many committed potters keep a pack around for prototyping forms before committing studio time. Treat it as its own craft with its own rules rather than a substitute for stoneware, and it earns a permanent place on the shelf.
Products from this article
The highest-scoring picks from the buying guides mentioned above. Scores are our editorial assessment, not customer ratings.
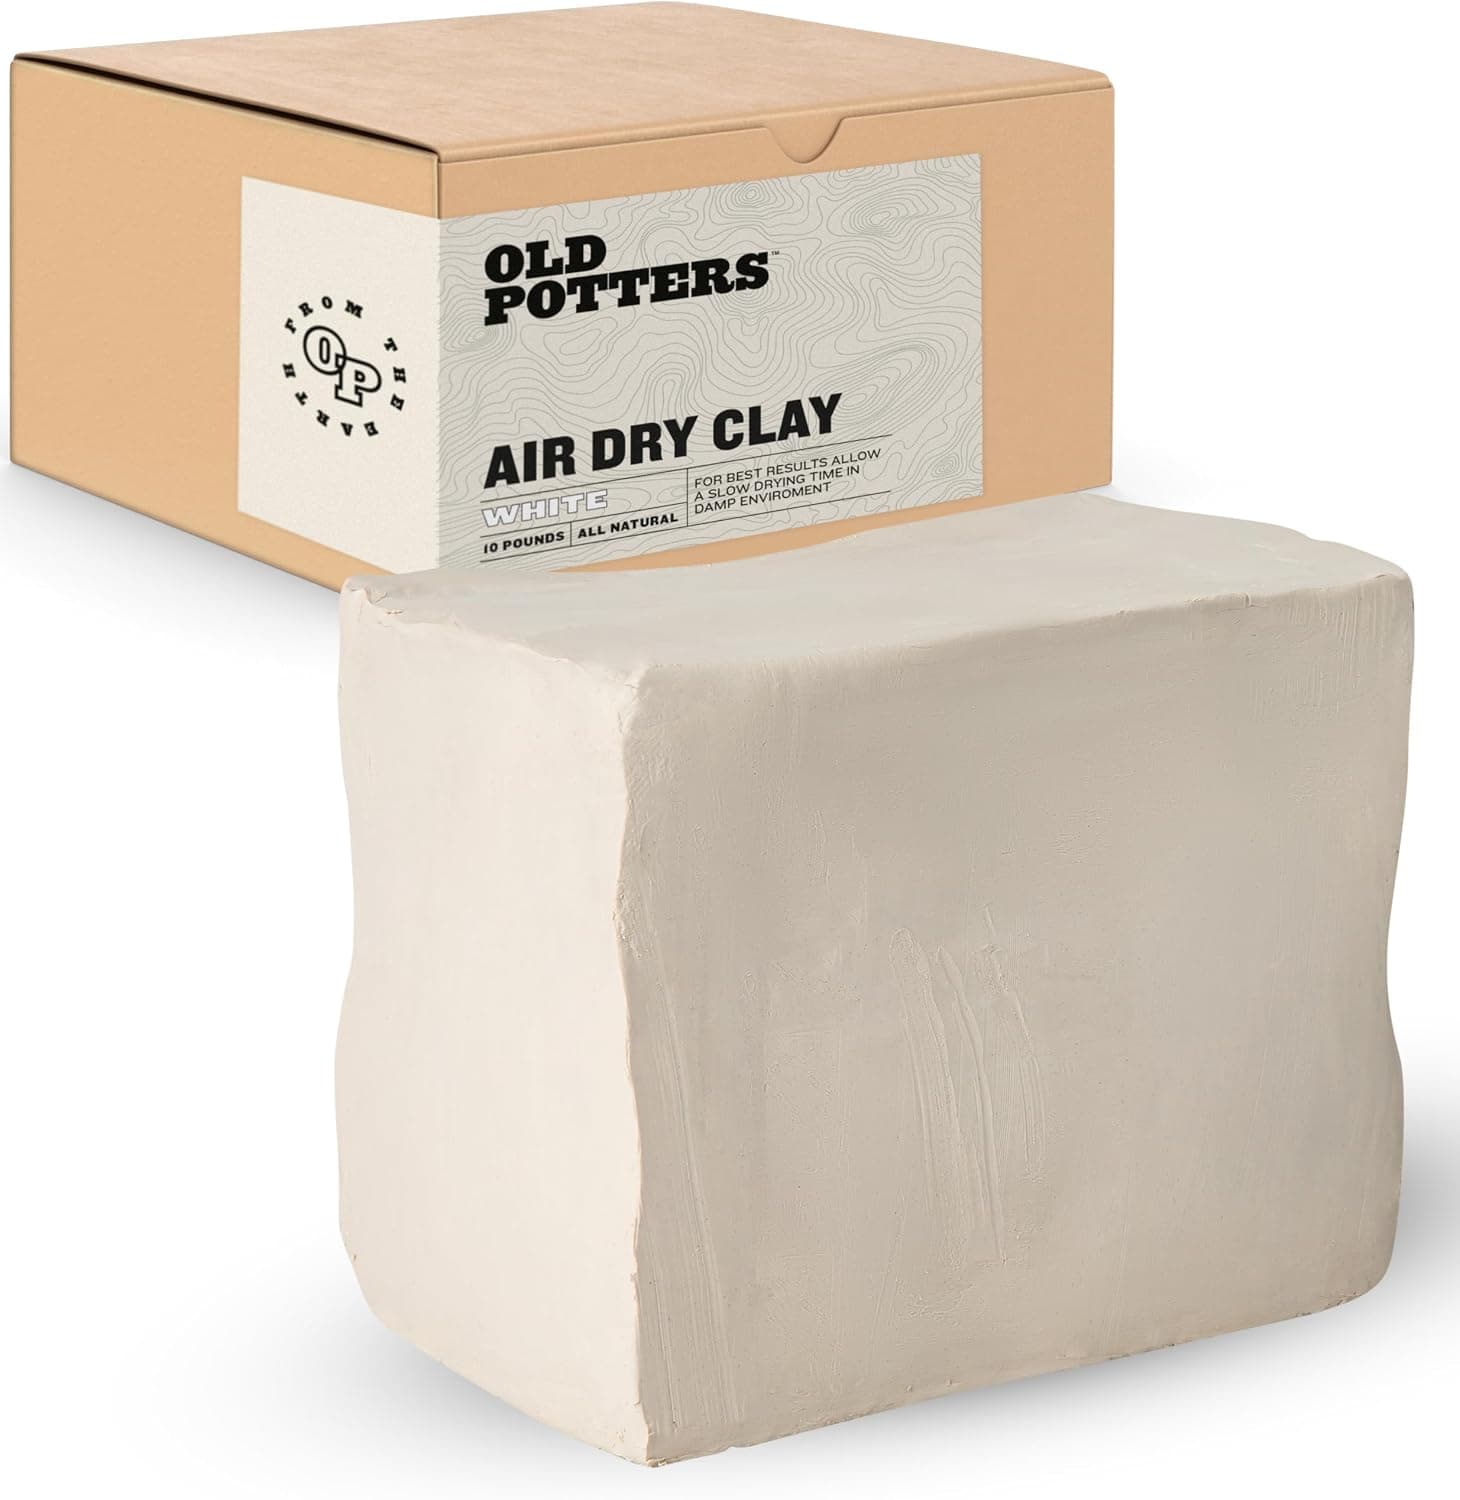
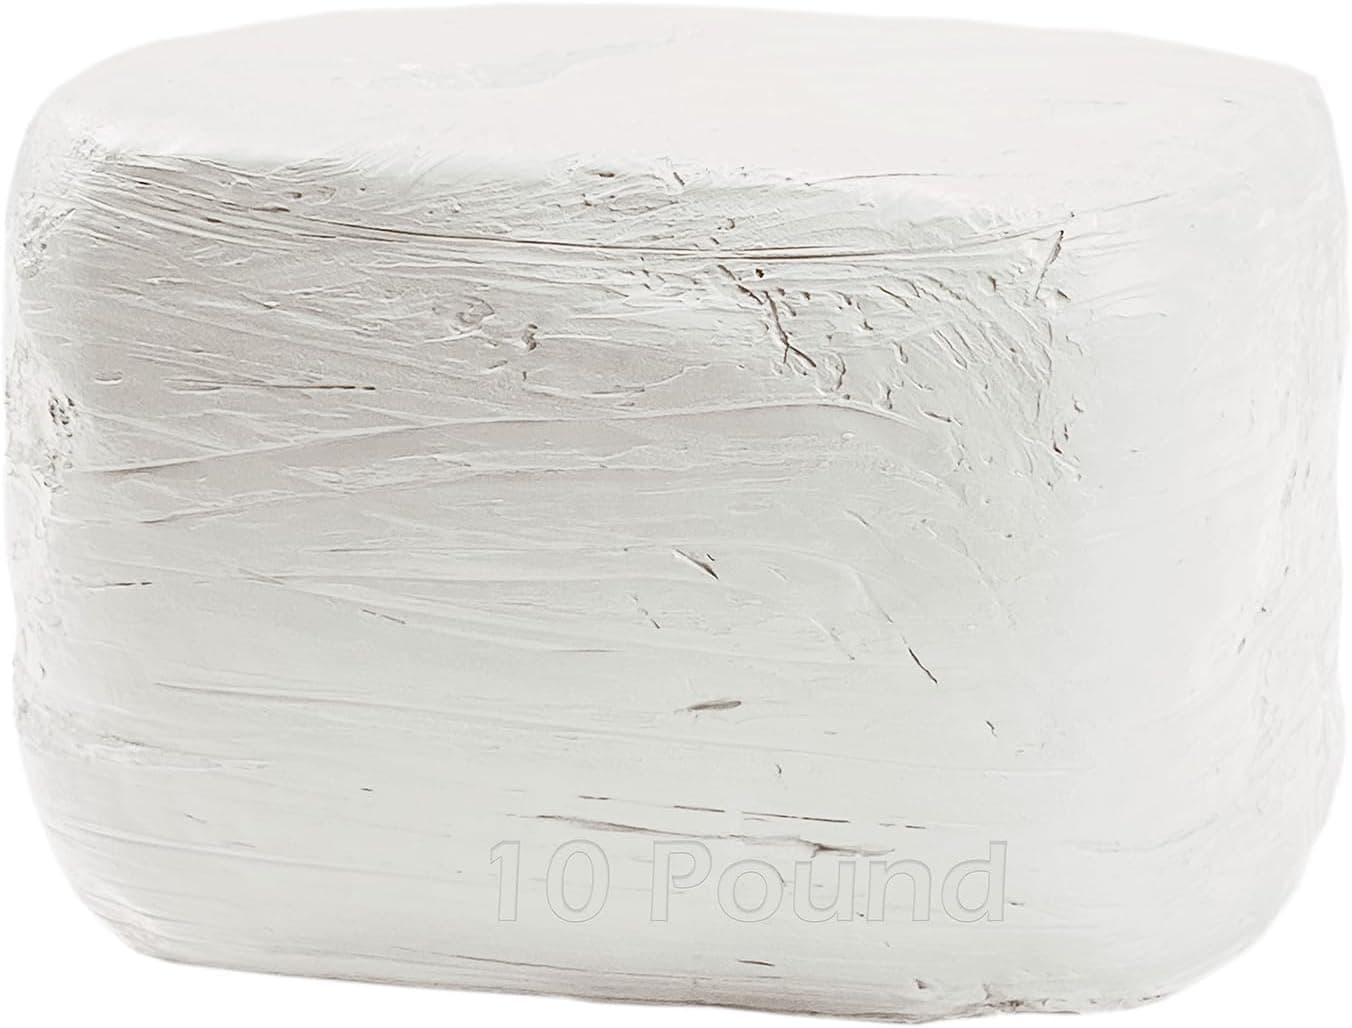
+ 10 lbs block gives plenty of clay for sculptures and hand-built pieces
From our guide: Best Air Dry Clay
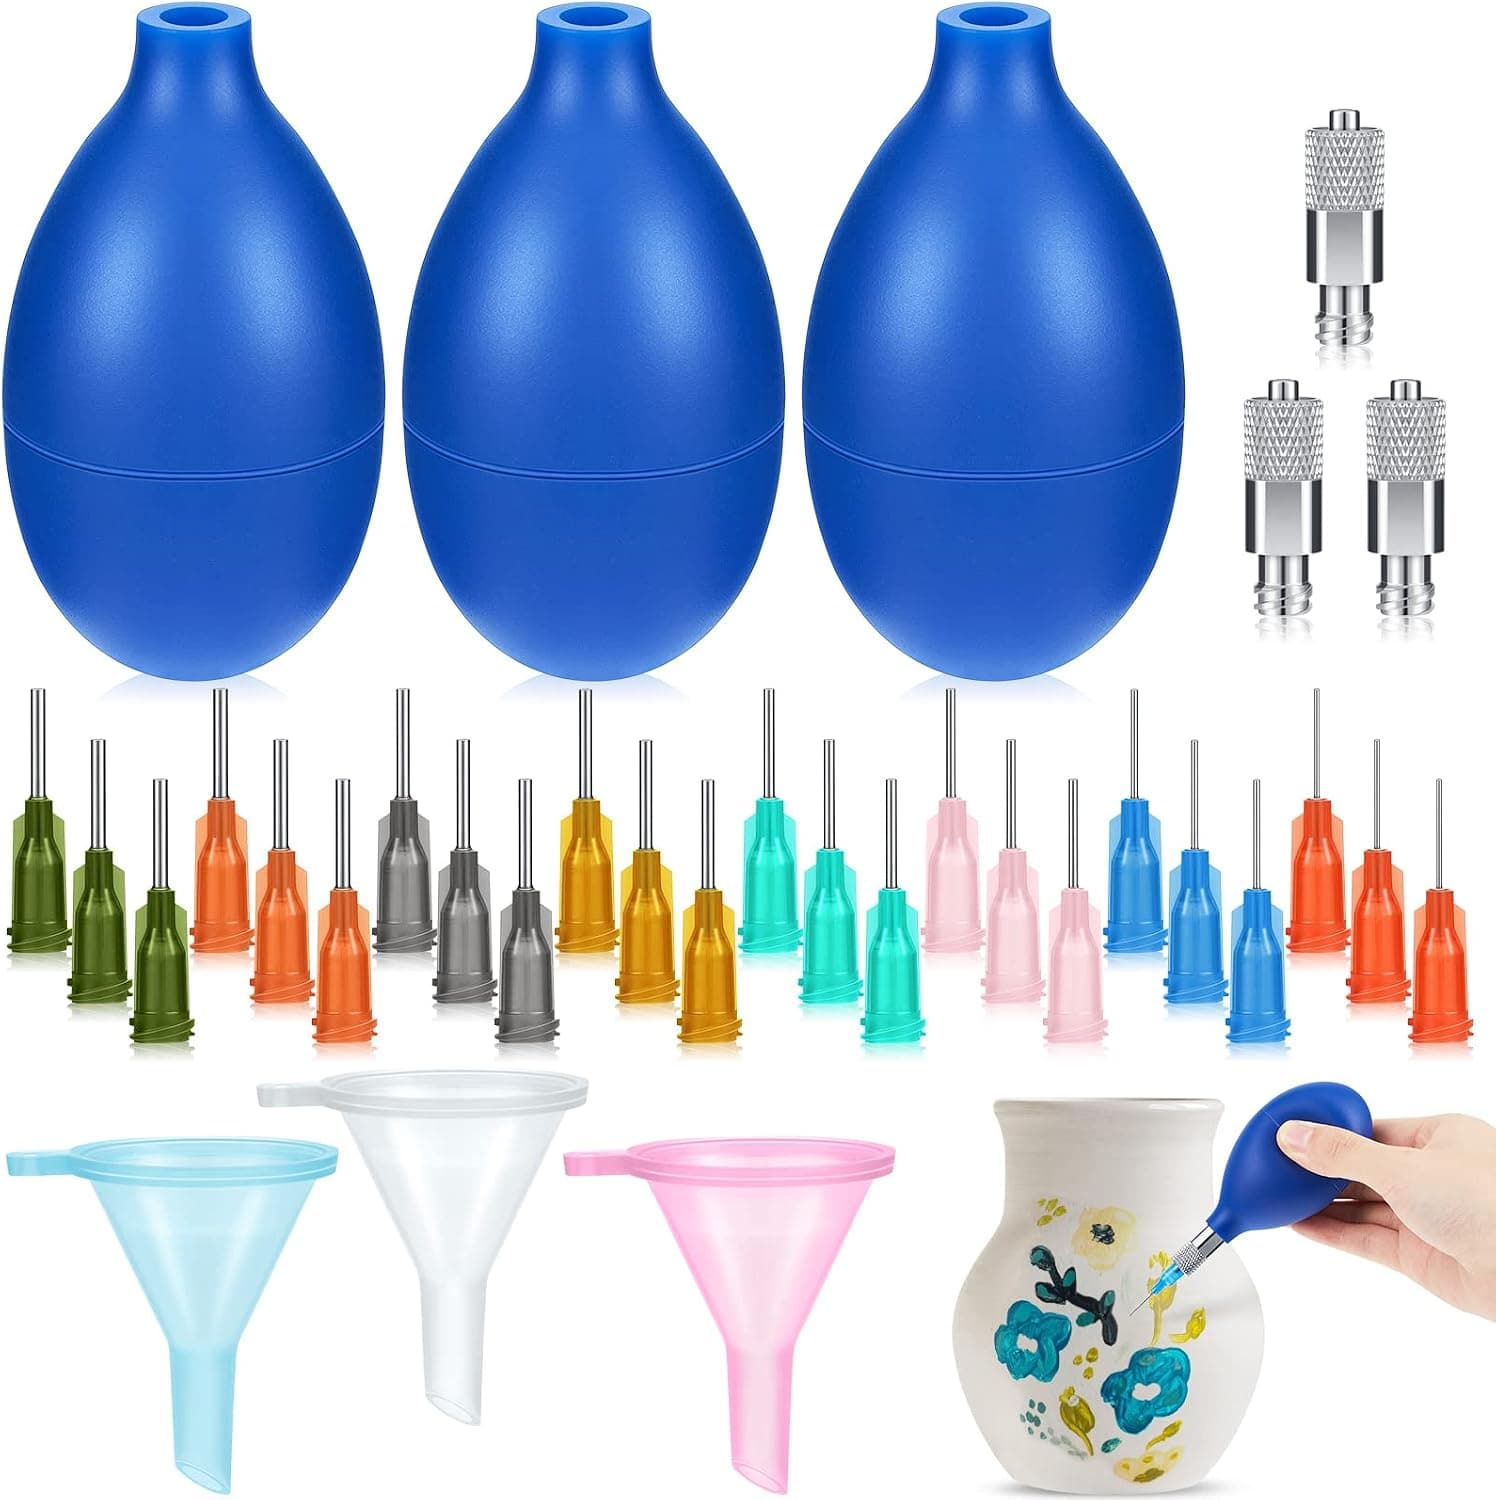
+ 24 Pcs needles in various sizes cover hairline to bold slip lines
From our guide: Best Clay Slip and Magic Water
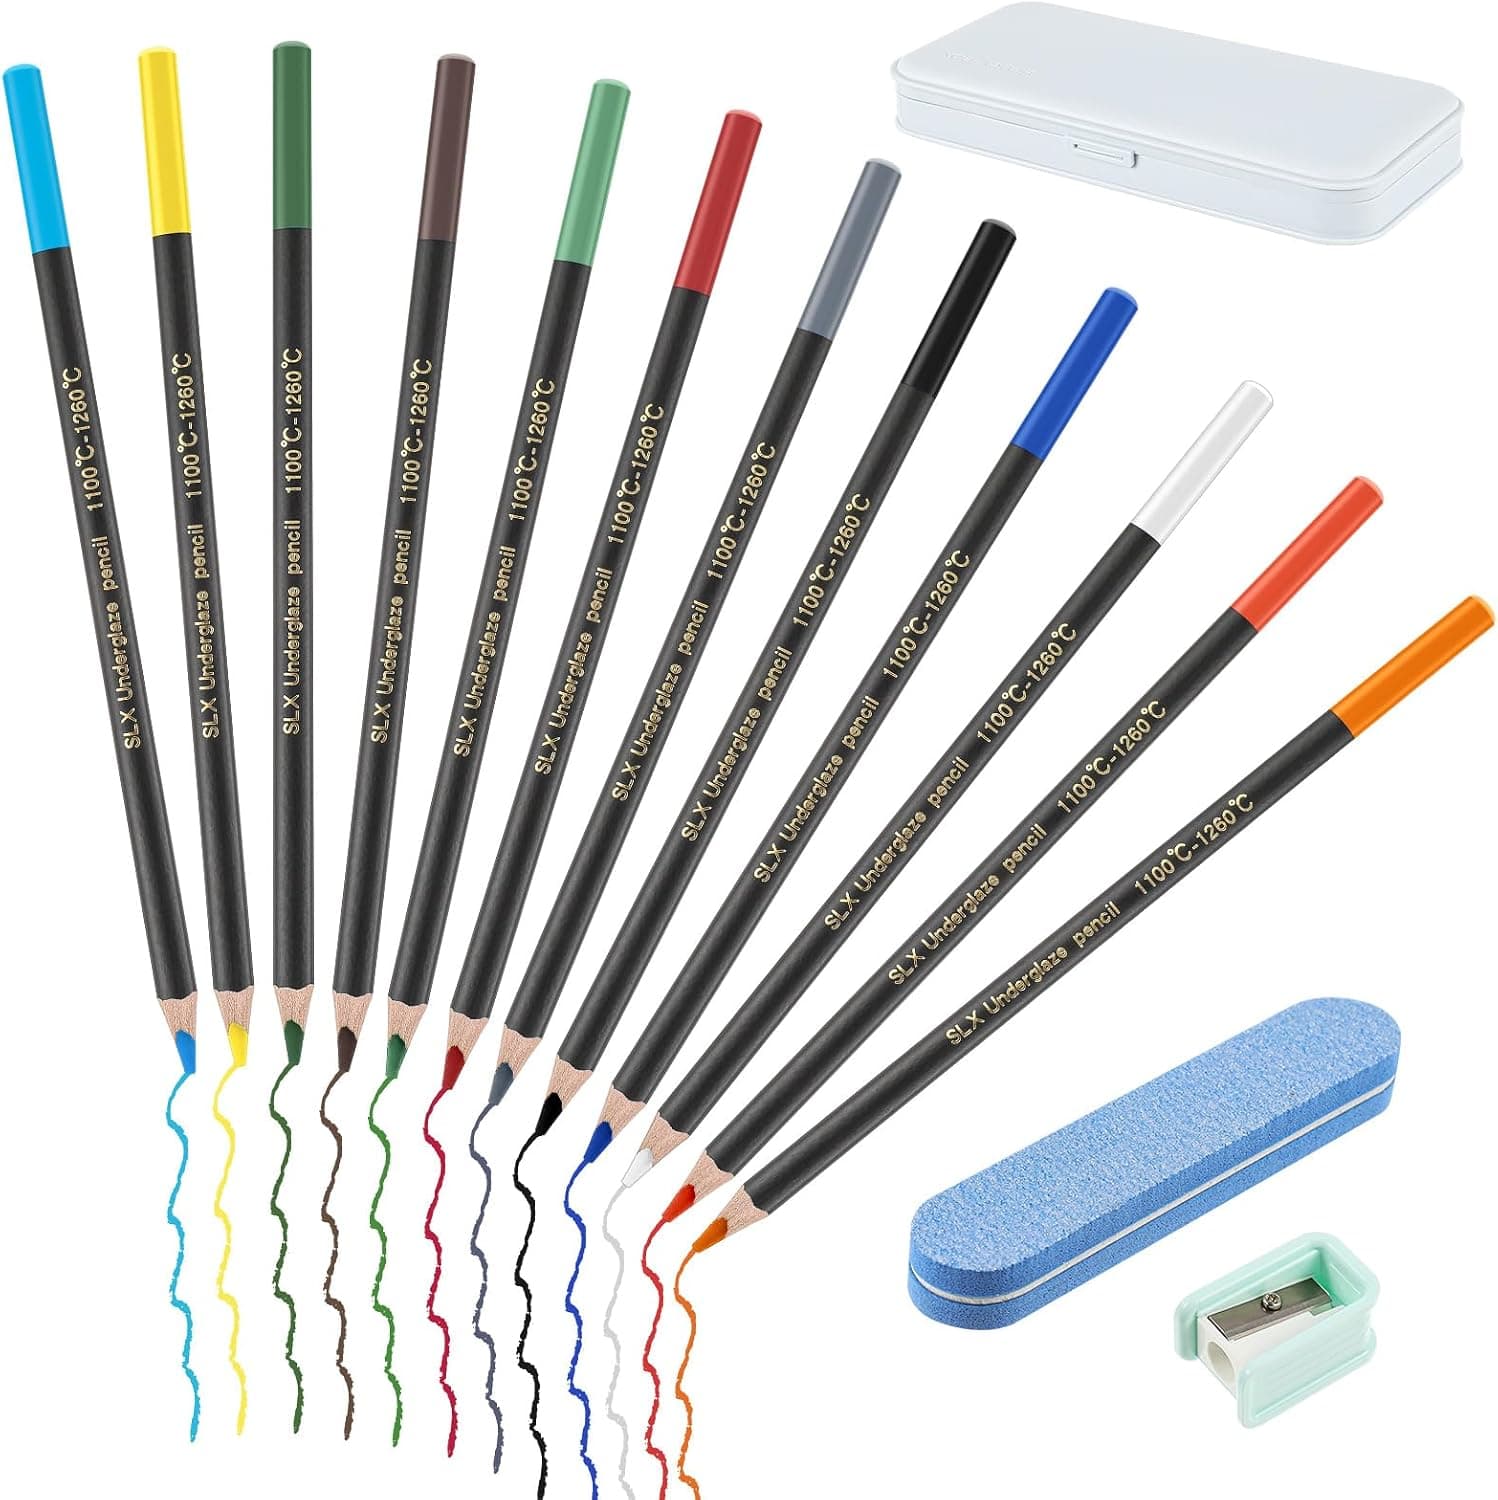
+ Sharpener and eraser included for clean, precise detail work
From our guide: Best Underglaze Pencils: Draw Fine Ceramic Detail on Bisque
+ 10lbs block is generous for larger sculptures and practice pieces
From our guide: Best Air Dry Clay
Popular right now
- Firing Schedules ExplainedArticle
- Best Small Kilns for Test Tiles, Jewelry, and Compact StudiosBuying guide
- Underglaze TechniquesArticle
- Bisque Firing vs Glaze FiringArticle
- Fixing Common Throwing Problems on the Pottery WheelArticle
- Caring for Pottery ToolsArticle
Based on the last 28 days of search and visitor data.