Trimming Basics
Published How we research
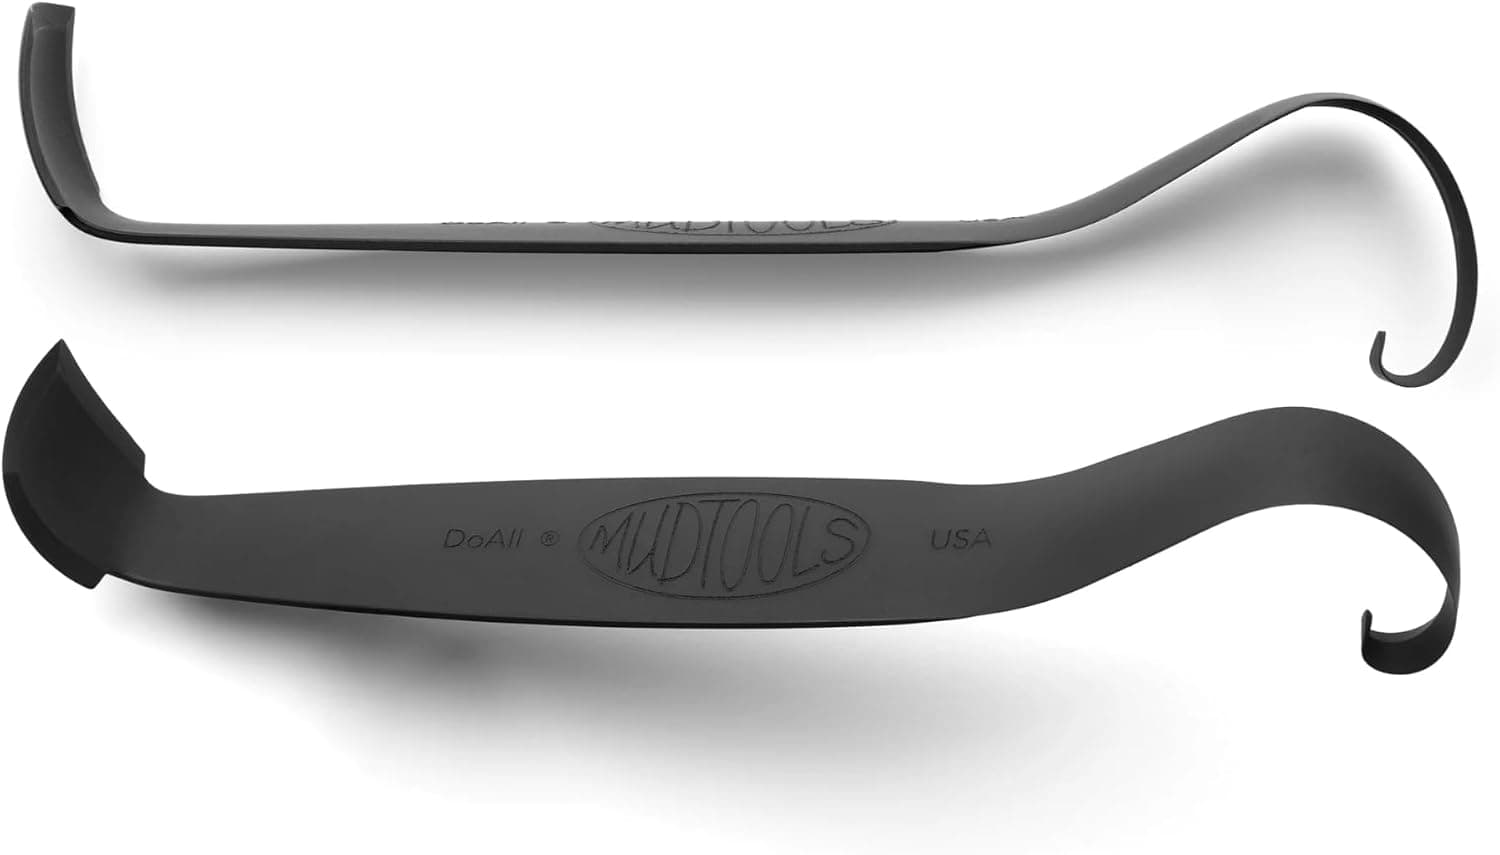
Trimming is the step that separates pots that feel handmade from pots that feel homemade. When you throw a bowl or mug, the lower third is almost always thicker than it needs to be, because wet clay needs that mass to survive the throwing process. Trimming removes it once the piece has firmed up, carving a foot ring and giving the pot a weight that matches its appearance. Pick up a well-trimmed mug and it feels lively; pick up an untrimmed one and it feels like a brick with a handle.
Timing is everything, and the target state is called leather hard. The clay should feel like cold butter or firm cheese: solid enough to hold its shape when handled, soft enough that a tool peels away ribbons rather than dust. If your trimming tool produces powdery chips, the pot is too dry, and forcing it risks chattering and cracks. If the rim dents when you place it face down, it is too wet. Most pieces reach leather hard within a day or two under loose plastic, and you can rescue an overdried pot by wrapping it with a damp cloth overnight.
To trim, center the pot upside down on the wheel. Eyeball it close to center, then spin the wheel slowly and watch the gap between the pot and a steady fingertip; tap the high side gently with each rotation until the gap stays even. Anchor the piece with three coils of soft clay pressed against the rim, or use a trimming chuck for narrow-necked forms that cannot sit flat. Some potters prefer tapping alone with no clay coils, holding the pot down with light finger pressure, but learn with anchors first; a pot flying off the wheel is a rite of passage nobody needs twice.
Before cutting, decide what the bottom should look like. Mark the outer diameter of the foot ring with a light score, roughly two thirds of the widest diameter of the form for most bowls. Cut the outside profile first, shaping the wall down toward that mark so the trimmed curve continues the line of the thrown curve. Then hollow the center inside the foot ring, working from the middle outward in light passes. Check thickness often by tapping: a dull thud means thick, a ringing tone means you are approaching thin, and a flexing bottom means stop immediately.
Tool choice is simpler than catalogs suggest. One loop tool with a sharp square edge and one with a rounded edge cover nearly every job. Sharp tools matter more than expensive ones, because dull edges tear the surface and cause chatter marks, the rhythmic bouncing pattern that ruins an otherwise clean foot. If chattering starts, slow the wheel slightly, hold the tool at a shallower angle, brace both hands together, and take lighter cuts.
Finish the foot with intention. Soften the two edges of the foot ring with a damp sponge or your finger so they will not chip in use and will not scratch tables. Stamp or carve your mark inside the foot while the clay still takes an impression. Then weigh the pot in your hand one last time: the old studio rule says a trimmed pot should weigh about two thirds of what your eye expects. When you reach that consistently, trimming has become part of how you make pots rather than a chore after them.
Products from this article
The highest-scoring picks from the buying guides mentioned above. Scores are our editorial assessment, not customer ratings.
+ Double ended design gives two trimming profiles in one tool
From our guide: Best Trimming Tools for Pottery: Top Picks for Clean Foot Rings
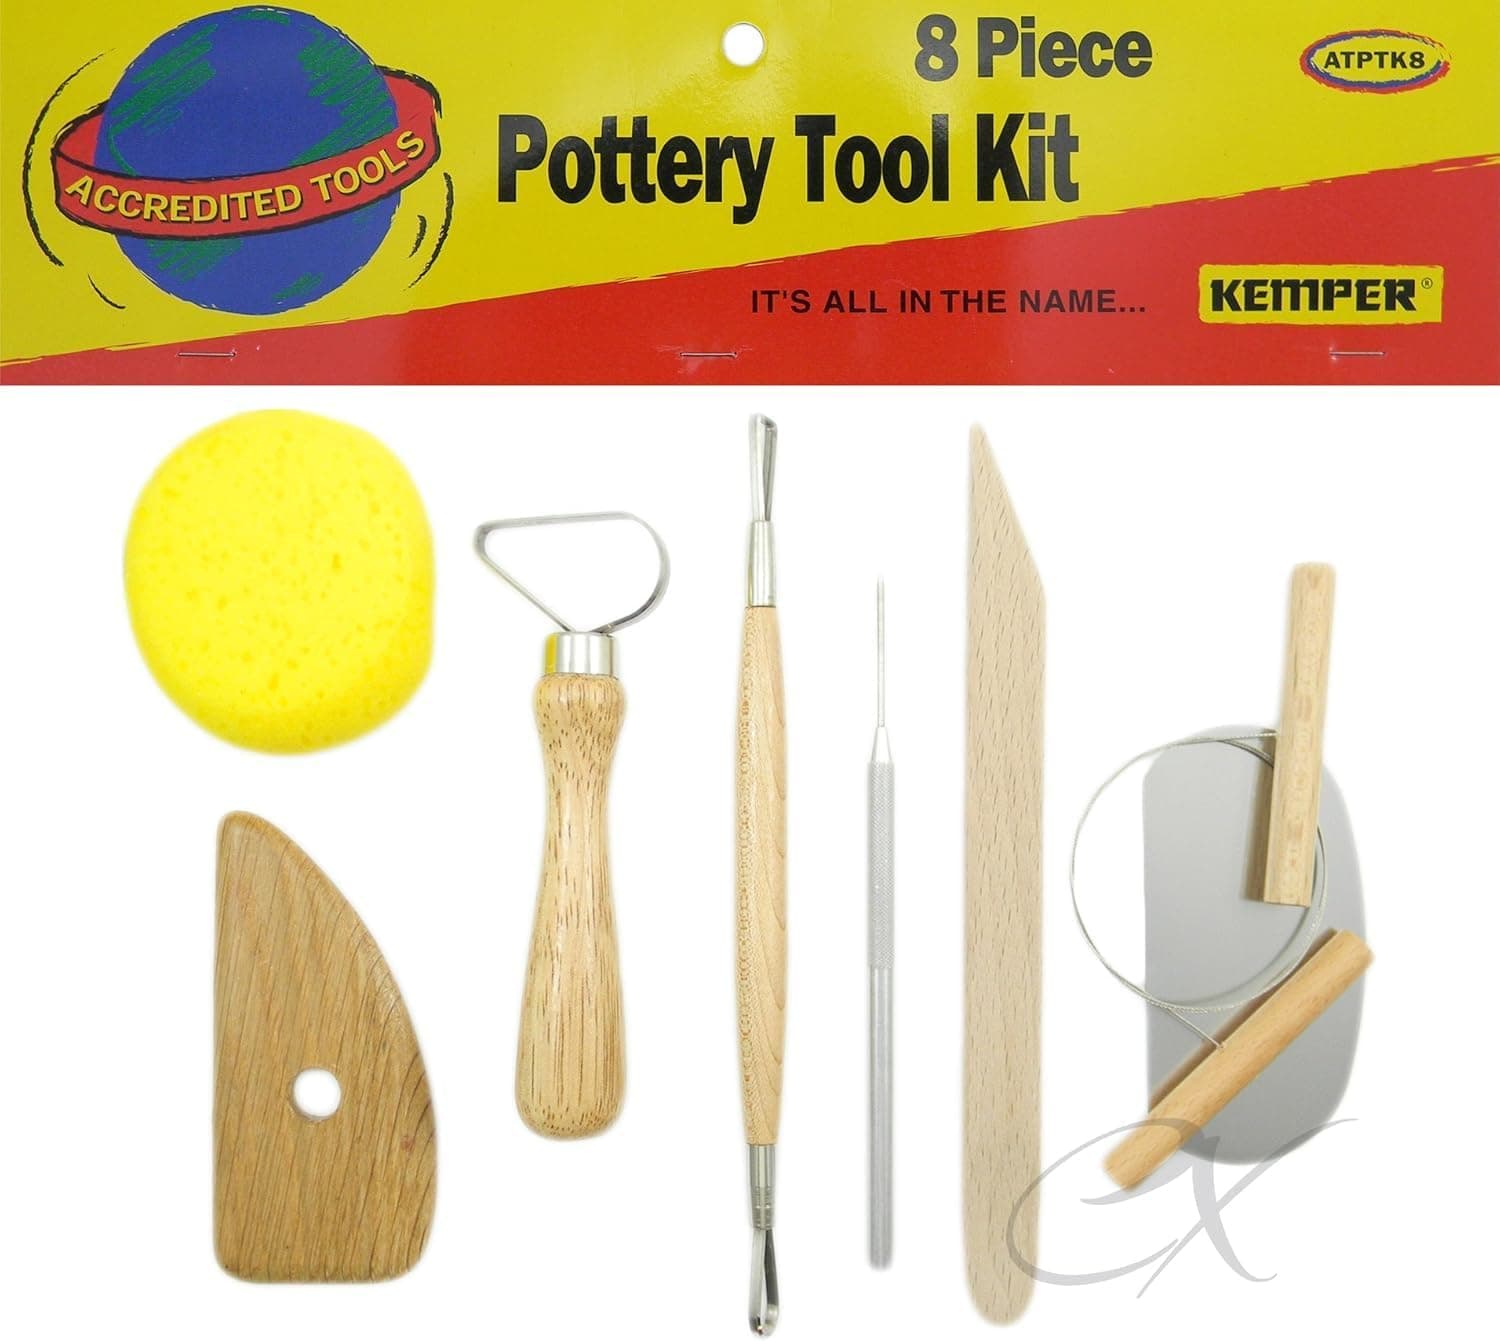
+ Kemper is a trusted name for pottery tools found in many studios
From our guide: Best Pottery Tool Kits
+ Plastic cover slows drying so greenware does not crack
From our guide: Best Pottery Studio Storage
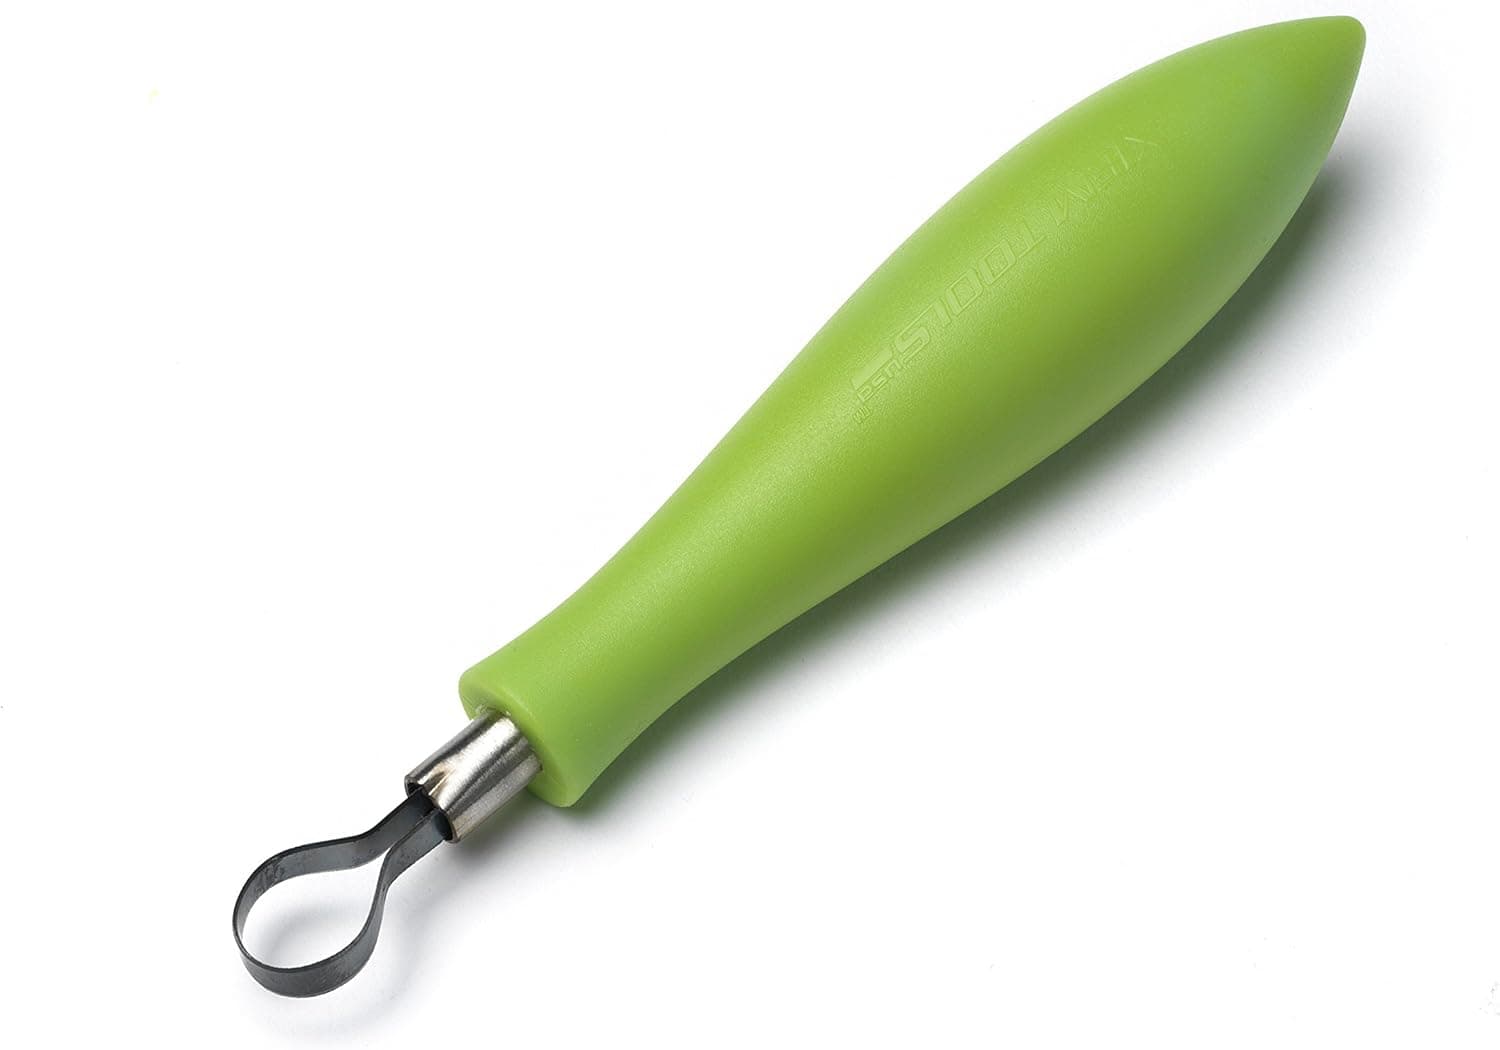
+ Xiem is a known pottery tool brand with solid build quality
From our guide: Best Trimming Tools for Pottery: Top Picks for Clean Foot Rings

Popular right now
- Firing Schedules ExplainedArticle
- Best Small Kilns for Test Tiles, Jewelry, and Compact StudiosBuying guide
- Underglaze TechniquesArticle
- Bisque Firing vs Glaze FiringArticle
- Fixing Common Throwing Problems on the Pottery WheelArticle
- Caring for Pottery ToolsArticle
Based on the last 28 days of search and visitor data.