Throwing Your First Bowl on the Pottery Wheel
Published How we research
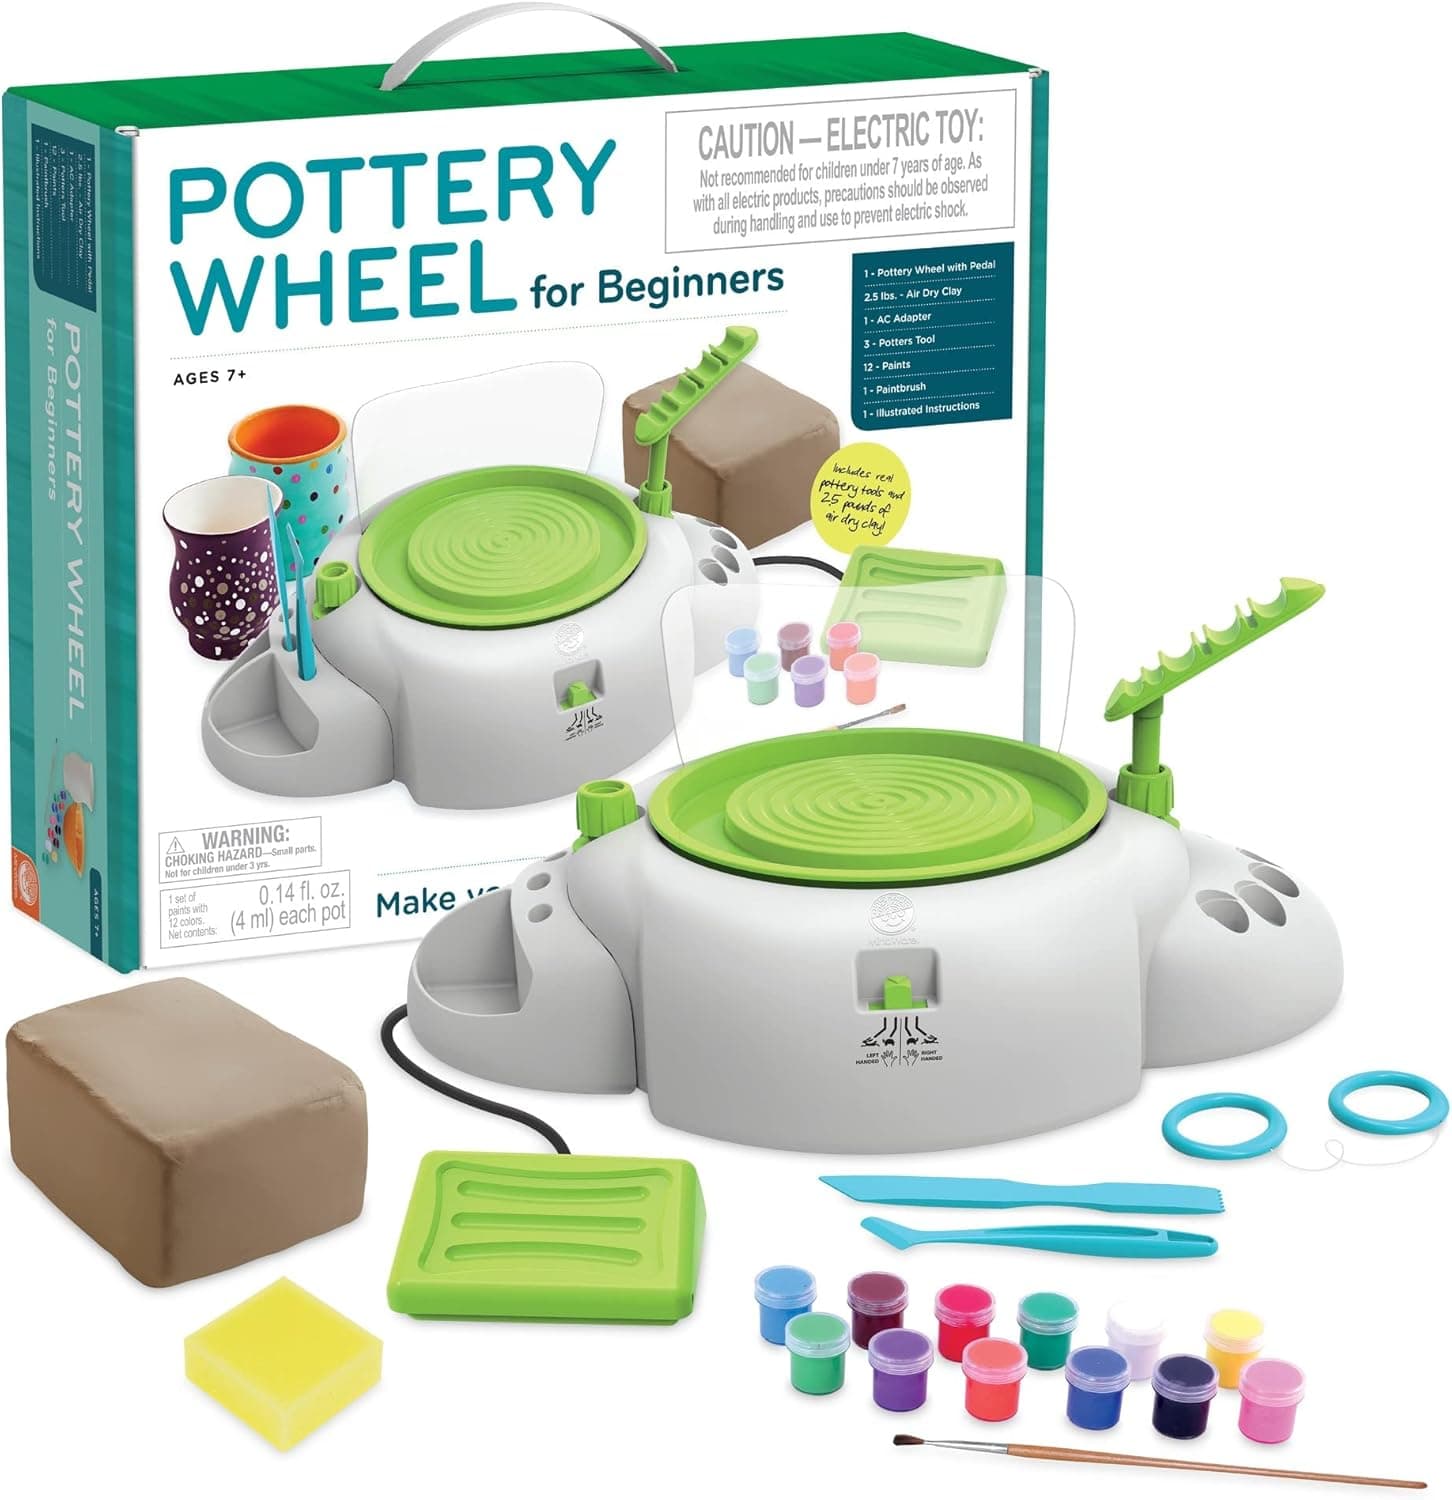
The bowl is the natural first form for a new thrower because its open shape lets you see and feel everything your hands are doing. A mug hides your inside hand; a bowl exposes it. Start with about 800 grams of well-wedged clay, center it into a low dome, and take a breath before opening. Most first-bowl failures are decided in the next thirty seconds, and slowing down is the cheapest insurance available.
Open the centered dome by pressing your thumb or stacked fingertips straight down into the middle while the wheel spins at moderate speed, stopping about a centimeter above the wheel head. Check the floor thickness by pushing a needle tool through to the bat; you want roughly a centimeter to leave room for trimming a foot later. Then widen the opening by drawing your fingers toward you slowly, keeping a sponge or fingertip pressure on the base as you go. The goal is a flat, compressed floor, because an uncompressed floor is where cracks appear weeks later during drying and firing.
Pulling walls is a matter of trapping clay between two points of pressure and moving both upward at the same speed. Your outside fingers sit slightly below your inside fingers, forming a diagonal squeeze that lifts clay into the wall. Use three deliberate pulls rather than eight tentative ones. Each pull should start at the very bottom, where a rolled bead of clay collects, and travel to the rim in one continuous motion, taking six to ten seconds. Speed up the wheel for the base of the pull and let it slow slightly near the rim, where the clay is thinnest and centrifugal force does the most damage.
Shape comes last, and this is the discipline beginners find hardest. Pull your walls to a straight-sided cylinder-cone first, and only then stretch the curve outward with a rib or your inside fingers. Clay that flares early ends up thin at exactly the point where the bowl needs strength, and wide-flung rims collapse under their own weight. When you do open the form, support the outside wall with your other hand and move in gradual passes. A bowl becomes a bowl in the last ten percent of the process.
Rims deserve specific attention because they determine whether the finished piece reads as intentional or accidental. Compress the rim gently between thumb and forefinger with a strip of chamois or thin plastic after every pull. This keeps it level, rounds it, and strengthens it against warping during firing. A wobbly rim can be trimmed level with a needle tool while the wheel spins: hold the needle steady, cut into the excess, and lift the released ring away cleanly.
When the shape satisfies you, run a wooden tool or rib at the base to remove the skirt of slurry, wire under the piece, and leave it on the bat until it firms up rather than lifting it immediately. Expect your first several bowls to be heavy, uneven, or both, and keep them anyway. Weigh your clay before each attempt and weigh the trimmed, finished bowl after; the shrinking gap between those numbers is the honest record of your progress, and it improves faster than you think.
Products from this article
The highest-scoring picks from the buying guides mentioned above. Scores are our editorial assessment, not customer ratings.
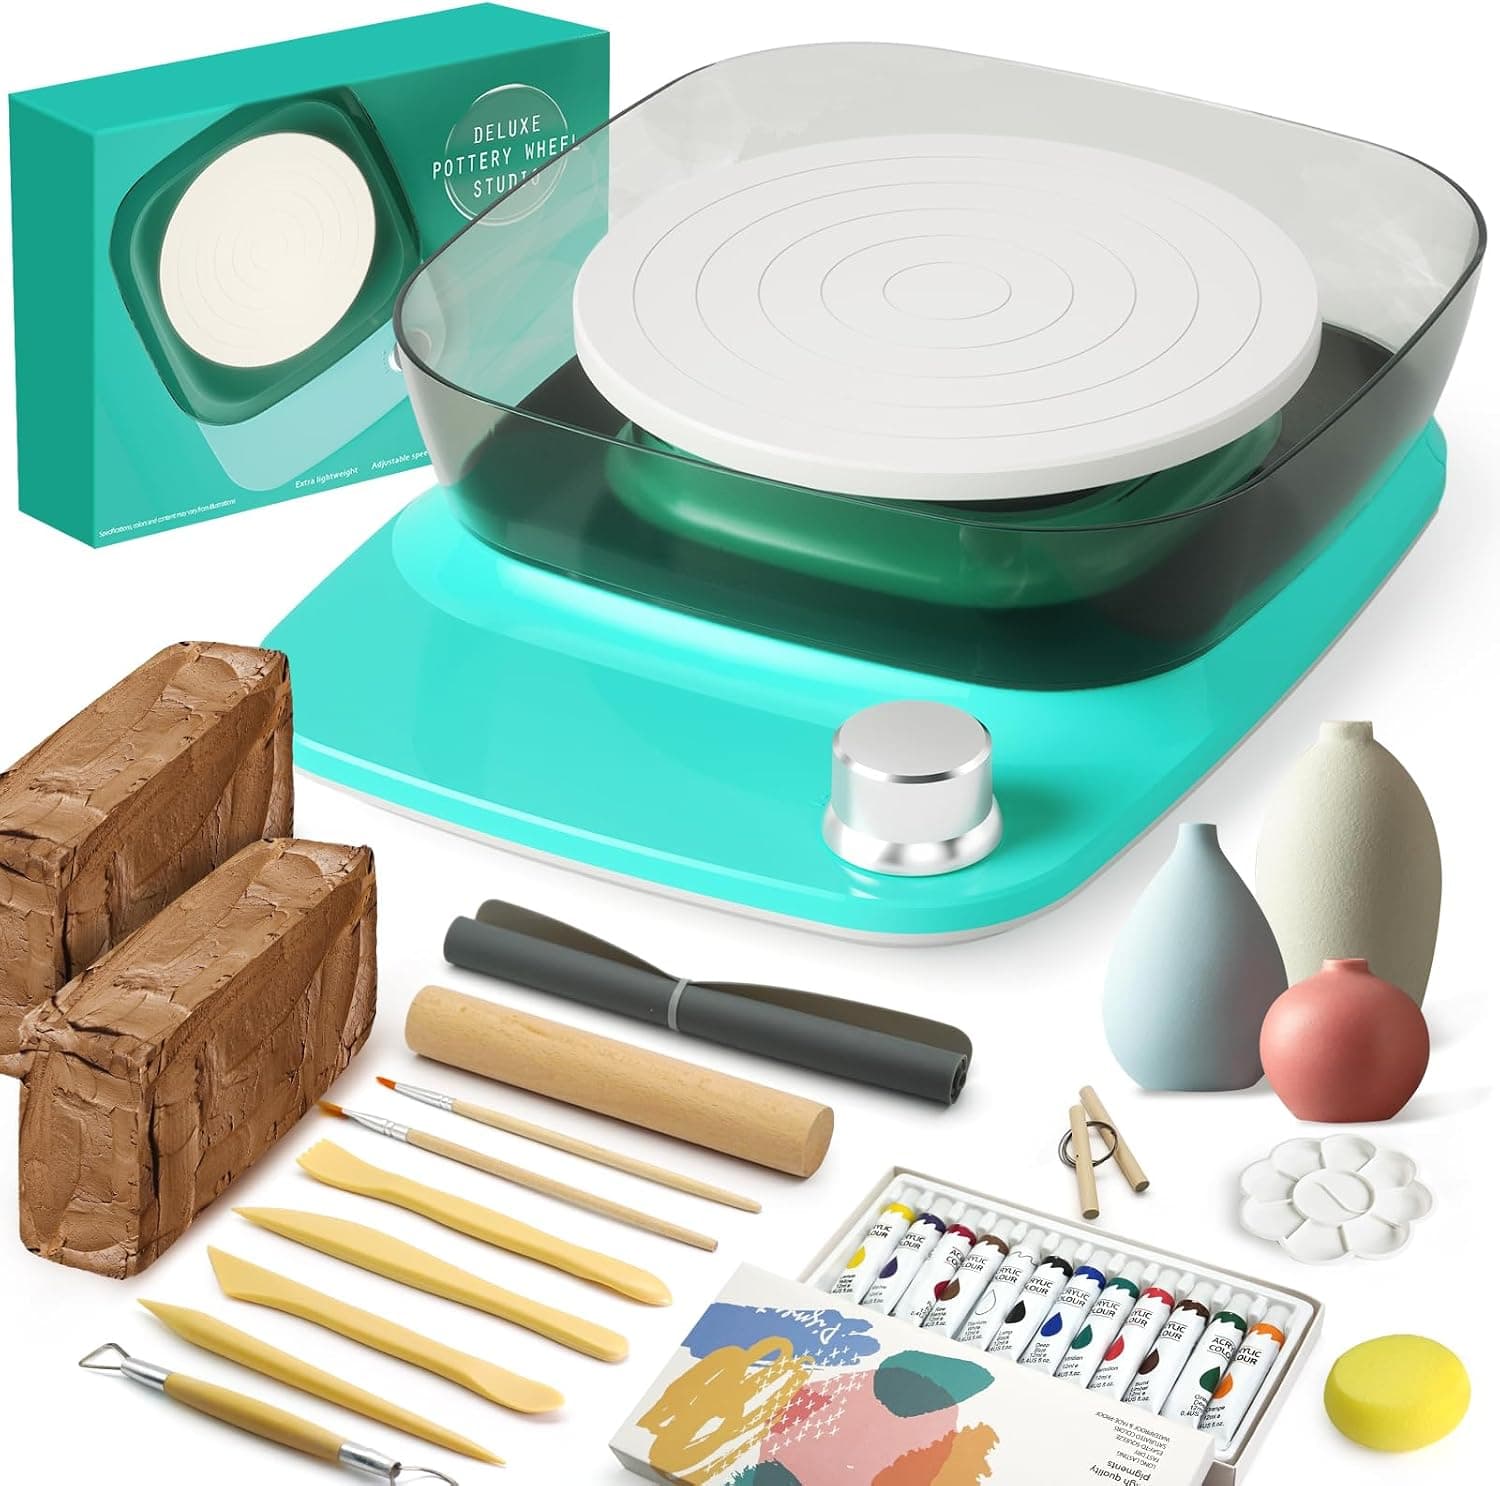
+ Plug-in motor avoids the weak spin and battery swaps of cheaper kids wheels
From our guide: Best Pottery Wheels for Beginners
+ Sealant is included, so finished pieces get a protective coat
From our guide: Best Clay for Beginners
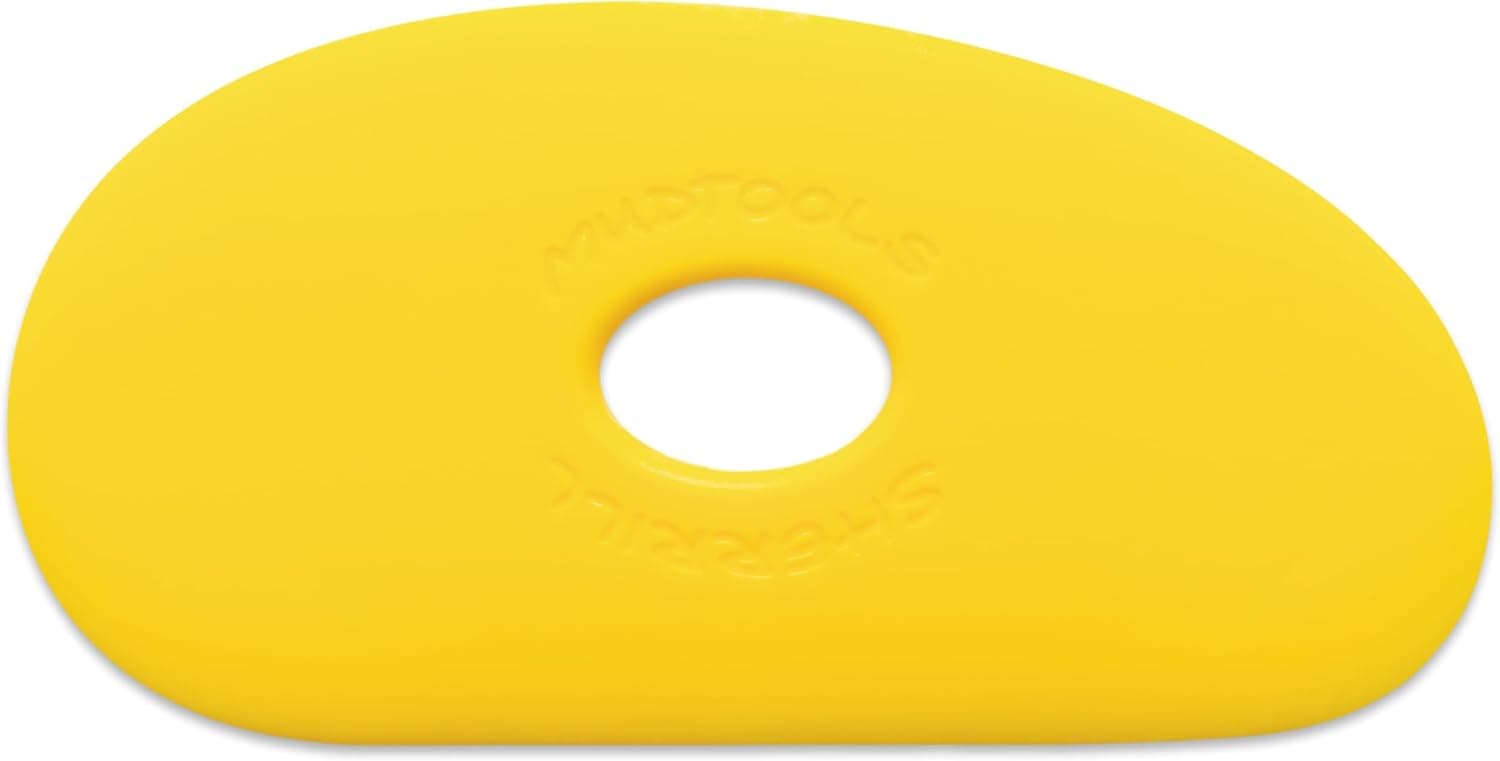
+ Mudtools polymer ribs are a studio favorite for smooth finishes
From our guide: Best Pottery Ribs: Wood, Metal, and Silicone Ribs Compared
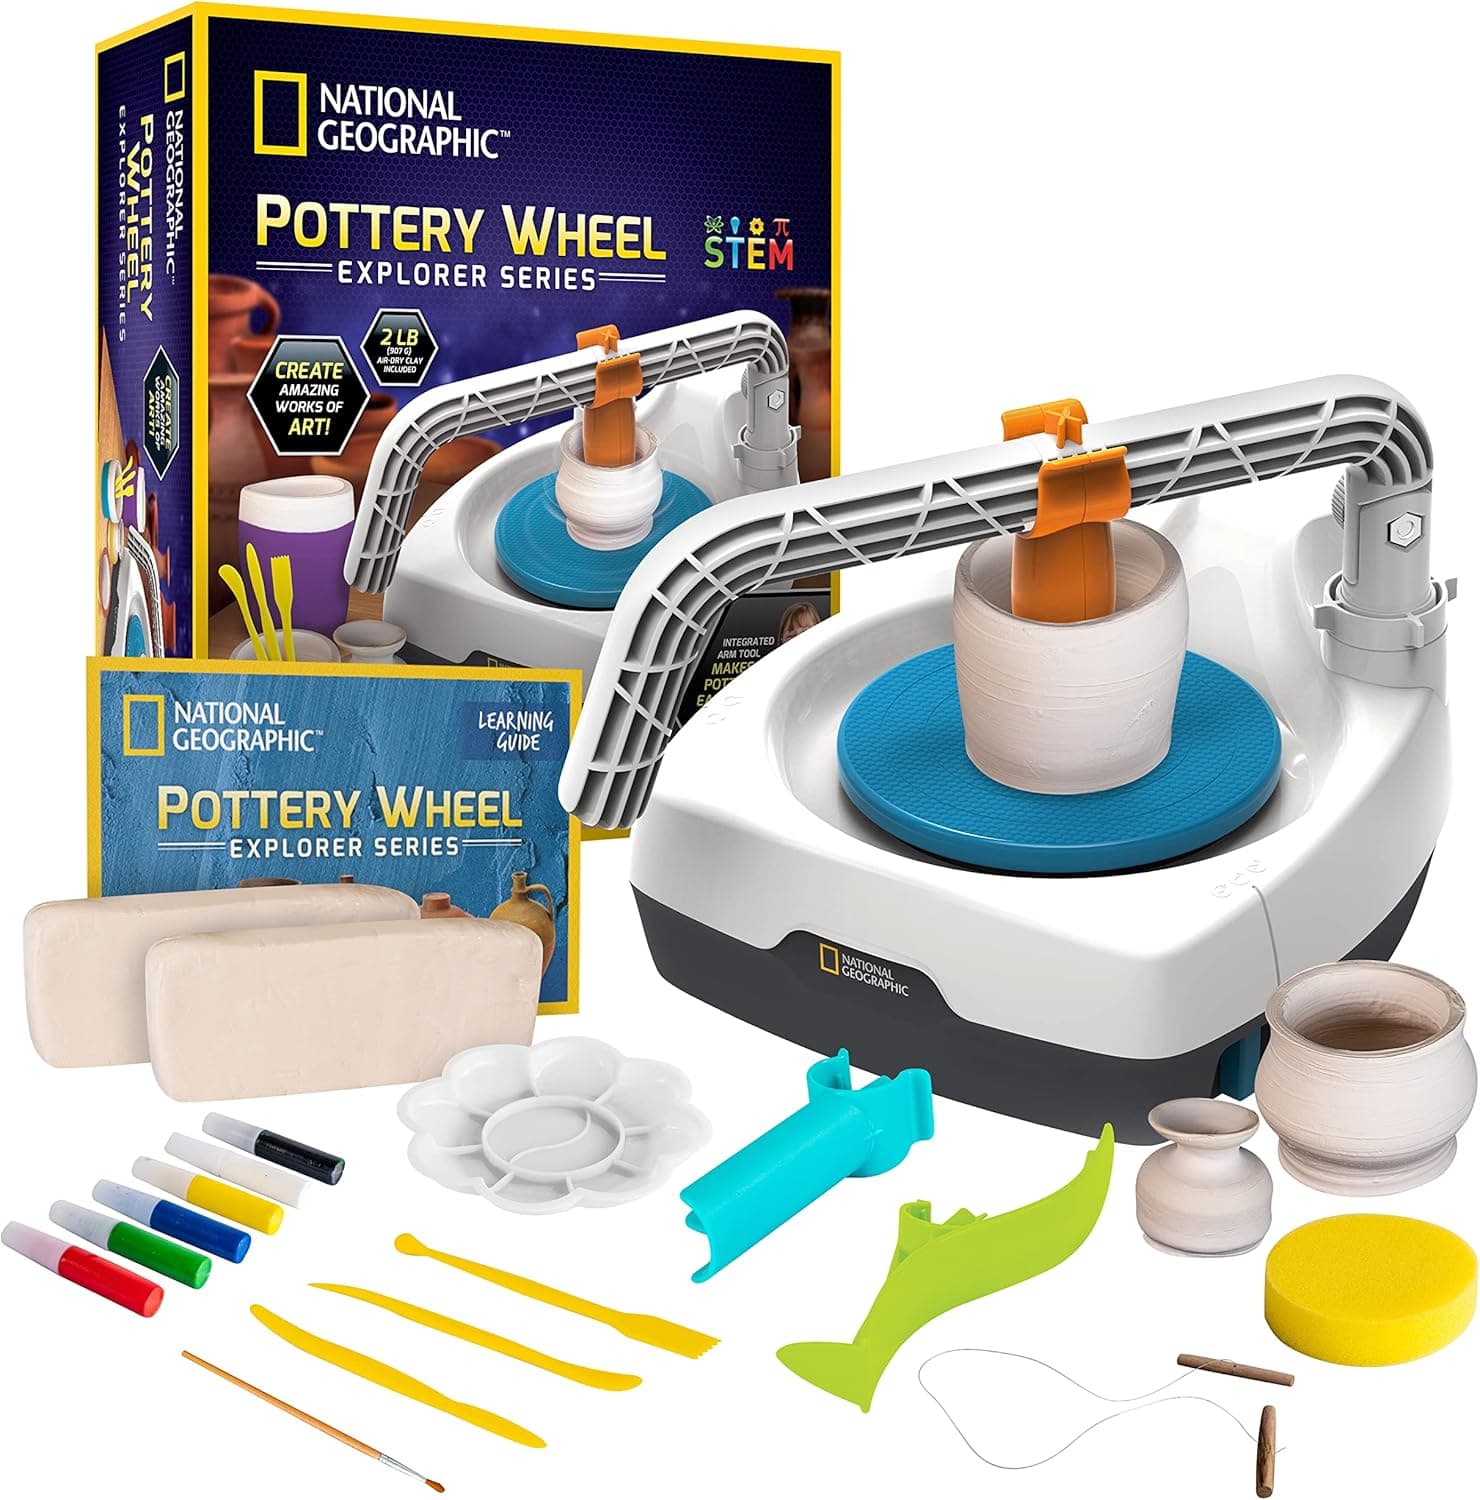
+ Rechargeable battery means no cord trailing across the table while working
From our guide: Best Pottery Wheels for Beginners

Popular right now
- Firing Schedules ExplainedArticle
- Best Small Kilns for Test Tiles, Jewelry, and Compact StudiosBuying guide
- Underglaze TechniquesArticle
- Bisque Firing vs Glaze FiringArticle
- Fixing Common Throwing Problems on the Pottery WheelArticle
- Caring for Pottery ToolsArticle
Based on the last 28 days of search and visitor data.