Setting Up a Home Pottery Studio in a Small Space
Published How we research

A workable home pottery studio has less to do with square meters than with honest planning around three unglamorous problems: dust, water, and storage. Potters have built productive studios in spare bedrooms, balconies, garden sheds, and the end of a garage. The ones that last share a design logic, and the ones that get abandoned usually failed on cleanup friction rather than space. If making a mess is easy but cleaning it is hard, the studio slowly stops being used.
Start with zones, even if each zone is only a meter wide. You need a wet zone for throwing or hand building, a dry zone for finished greenware and glazing, and a transition habit that keeps clay dust from migrating into the rest of your home. The wet zone wants a sturdy table at a comfortable height or a wheel with a stool, positioned so splash and trimmings land where you can wipe them. The dry zone wants shelves, and more than you think: work in progress, drying pieces under plastic, bisqueware awaiting glaze, and finished pots all accumulate simultaneously. A single set of deep shelves fills within two months of regular practice.
Dust control is the health issue that deserves engineering rather than good intentions. Clay dust contains crystalline silica, and years of casual exposure add up. The rules are simple: never sweep, never dry-sand indoors without extraction, and clean with water instead. Choose smooth, mop-friendly flooring, or cover carpet completely with sheet vinyl. Wipe surfaces with a wet sponge at the end of each session, mop weekly, and keep a dedicated pair of studio shoes so dust does not walk into the house. Aprons and towels get rinsed before they dry stiff, because a dust-shedding apron is a small dust factory. If you sand greenware, do it outdoors or over a bucket of water.
Water management is the puzzle for rooms without plumbing, and the solution is the three-bucket system. Bucket one is for the first rinse of hands and tools, and it collects most of the clay; bucket two is a cleaner rinse; bucket three stays nearly clean for final washing. Water only cascades forward, and nothing clay-heavy ever enters a household drain, where clay settles in pipe bends and hardens. Let buckets settle overnight, pour off clear water, and the sludge at the bottom goes into your reclaim. A studio can run for years on this system with no sink at all.
Equip in the right order, because the temptation is to buy everything at once. First money goes to a solid table, shelving, and buckets, which are boring and essential. Then clay and hand tools. A wheel comes only when you know wheel work is your direction, and a kiln comes last; community firing services carry you until volume justifies ownership. Good lighting, meanwhile, is criminally underrated: a couple of bright, well-placed lamps transform both the pleasure of working and the quality of your trimming and glazing. Add a radio or speaker and a comfortable stool, because studios that are pleasant get used.
Finally, design for the end of each session, not just the middle. A wall hook for the apron, a labeled reclaim bin, a spray bottle beside the plastic sheeting, a wet sponge within reach of the wheel: each removes one excuse. Leave the studio ready to start, and starting happens more often. The best studio is not the best equipped one; it is the one where a free half hour reliably turns into half an hour of making.
Products from this article
The highest-scoring picks from the buying guides mentioned above. Scores are our editorial assessment, not customer ratings.
+ Each sponge is tuned for a job, from finishing to soaking up water
From our guide: Best Clay Cleanup Tools for a Healthier, Faster Studio Reset
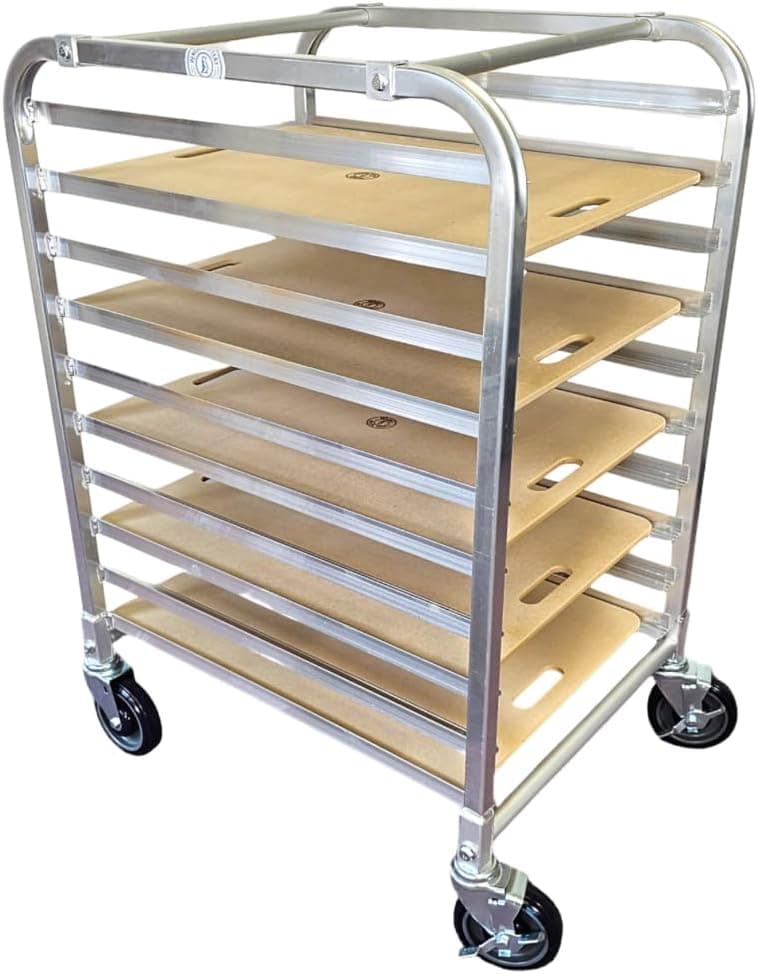
+ Plastic cover slows drying so greenware does not crack
From our guide: Best Drying Racks for Pottery Studios Short on Space
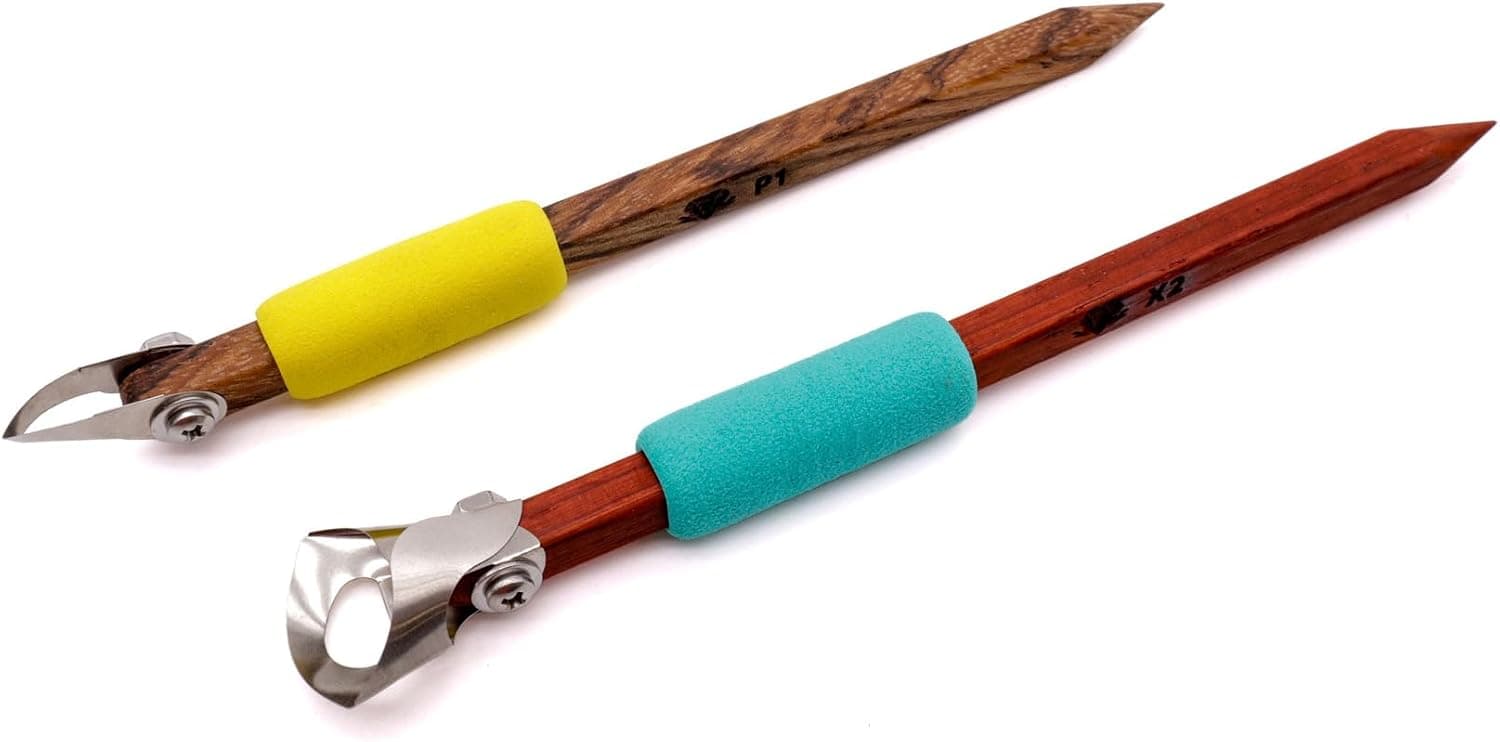
+ P1 and X2 pair a fine line tip with a broader carving profile
From our guide: Best Pottery Decorating Tools: Stamps, Rollers, and Slip Tools
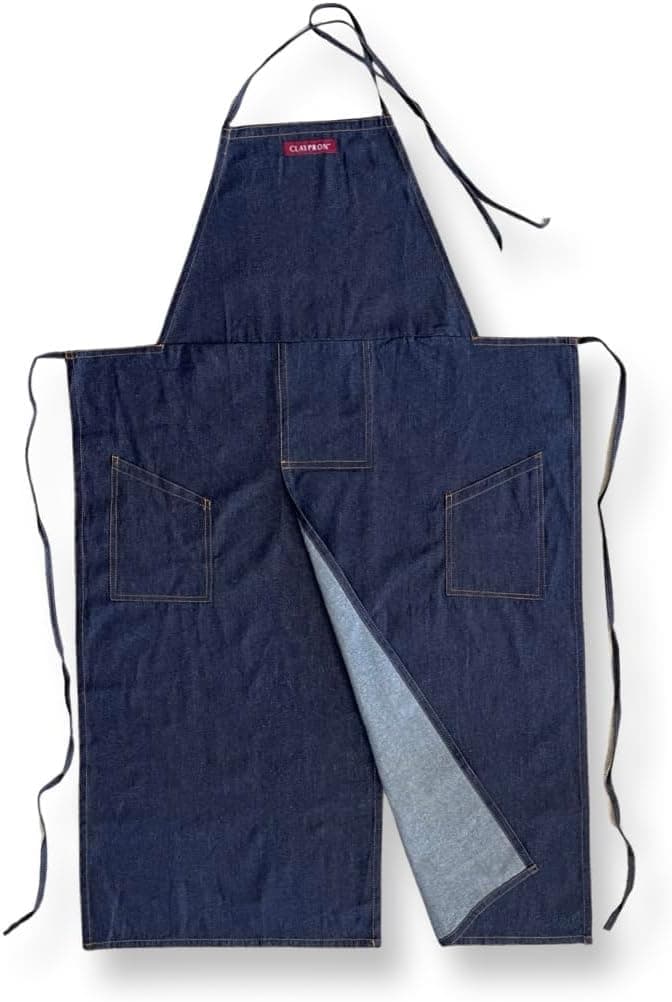
+ Split overlapped design lets you sit at the wheel with legs covered
From our guide: Best Clay Cleanup Tools for a Healthier, Faster Studio Reset

Popular right now
- Firing Schedules ExplainedArticle
- Best Small Kilns for Test Tiles, Jewelry, and Compact StudiosBuying guide
- Underglaze TechniquesArticle
- Bisque Firing vs Glaze FiringArticle
- Fixing Common Throwing Problems on the Pottery WheelArticle
- Caring for Pottery ToolsArticle
Based on the last 28 days of search and visitor data.