How to Make Clay at Home: Cornstarch, Salt Dough, Paper and Wild Clay
Published How we research
You can make clay at home in about 15 minutes from kitchen ingredients, but it will be a craft dough that air dries or bakes hard, not ceramic that survives a kiln. Real ceramic clay can only be made at home by digging and processing wild clay or by mixing dry ceramic materials, and both take far more work. Which method fits depends on what you want to end up with: an ornament, a sculpture, or a pot that can be fired and glazed.
Products from this article
The highest-scoring picks from the buying guides this article links to. Scores are our editorial assessment, not customer ratings.
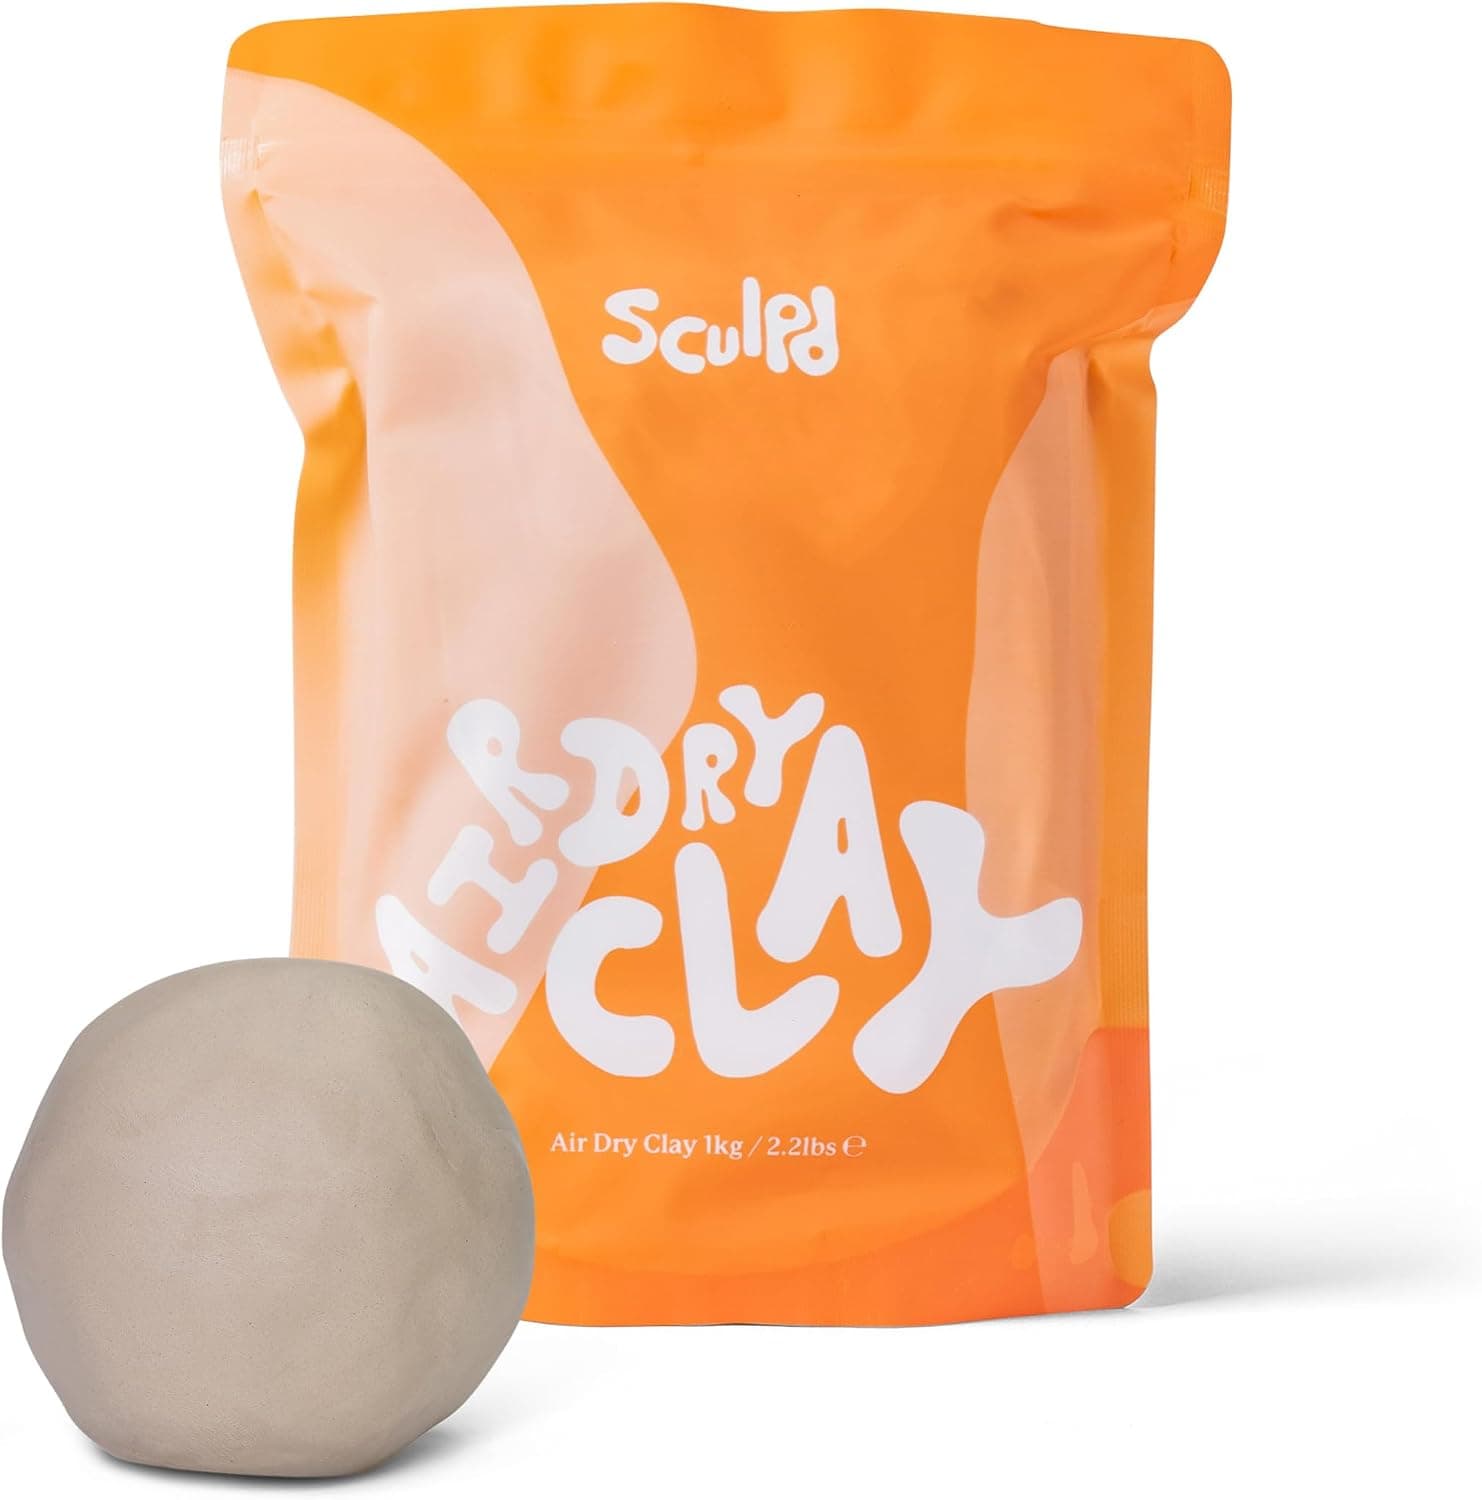
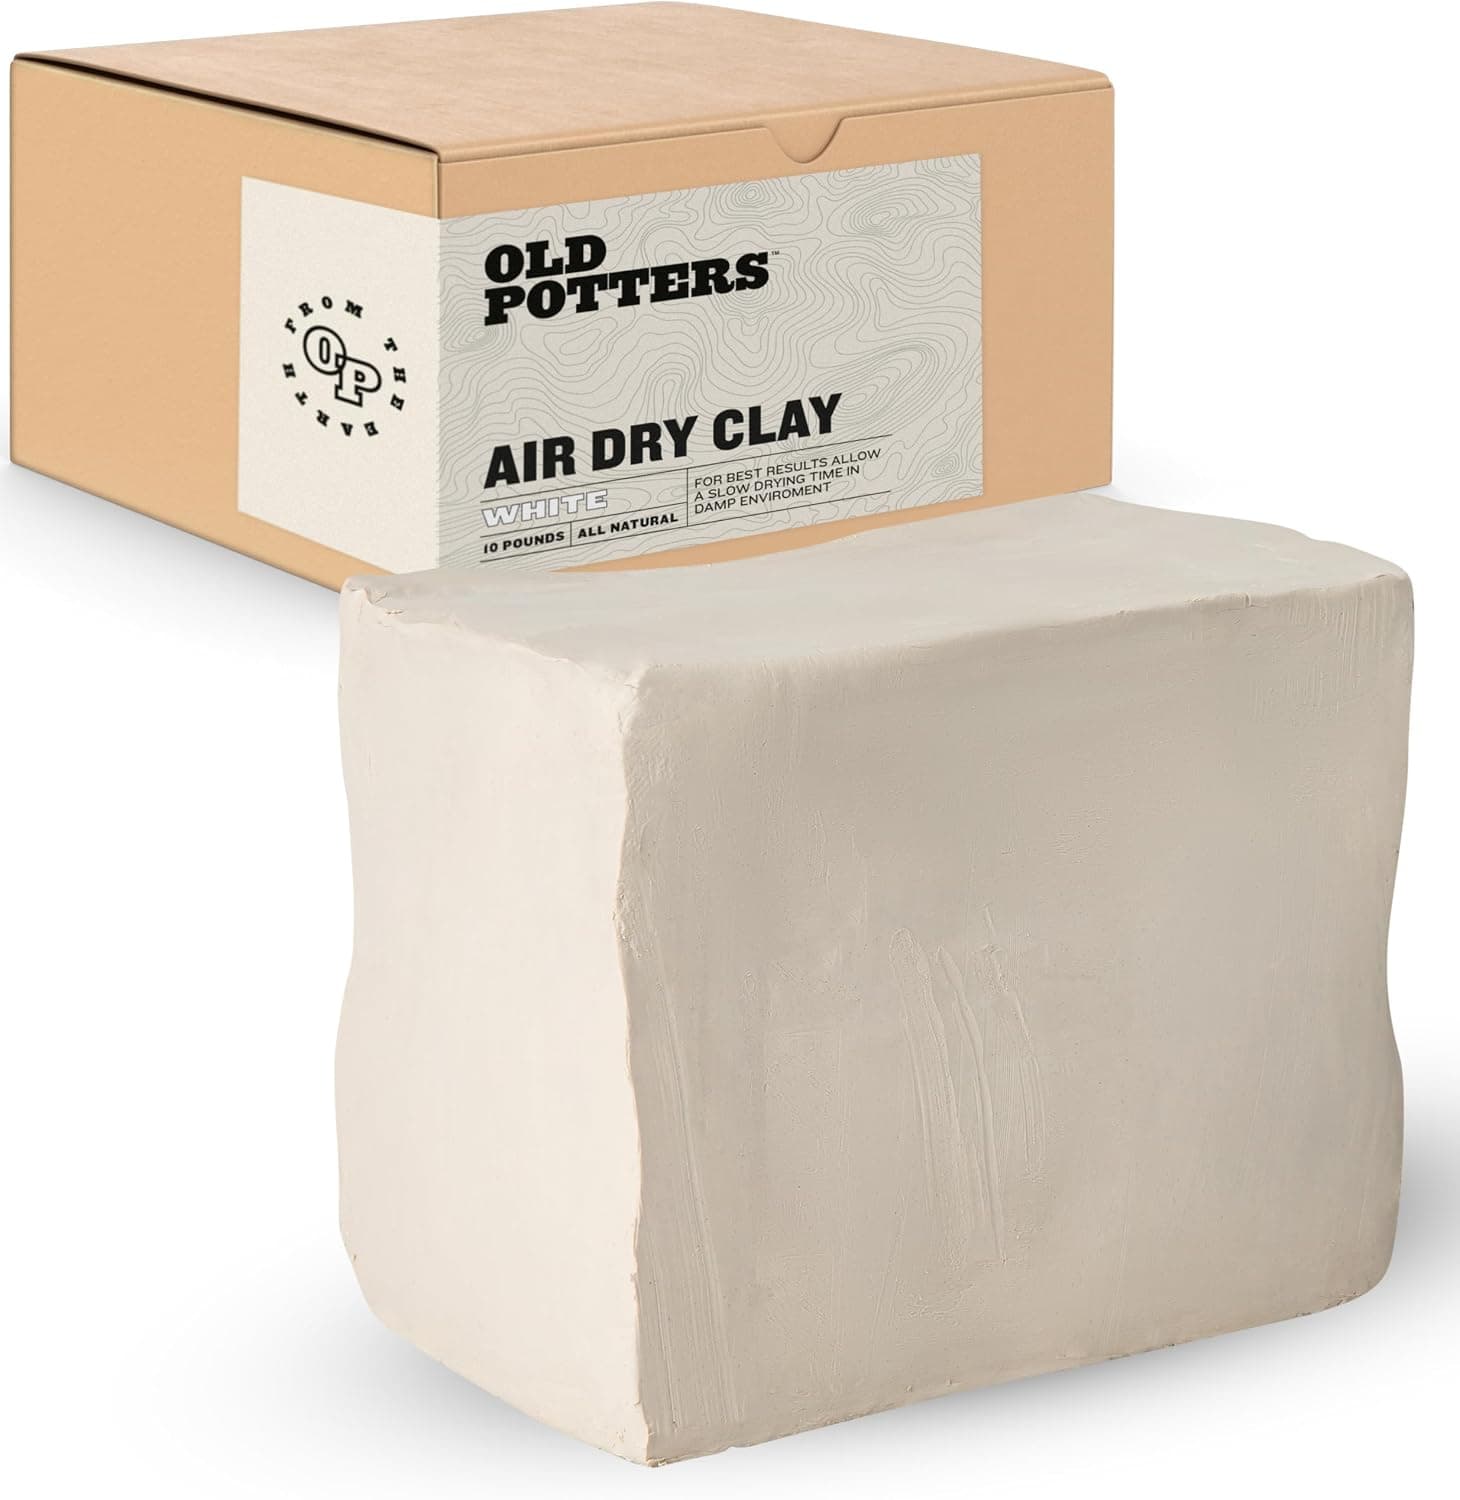
+ 10 lbs block gives plenty of clay for sculptures and hand-built pieces
From our guide: Best Air Dry Clay
+ 16-Ounce size offers better value than the smallest Creative Paperclay pack
From our guide: Best Paper Clay
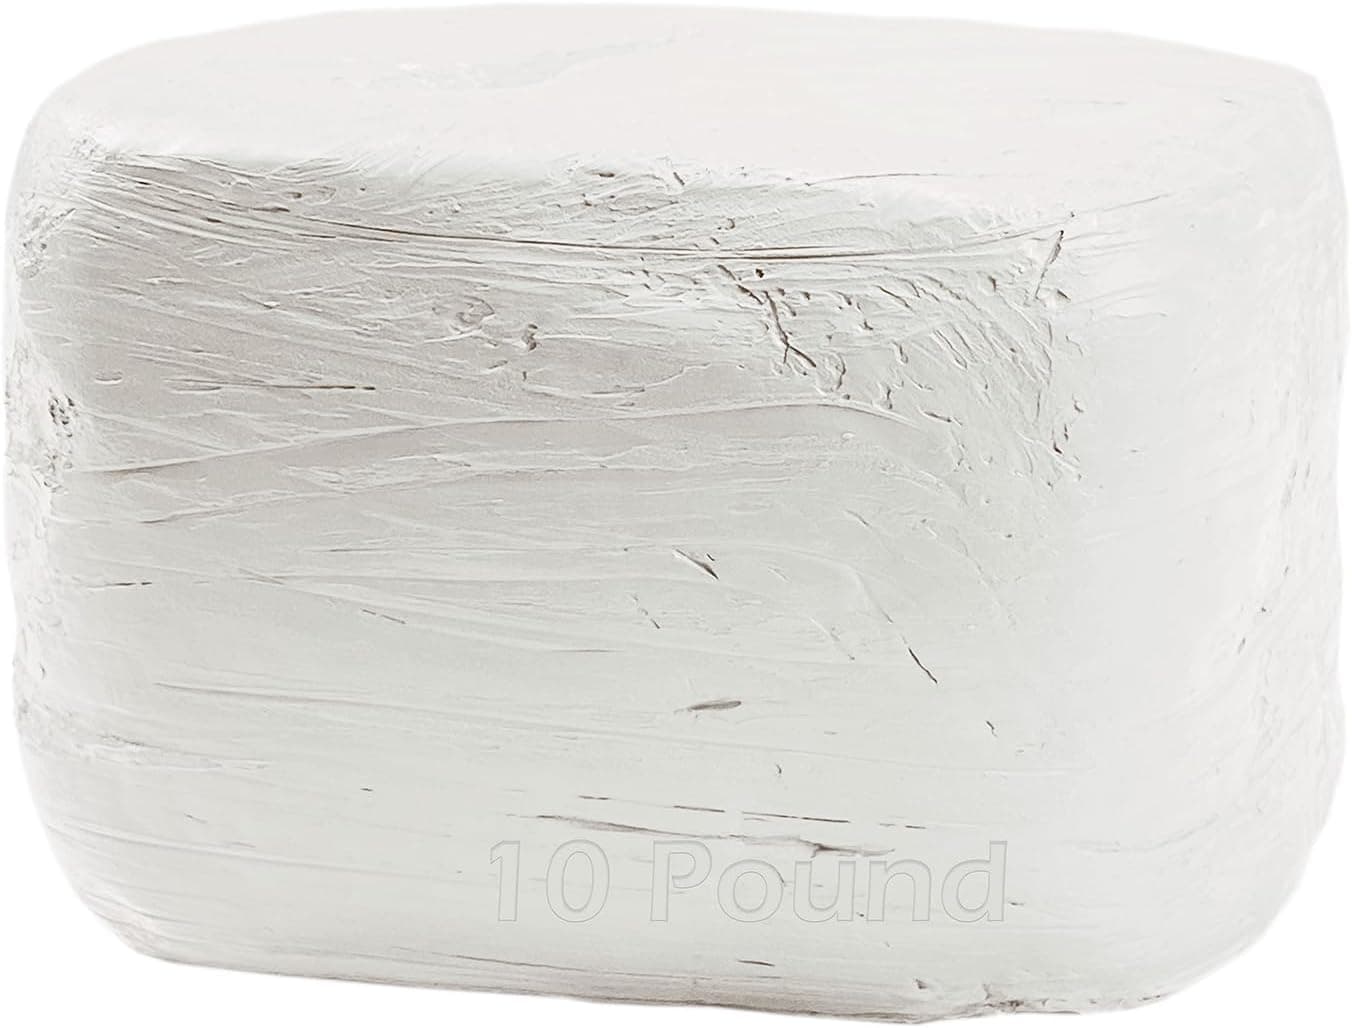
+ 10lbs block is generous for larger sculptures and practice pieces
From our guide: Best Clay for Pottery Without a Kiln
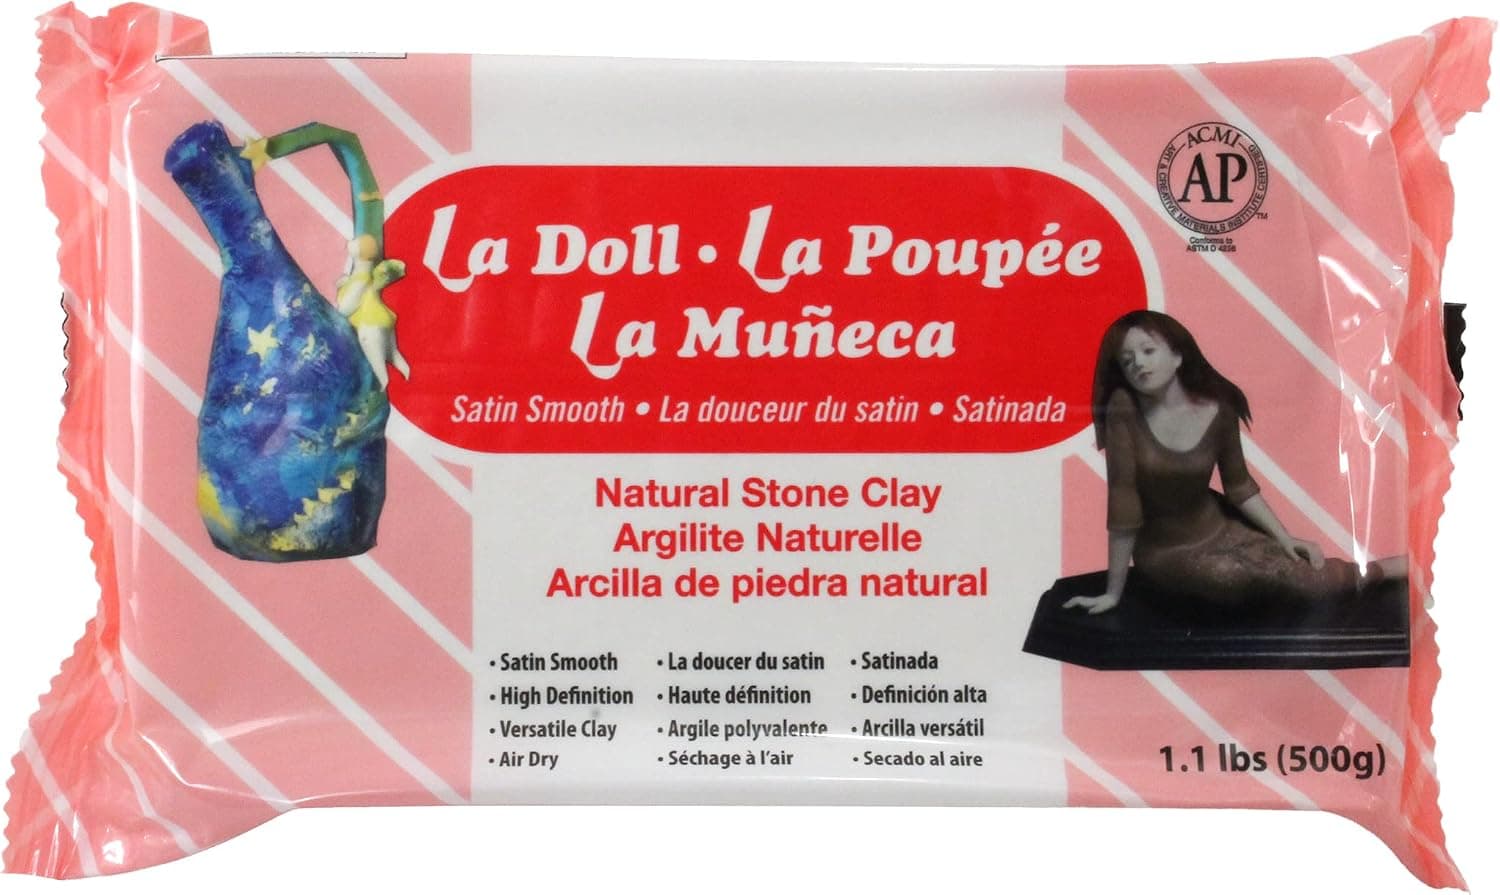
+ Satin smooth finish reduces sanding for dolls and figurines
From our guide: Best Paper Clay

Cornstarch clay: the smooth, white option
The most common recipe for smooth white homemade clay is 2 parts baking soda to 1 part cornstarch, with water added until it cooks into dough. A widely used version is 2 cups baking soda, 1 cup cornstarch and about 1 1/4 cups cold water. Stir everything together in a saucepan, cook over medium heat while stirring, and pull it off the heat when it thickens into a mashed-potato texture that clumps around the spoon.
Tip the dough onto a board, cover it with a damp cloth until it is cool enough to handle, then knead it smooth. It dries to a hard, chalky finish over a day or two depending on thickness, and fine detail holds well. Keep unused dough wrapped in plastic, because it forms a skin within minutes. Pieces stay brittle and are not waterproof, so treat them as decoration.
Salt dough: cheapest and fastest
Salt dough is the simplest recipe: 2 parts flour, 1 part table salt and 1 part water by volume, kneaded for a few minutes until smooth. It is cheap, safe for children to handle and good for ornaments, handprints and tags. Roll it to a consistent thickness, cut shapes, poke any hanging holes before drying, and let it air dry or bake it in a low oven, typically around 250 degrees F, until it is hard all the way through.
The trade-offs are real. Salt dough absorbs moisture from the air, so unsealed pieces soften or grow spots in humid rooms, and thick pieces can stay damp in the center and crack. Paint and seal pieces with a clear acrylic sealer once they are fully dry. It is not food safe and it is not a substitute for a ready-made clay if you want something that lasts for years.
Making clay from paper
To make clay from paper, tear plain paper, newsprint or unprinted paper towels into small pieces, soak them in hot water until they break down, then blend them into a pulp and squeeze out as much water as you can. The pulp is then mixed with a binder. Common home binders are white PVA glue, wallpaper paste or flour paste, and joint compound is often added to give the mix body and a smoother surface.
The result is light, strong once dry and easy to sand, which suits masks, sculpture and large lightweight forms. It shrinks as it dries, so build over a core or add thin layers instead of making one thick lump. This is a different thing from ceramic paper clay, where paper fiber is mixed into real clay and burns out in the kiln, leaving a fired body that is stronger when green.
Digging and processing wild clay
Wild clay is real ceramic material, and it is the only route to a fired result without buying clay. Look for sticky, fine-grained subsoil in road cuts, creek banks and excavation sites, and check that the spot is not on land where digging is prohibited. Do a simple test: wet a handful, roll it into a coil, and wrap it around your finger. If it bends without cracking, it has useful plasticity.
To process it, dry the clay completely, break it up, soak it in a bucket of water until it slakes into slurry, then sieve it through a fine mesh to remove stones and roots. Let it settle, pour off the clear water, and spread the thick slip on plaster or an absorbent board until it reaches wedging consistency. Make test tiles before anything else, because wild clay often fires at a low temperature, may slump or melt at higher cones, and shrinks by an unknown amount.
Mixing a clay body from dry materials
Potters who want a repeatable stoneware or porcelain body can mix one from dry materials such as ball clay, kaolin, feldspar and silica, weighed out by recipe and blended with water. It gives full control over color, firing range and shrinkage, but you need a scale, a dust mask or respirator, a bucket or mixer and a way to dry the batch to a workable state. Silica dust is a serious health hazard, so wet-clean surfaces and never sweep dry powder.
For most home potters this is not worth it. A bag of ready-made clay costs little compared with the time, tools and testing involved, and a commercial body is consistent from bag to bag. A more practical way to get more clay for free is to reclaim your own trimmings and failed pots. Our guide to reclaiming scrap clay covers that process, and a beginner clay guide helps you choose the first bag.
Which method should you pick
For kids, ornaments and quick projects, use salt dough or cornstarch clay. For smooth, light sculpture and masks, make paper clay. For anything that has to hold water or go through a kiln, buy a ceramic clay, or use wild clay only if you are happy to test and fail a few times. If you want to make pots without owning a kiln, a ready-made air dry or oven-bake clay gives better results than the homemade recipes.
Whatever you make, label the batch and write down the recipe and drying time. Homemade doughs vary with humidity, flour brand and how long you cook them, and notes make the second batch better than the first.
Frequently asked questions
Can homemade clay be fired in a kiln? Cornstarch clay, salt dough and paper-and-glue clay cannot, because they contain organic binders and salt that burn out, release fumes or damage kiln shelves. Only wild clay and clay mixed from ceramic materials belong in a kiln, and then only after test firings.
Is homemade clay food safe? No. Craft doughs are not waterproof and cannot be glazed to a food-safe finish. Even fired wild clay needs a glaze that is known to be food safe, and the clay body needs to mature properly.
How long does homemade clay last? Stored airtight in plastic, cornstarch clay and salt dough keep for a few days to a week in a cool place. Finished, sealed and dry pieces can last for years if kept away from moisture.
How do I stop homemade clay from cracking? Keep pieces an even thickness, dry them slowly away from heaters and direct sun, and avoid thick solid lumps. Flip flat pieces partway through drying so air reaches both sides.
Popular right now
- Underglaze TechniquesArticle
- Best Underglaze Pencils: Draw Fine Ceramic Detail on BisqueBuying guide
- Best Clay Storage Containers to Keep Clay Workable for MonthsBuying guide
- Why Glaze Crazes and How to Prevent ItArticle
- Recycling ClayArticle
- Best Ware Boards for Moving and Drying Pots SafelyBuying guide
Based on the last 28 days of search and visitor data.