Glazing Basics
Published How we research
Glaze is where pottery becomes finished, and it is also where beginners lose the most work. A glaze is essentially powdered glass with additives that keep it suspended in water and stuck to the pot until firing melts it into a permanent coating. Understanding that simple fact explains most glazing rules: the powder must be applied evenly because it melts in place, it must not touch the kiln shelf because melted glass welds, and it must fit the clay body because glass and clay shrink at different rates as they cool.
The first practical decision is brushing versus dipping. Commercial brushing glazes come in small jars, apply like thick paint in two or three coats, and are ideal for home potters glazing a few pieces at a time. Dipping glazes come as powder to mix into buckets and coat a pot in one three-second dunk, which is faster and more even but requires a bucket of each color and space to store them. Most home potters start with brushing glazes and graduate to dipping buckets once a favorite color earns the commitment.
Application thickness is the variable that controls almost everything, and it is invisible until after the firing. Too thin and colors go pale, patchy, or dry-looking; too thick and glaze runs down the pot, crawls into bare patches, or pools at the base. With brushing glazes, follow the coat count on the jar and let each coat dry to matte before the next. With dipping glazes, the traditional target is the thickness of a credit card, checked by scratching a small spot with a needle. Keep notes on every piece, because thickness is a habit you calibrate over several firings.
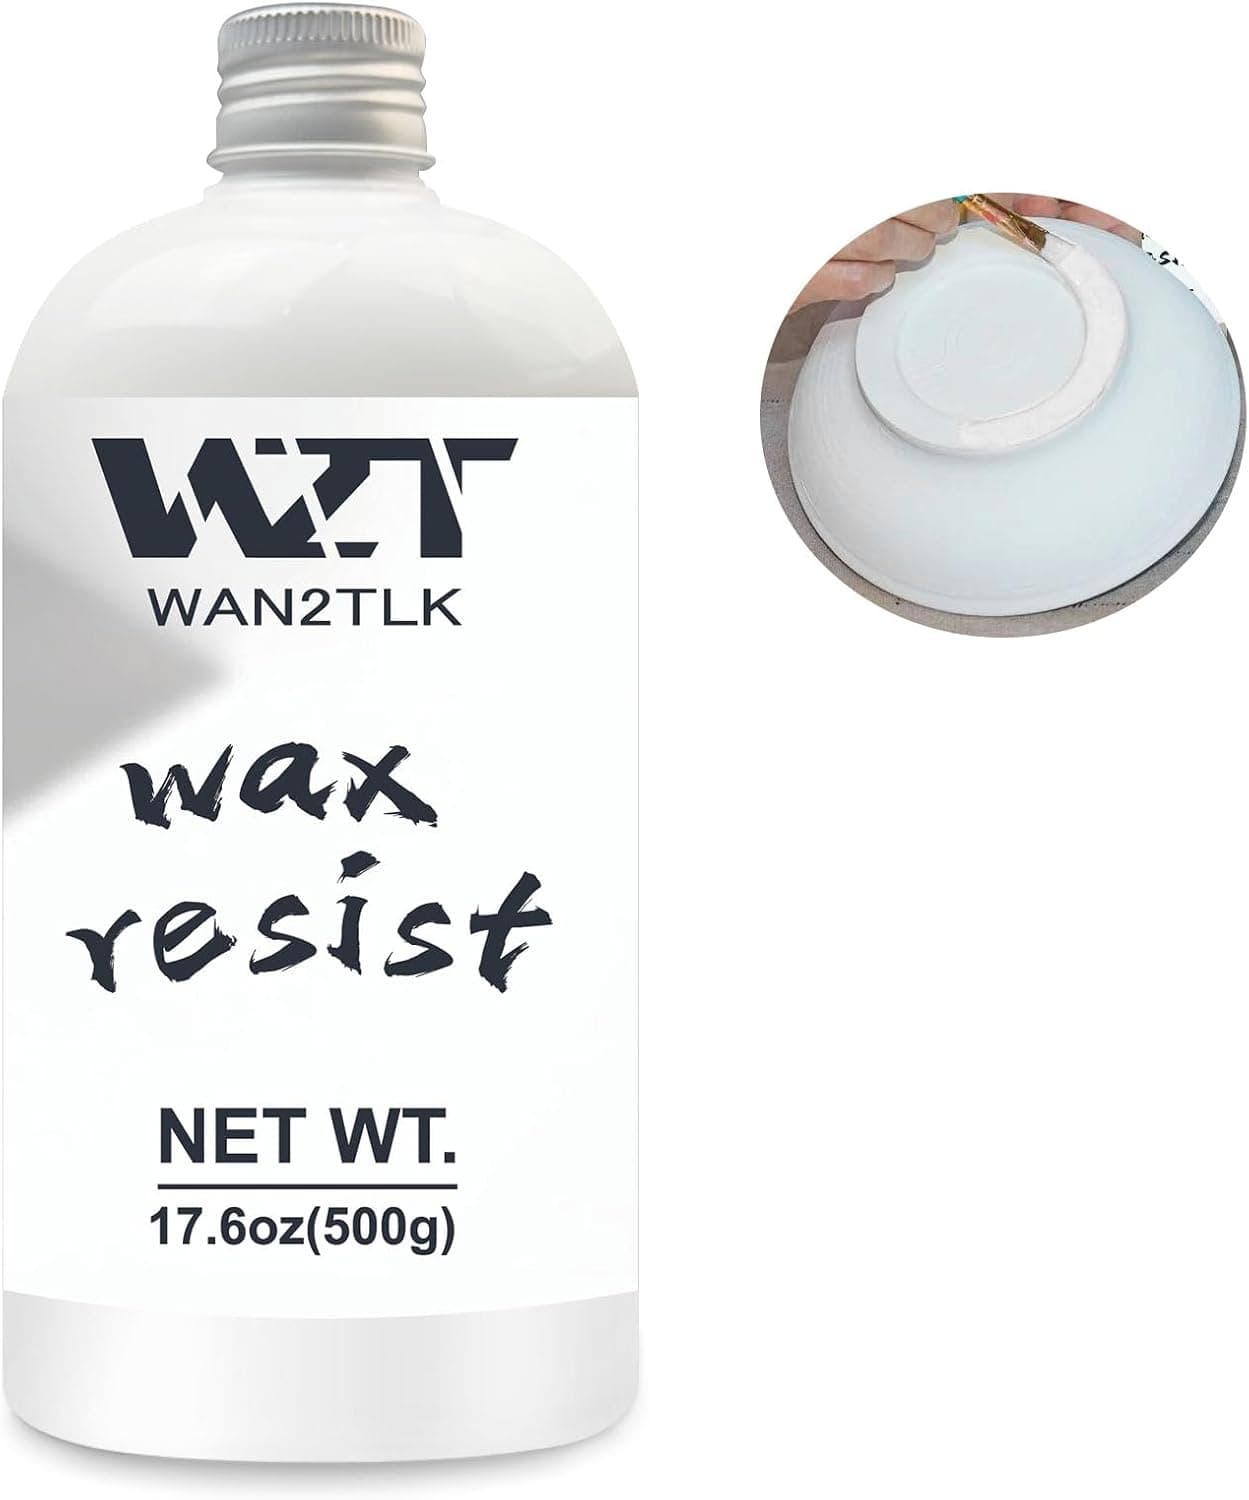
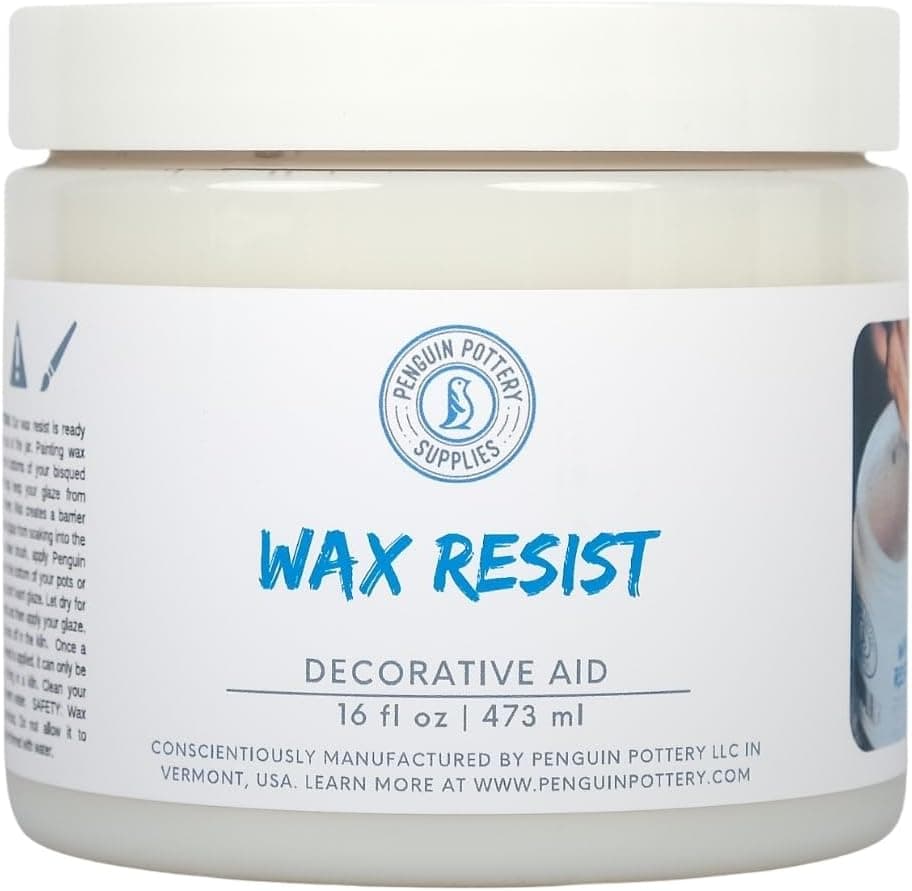
Before any glaze touches the pot, prepare the surface. Wipe bisqueware with a damp sponge to remove dust, which otherwise causes crawling, the defect where glaze retreats into islands and leaves bare clay. Apply wax resist to the foot ring and the bottom three or four millimeters of the wall, so melted glaze cannot reach the shelf. Even with wax, wipe the foot with a damp sponge after glazing, because wax slows glaze absorption but does not always stop it. A pot stuck to a kiln shelf usually costs you both the pot and a shelf grinding session.
Learn the vocabulary of common defects early, because each one names its own cause. Crazing is a network of fine cracks that means the glaze shrank more than the clay; it is a fit problem, not an application problem. Pinholes are tiny craters usually caused by dust, thick application, or a fast firing. Crawling means the glaze pulled away from grease, dust, or cracks in the raw glaze coat. Running means too thick, too hot, or a glaze designed to move. None of these are mysteries, and diagnosing them from a chart turns every disappointing kiln opening into a fixable lesson.
The habit that improves glazing fastest is testing. Make small test tiles from your actual clay, ideally with a vertical face and some texture, and fire every new glaze and every combination on a tile before trusting a finished pot to it. Layered glazes in particular behave unpredictably, and the difference between two coats and three can be the difference between a subtle effect and a puddle on the shelf. A shelf of labeled test tiles is the most valuable reference object in any studio, and it grows more valuable with every firing.
Products from this article
The highest-scoring picks from the buying guides mentioned above. Scores are our editorial assessment, not customer ratings.
+ Pint size is economical for waxing bases on a full kiln load
From our guide: Best Wax Resist for Pottery: Clean Lines and Dry Feet Every Time
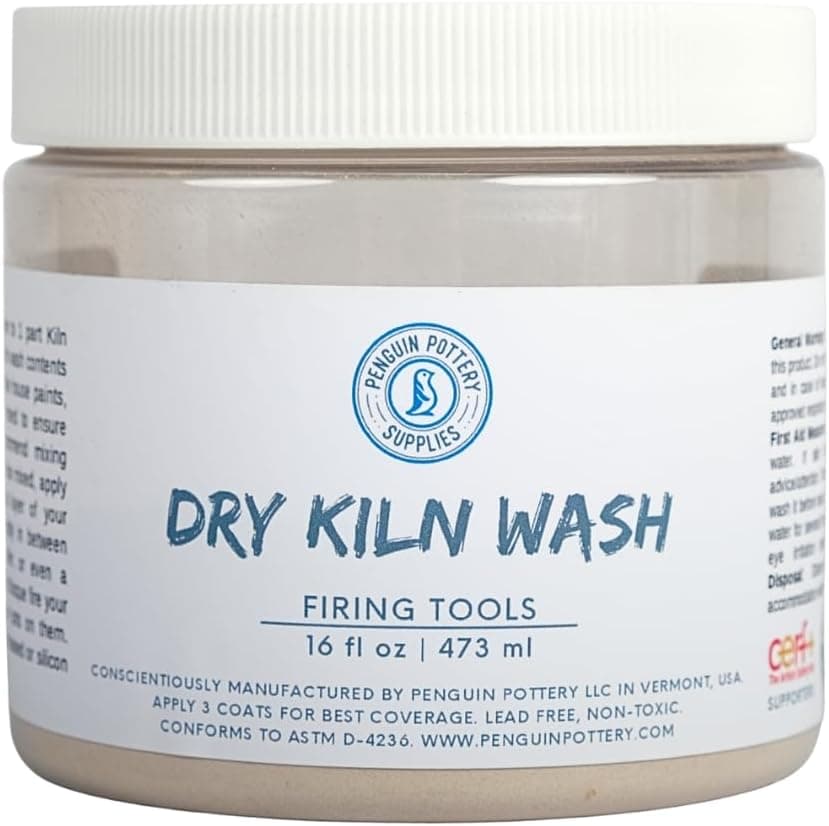
+ 5 Lbs dry powder coats many shelves for schools and studios
From our guide: Best Kiln Wash to Protect Shelves from Glaze Drips
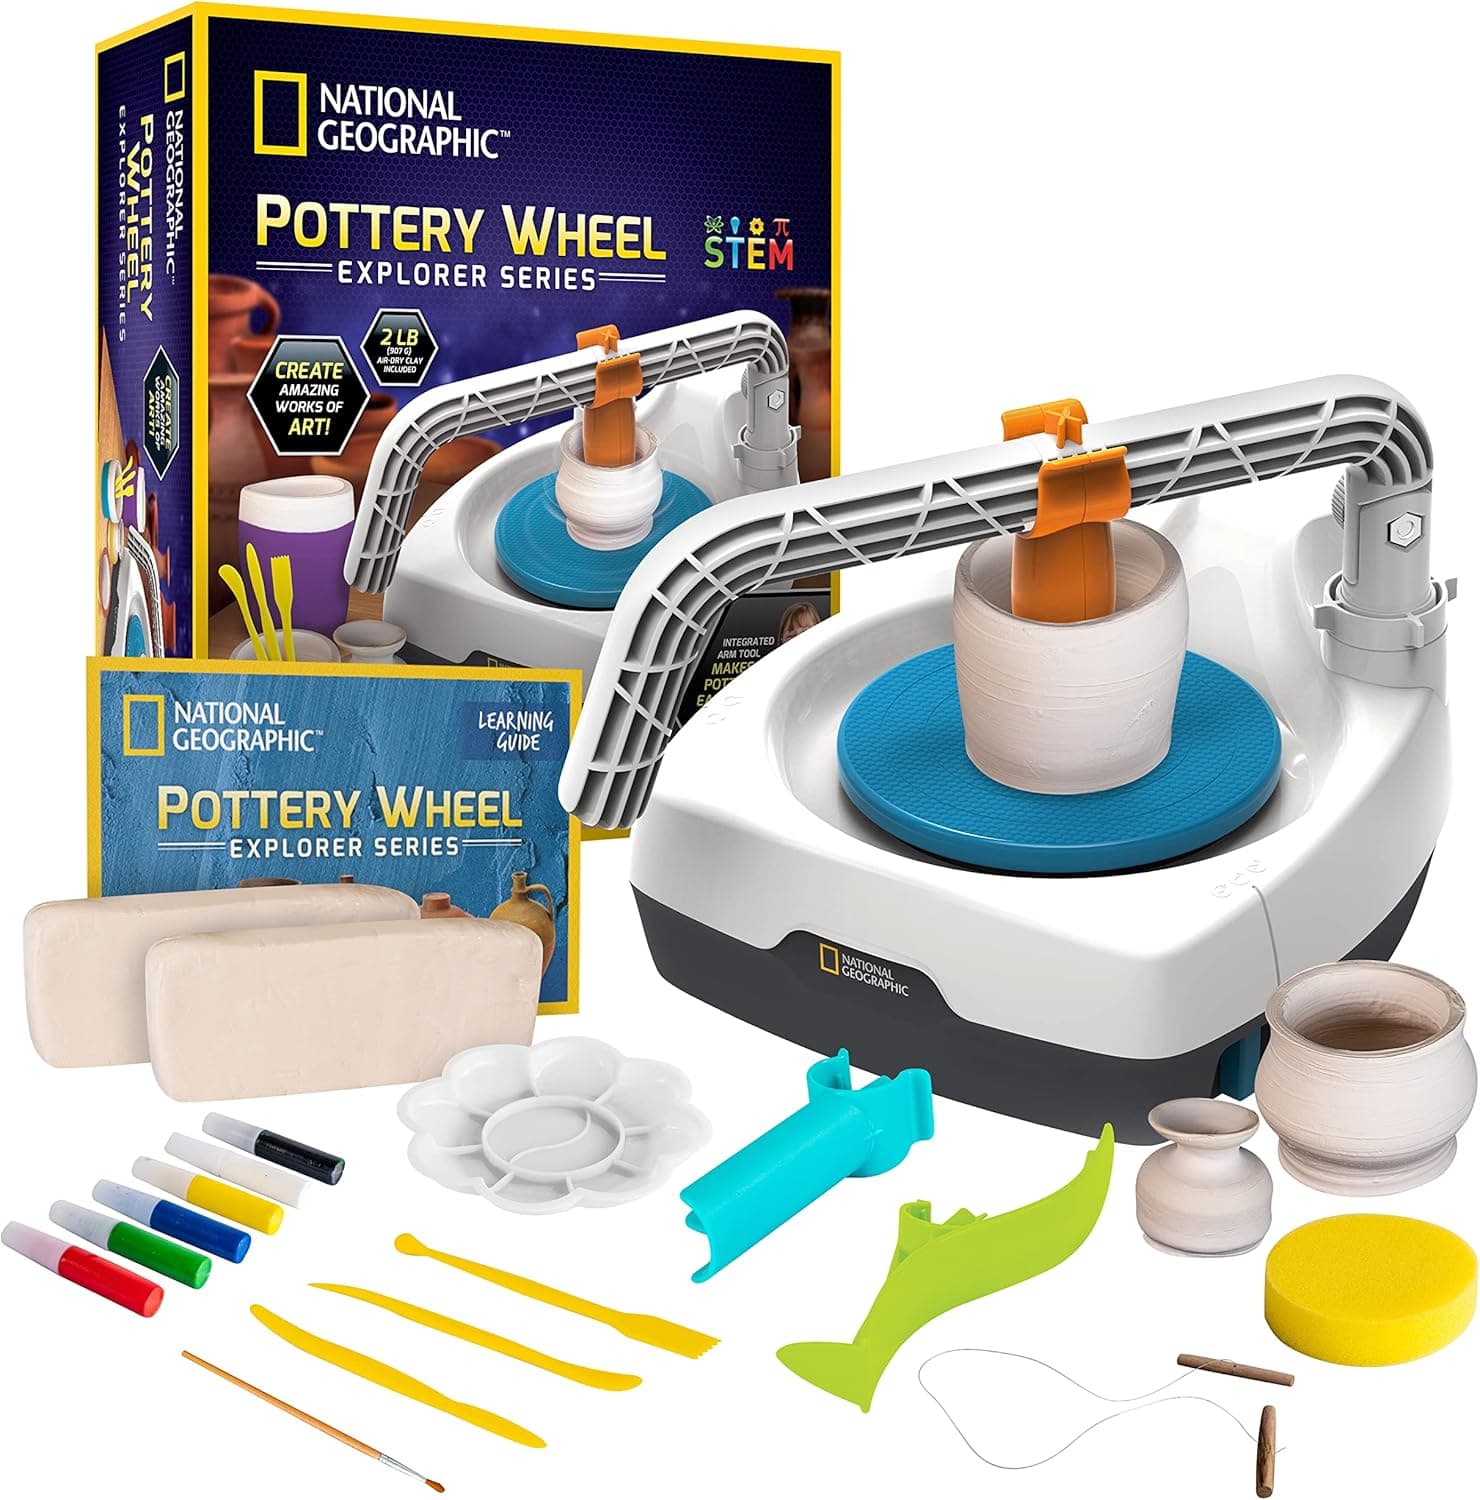
+ Plug-in motor avoids the weak spin and battery swaps of cheaper kids wheels
From our guide: Best Pottery Wheels for Beginners
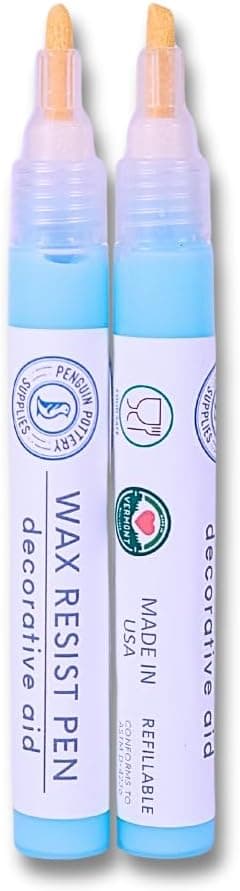
+ Chisel and round tips give both broad bands and fine lines
From our guide: Best Wax Resist for Pottery: Clean Lines and Dry Feet Every Time
Popular right now
- Firing Schedules ExplainedArticle
- Best Small Kilns for Test Tiles, Jewelry, and Compact StudiosBuying guide
- Underglaze TechniquesArticle
- Bisque Firing vs Glaze FiringArticle
- Fixing Common Throwing Problems on the Pottery WheelArticle
- Caring for Pottery ToolsArticle
Based on the last 28 days of search and visitor data.