Drying Pottery Evenly
Published How we research
More pots die on the drying shelf than in the kiln. Drying looks passive, just a pot sitting on a board, but it is the stage where the sharpest stresses of the whole ceramic process occur. Clay shrinks as water leaves, and it shrinks exactly as unevenly as it dries. A rim that dries hours ahead of a base, or a handle that dries ahead of a mug wall, is two parts of one object trying to become different sizes. Something has to give, and it gives as a crack or a warp.
The core principle is simple: slow drying is even drying. Water can only leave the surface as fast as moisture migrates outward from the interior, and rushing the surface just steepens the moisture gradient. The standard tool is nothing more than loose plastic: tent freshly made work with a dry-cleaning bag or sheet plastic for the first day or two, keeping the plastic from touching the surface where possible. This traps a humid microclimate that lets the whole piece equalize. Then loosen or remove the plastic in stages over following days. Thin, simple forms may go bare quickly, while large or complex pieces might live under plastic for a week or more.
Geometry decides where trouble starts. Rims, edges, handles, and thin extremities dry first because they have the most surface for their volume; thick bases and joins dry last. Work with the geometry instead of against it. Dry flatware and bowls upside down once they can support themselves, which exposes the slow-drying base and shields the fast-drying rim. Wrap handles, spouts, and small attachments individually with strips of plastic while the body catches up. Set pieces on wooden boards, plaster bats, or newspaper rather than plastic tabletops or metal, so the underside can breathe instead of staying damp while the top races ahead.
Environment matters as much as covering. Direct sun, radiators, fans, and open windows create one-sided drying, and one-sided drying is exactly the mechanism of warping: the exposed side shrinks while the sheltered side has not. Choose a spot with still air and stable temperature. In very dry climates or heated winter rooms, everything dries dangerously fast, and potters compensate with damp boxes: a lidded plastic tub, optionally with a wet sponge or a slab of moist plaster inside, holds work at leather hard for days. A damp box also buys scheduling freedom, keeping pots trimmable until the weekend instead of on the clay's timetable.
Joined work deserves special paranoia. A handle pulled and attached at a different moisture level than its mug is a crack that has already been scheduled; it merely has not appeared yet. Join parts at matching leather-hard states, score and slip generously, compress the join well, and then dry the assembly slowly under plastic. The same logic applies to slab boxes, whose corners concentrate stress, and to anything with feet, lugs, or sprigs. When a crack does appear at a join during drying, it can sometimes be healed at leather hard with vigorous compression and a little slip, but a crack that reopens has told you the truth: the stress lives deeper than the repair.
Know the finish line. A pot is bone dry when it stops feeling cool against your cheek or inner wrist, since evaporating water chills the surface, and when its color has lightened fully and evenly. Only bone dry work should enter a bisque kiln. If you inherit a piece that dried unevenly and survived, do not celebrate early; let it sit a few extra days, because stresses relax slowly, and the kiln will find any that remain. Patience during drying is the cheapest skill in ceramics, and it pays out every single firing.
Products from this article
The highest-scoring picks from the buying guides mentioned above. Scores are our editorial assessment, not customer ratings.
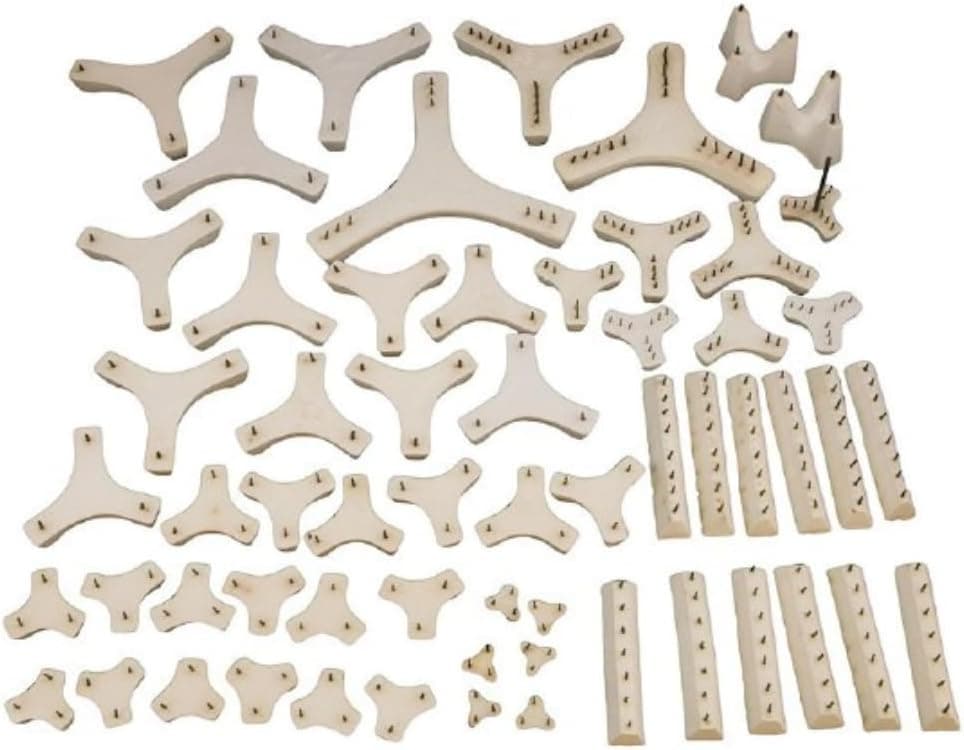
+ 60-Count assortment covers many piece sizes in one kit
From our guide: Best Kiln Furniture Kits: Shelves and Posts That Fit Your Kiln
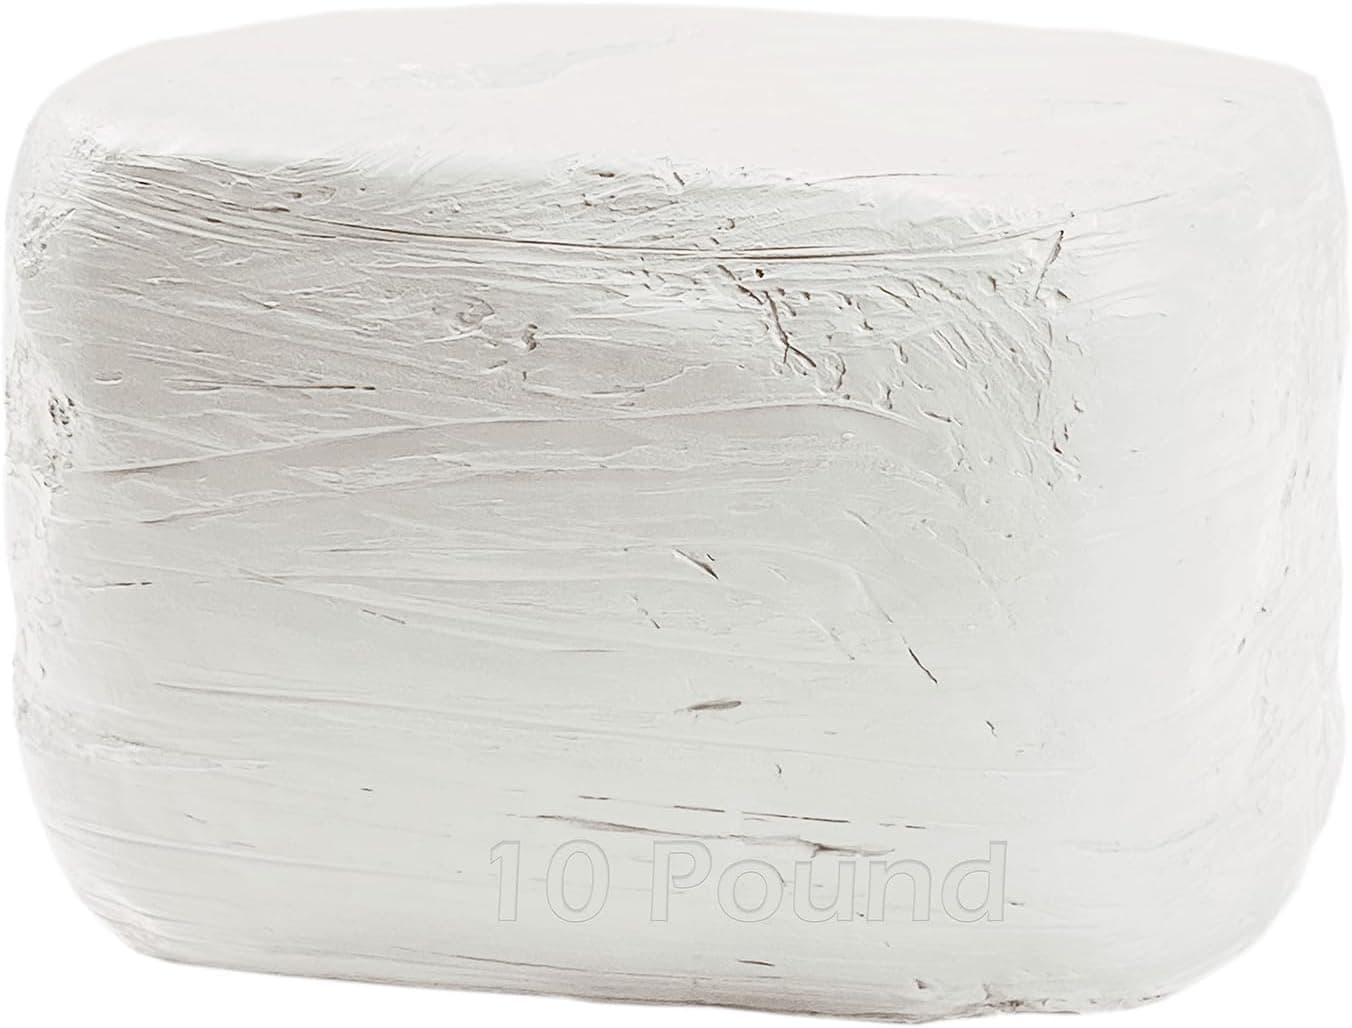
+ 10lbs block is generous for larger sculptures and practice pieces
From our guide: Best Clay for Pottery Without a Kiln
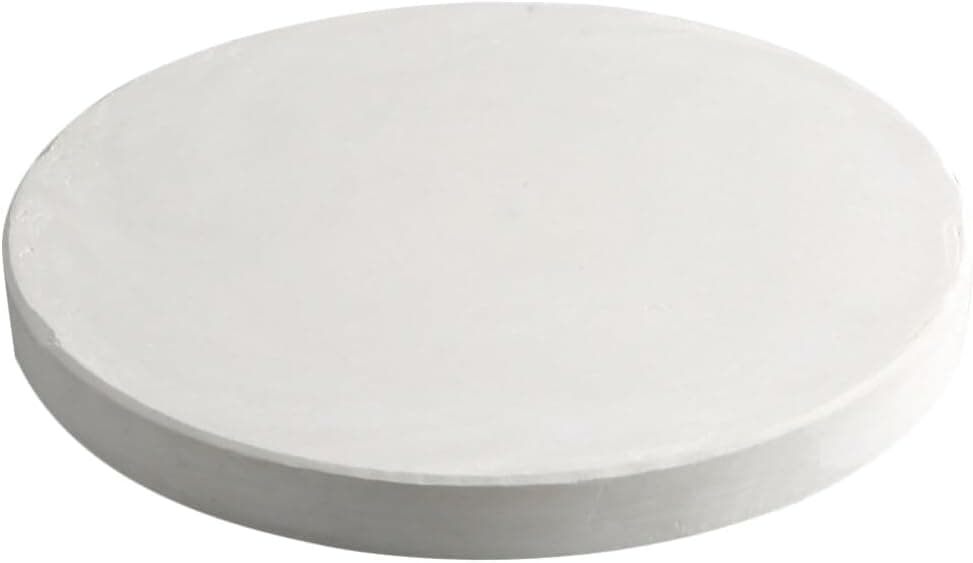
+ Plaster drying slab pulls water from reclaim or wet pieces
From our guide: Best Ware Boards for Moving and Drying Pots Safely
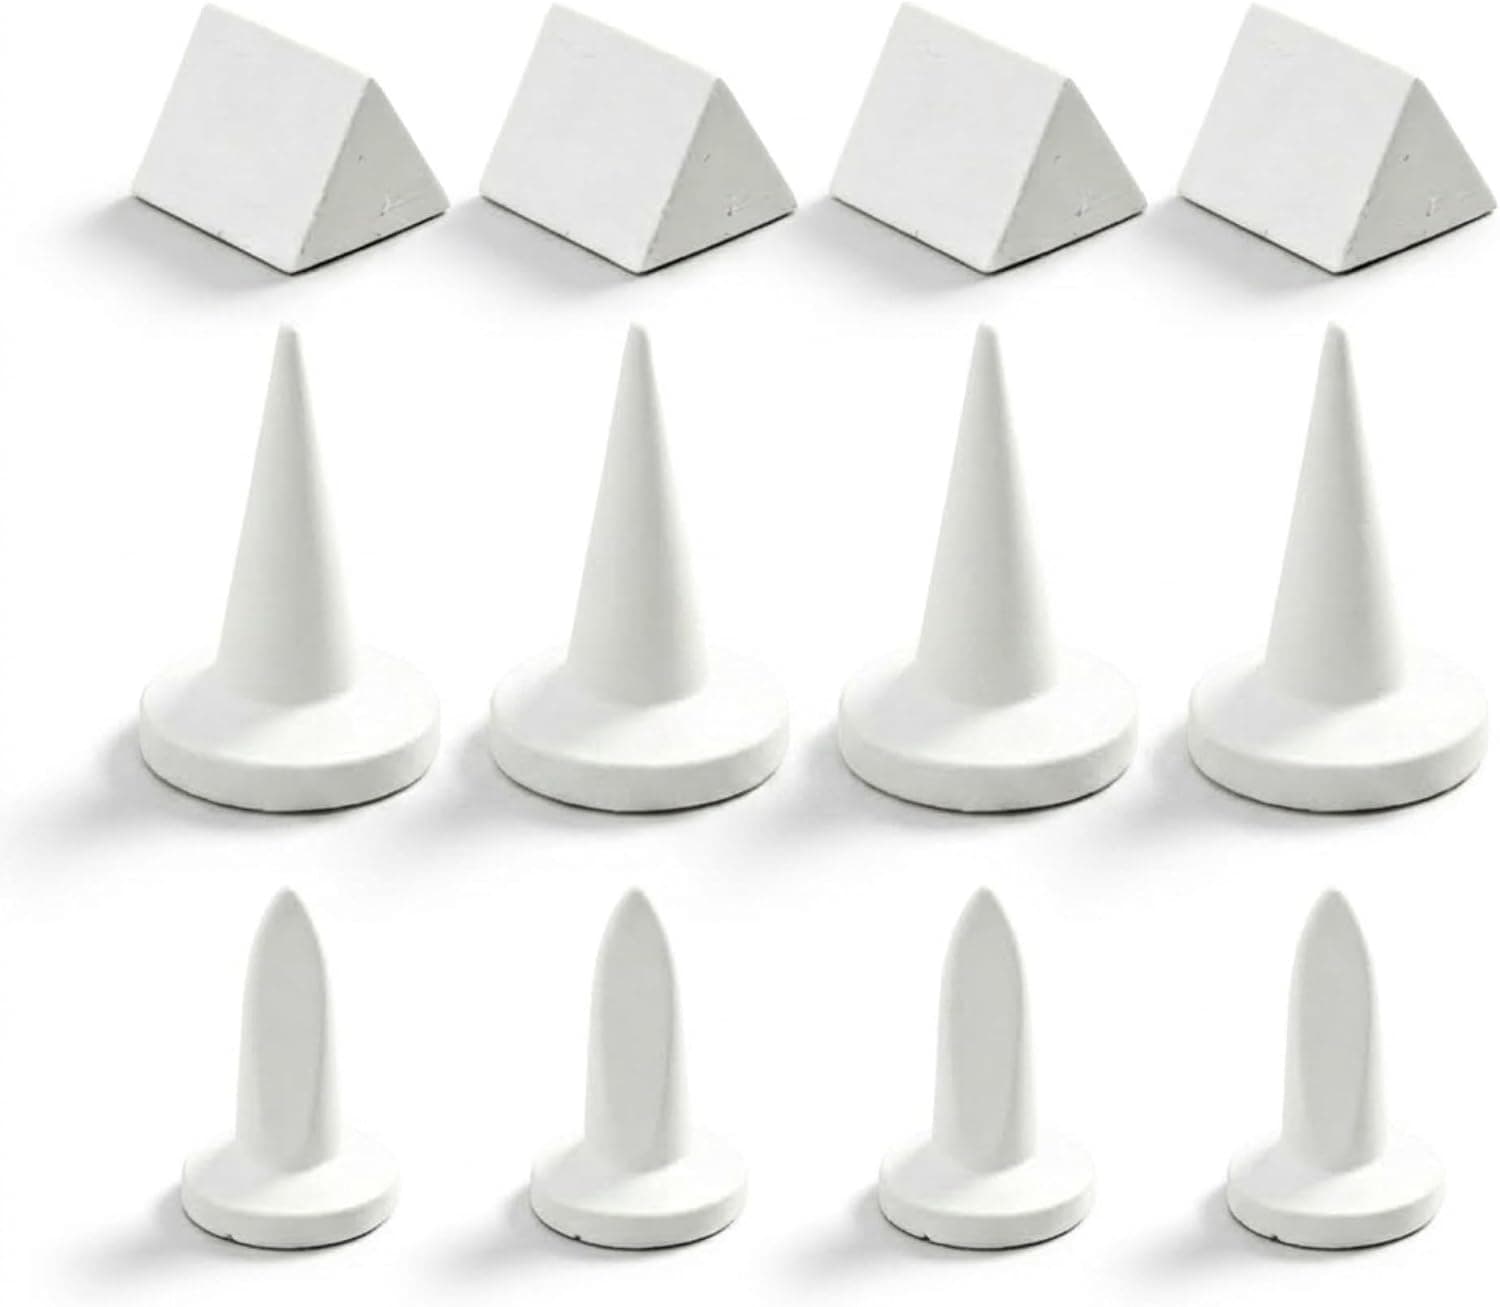
+ 3 Sizes let you adjust shelf spacing for different piece heights
From our guide: Best Kiln Furniture Kits: Shelves and Posts That Fit Your Kiln
Popular right now
- Firing Schedules ExplainedArticle
- Best Small Kilns for Test Tiles, Jewelry, and Compact StudiosBuying guide
- Underglaze TechniquesArticle
- Bisque Firing vs Glaze FiringArticle
- Fixing Common Throwing Problems on the Pottery WheelArticle
- Caring for Pottery ToolsArticle
Based on the last 28 days of search and visitor data.