Caring for Pottery Tools
Published How we research
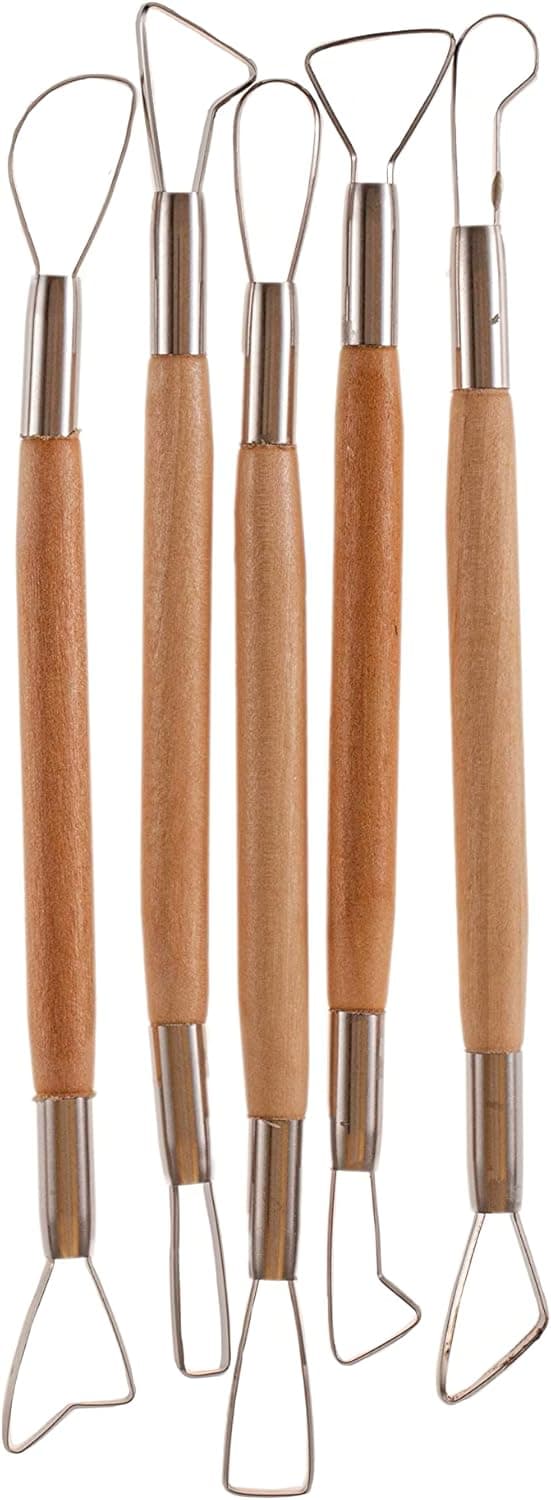
Pottery tools last decades with five minutes of care per session: rinse off the clay, dry everything on a towel before it goes back in the box, and wipe steel tools monthly with a drop of food-safe oil. The enemy is standing water on carbon steel, which rusts overnight. Sharpen trimming loops monthly, keep wooden tools out of long soaks, and store tools in open jars or on a magnetic strip rather than a wet toolbox section. Pottery tools are cheap, which is exactly why they get neglected. A trimming tool costs less than a coffee, so it gets left in the slop bucket, rusts, dulls, and gets replaced, and the cycle repeats for years. The alternative costs five minutes per session: tools that are cleaned, dried, and occasionally sharpened work better, feel better, and last decades. More importantly, tool condition quietly shapes your work. A dull trimming loop causes the chattering and tearing that beginners blame on technique, and a rusty rib drags where a clean one glides.
The daily routine is the whole game
The daily routine is the whole game. At the end of each session, drop tools into the rinse bucket, rub off clay with a sponge or your fingers, and lay everything on a towel to dry before it goes back in the box. The enemy is not clay, which is harmless, but water sitting on carbon steel. Trimming tools, needle tools, fettling knives, and wire loop tools are mostly carbon steel because it holds an edge better than stainless, and carbon steel rusts overnight in a damp toolbox. Dry them, and every other problem becomes rare. A monthly wipe with a drop of mineral oil or camellia oil on steel surfaces adds a protective film; use food-adjacent oils rather than machine oils, since these tools touch material that touches your hands for hours.
When rust appears
When rust does appear, it is rarely fatal. Light surface rust scrubs off with fine steel wool or a folded piece of fine sandpaper, followed by that same drop of oil. Pitted, flaking rust on a cutting edge is worth more thought: you can restore the tool with sandpaper and patience, but deep pits along the working edge will keep tearing clay, and a heavily pitted loop tool has honestly reached the end. The wire on cutting wires and wire tools deserves its own inspection, since a frayed cut-off wire snaps mid-slice, usually leaving a wire end buried in a pot you liked.
Sharpening: the step almost nobody does
Sharpening is the maintenance step almost nobody does and everybody should. Trimming tools arrive moderately sharp and dull steadily with use, especially against groggy clay, which is mildly abrasive by design. A dull loop tool skates and bounces; a sharp one peels ribbons silently. Restore edges with a fine metal file, a small sharpening stone, or fine wet-and-dry sandpaper on a flat surface, working the outside bevel of the loop at its existing angle and finishing with a light pass inside to remove the burr. The first time you trim with a freshly sharpened tool is a small revelation, and afterward you will sharpen monthly without being told.
Wooden and natural tools want the opposite care
Wooden and natural tools want the opposite of steel care. Wooden ribs, modeling tools, and throwing sticks should never soak; prolonged water exposure raises the grain, softens edges, and eventually splits the wood. Rinse them quickly, dry them, and occasionally rub in a little walnut or mineral oil to keep the surface sealed and smooth. Sponges get a genuine wash, not just a rinse, since they hold fine clay that turns them stiff and scratchy; squeeze them out in clean water and let them dry fully between sessions to avoid the mildew smell every studio knows. Chamois strips dry stiff as jerky but revive instantly in water; store them dry rather than letting them rot damp in a bucket corner.
Storage completes the system
Storage completes the system. A toolbox with a wet section that never fully dries is a rust incubator, so choose open storage: a jar for frequently used tools, a wall strip or magnetic bar for steel, a divided tray for the rest. Keep the tools you use every session within arm's reach of the wheel and the rest elsewhere, because a cluttered tool jar means every search deposits slurry across the whole collection. None of this is precious behavior; it is the same relationship any craftsperson keeps with their kit. Tools that are ready to work remove one more layer of friction between you and the clay, and low friction is what keeps a practice alive.
Frequently asked questions
How do I stop pottery tools from rusting? Dry them on a towel before they go back in the box, since standing water rusts carbon steel overnight, and wipe steel surfaces monthly with a drop of mineral or camellia oil.
Should I sharpen my trimming tools? Yes, monthly. Trimming tools dull steadily against groggy clay; a dull loop skates and chatters (which beginners blame on technique) while a sharp one peels ribbons silently.
Can I leave wooden pottery tools soaking? No. Prolonged water raises the grain, softens edges, and eventually splits the wood. Rinse quickly, dry, and occasionally rub in a little walnut or mineral oil.
Why does my trimming tool tear the clay? It is dull or pitted along the working edge. Sharpen it on a fine stone or wet-and-dry sandpaper at its existing bevel angle; a heavily pitted loop has reached the end of its life.
Products from this article
The highest-scoring picks from the buying guides mentioned above. Scores are our editorial assessment, not customer ratings.
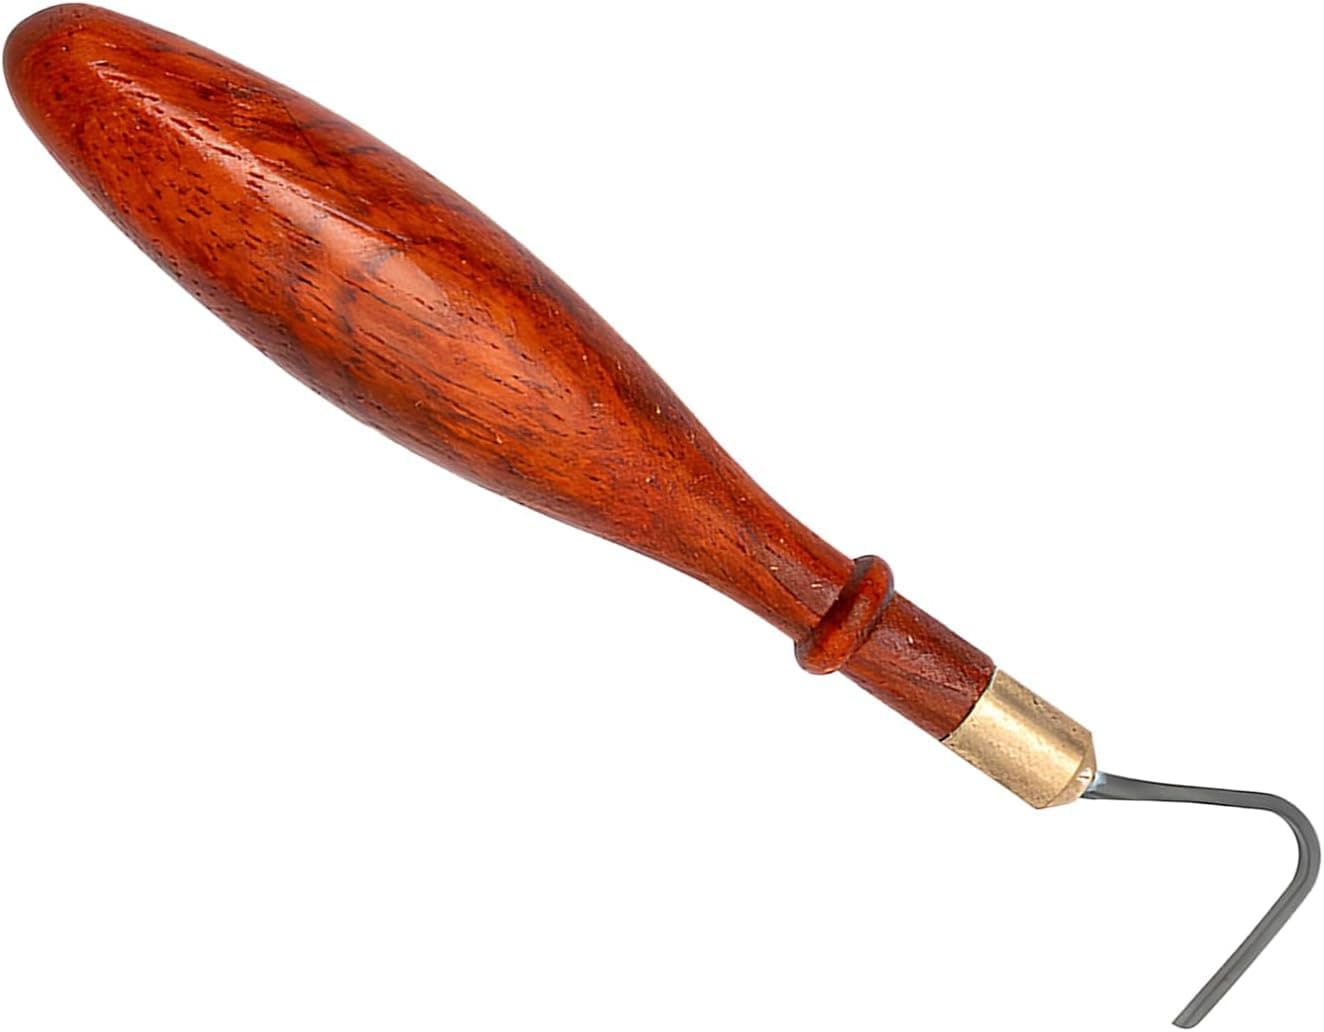
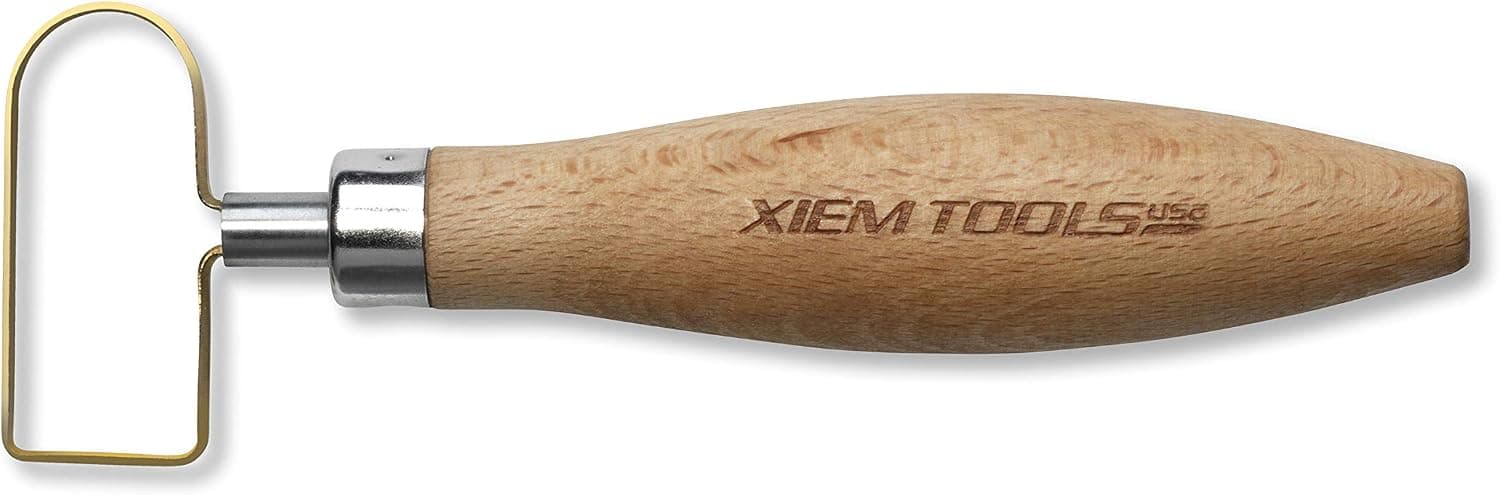
+ Tungsten steel cutter head stays sharp far longer than regular steel
From our guide: Best Loop Tools for Pottery: Trimming and Sculpting Loops Ranked
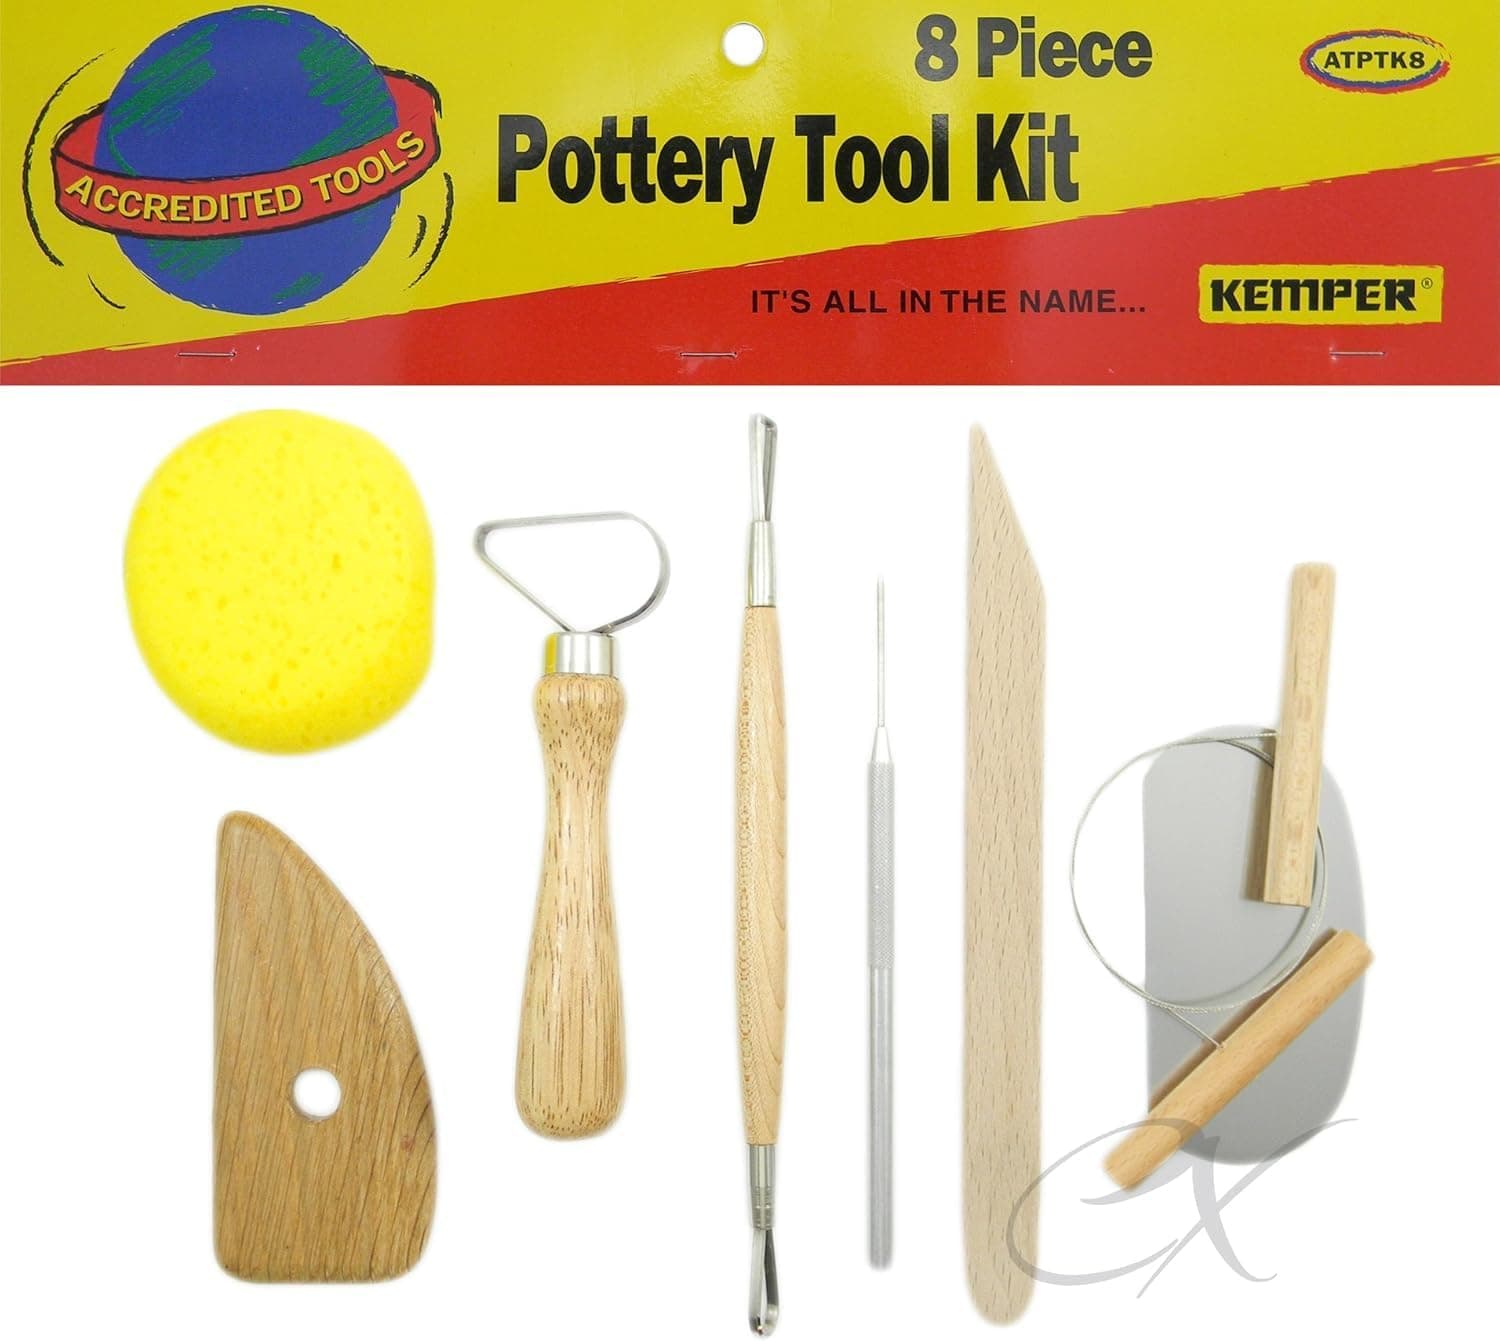
+ Kemper is a trusted name for pottery tools found in many studios
From our guide: Best Pottery Tool Kits
+ Double ended design gives two trimming profiles in one tool
From our guide: Best Trimming Tools for Pottery: Top Picks for Clean Foot Rings
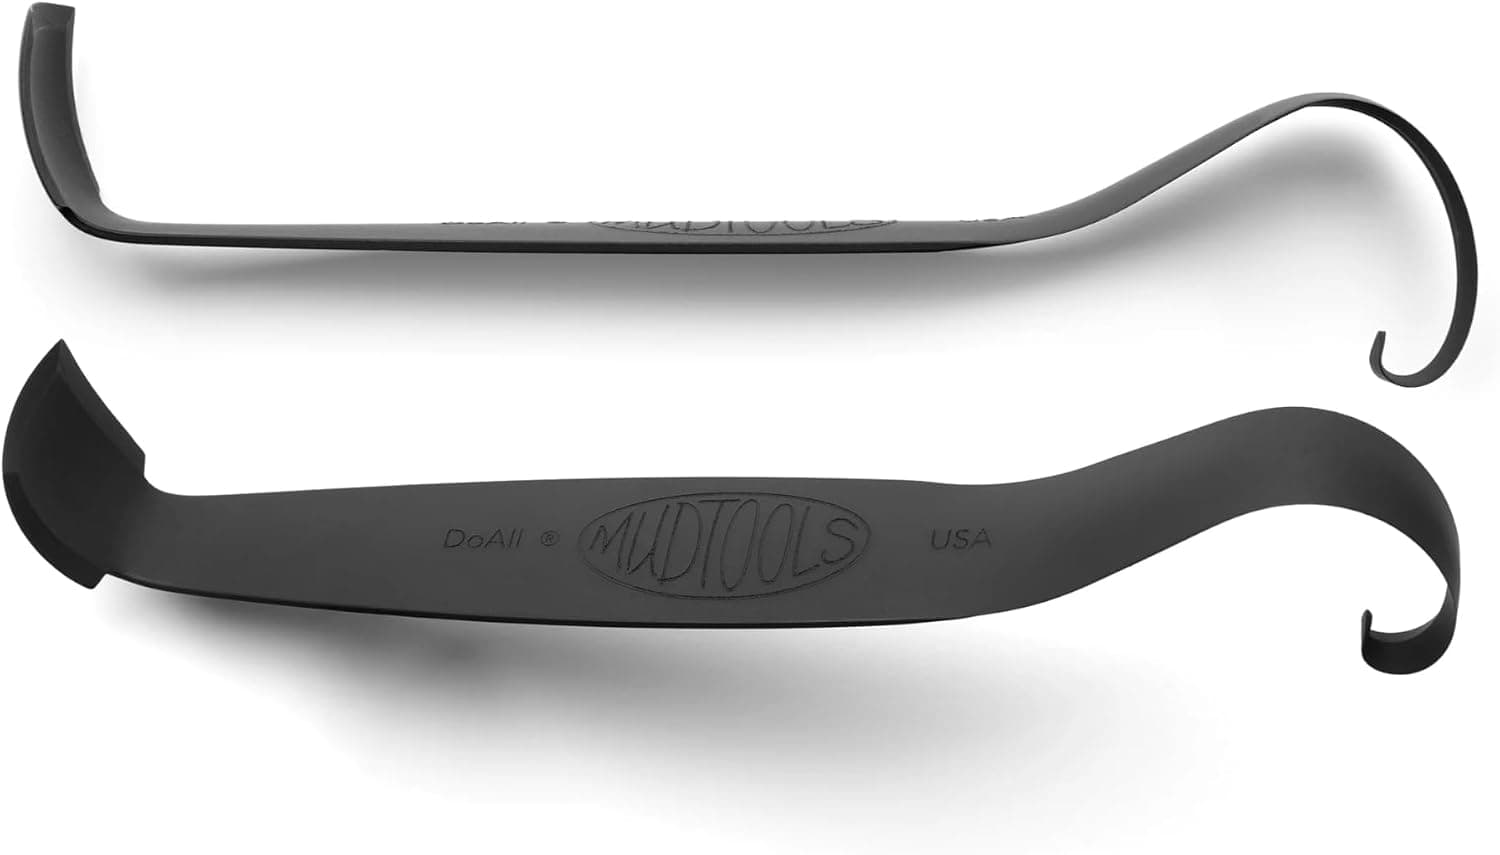
+ Titanium-fused edge resists wear and stays sharp longer
From our guide: Best Loop Tools for Pottery: Trimming and Sculpting Loops Ranked
Popular right now
- Firing Schedules ExplainedArticle
- Best Small Kilns for Test Tiles, Jewelry, and Compact StudiosBuying guide
- Underglaze TechniquesArticle
- Bisque Firing vs Glaze FiringArticle
- Fixing Common Throwing Problems on the Pottery WheelArticle
- Best Glaze Brushes: Soft, High-Capacity Brushes for Even CoatsBuying guide
Based on the last 28 days of search and visitor data.